Creating Search Filters
Create Search filters in OneNode
This guide will show you how to create search filters in OneNode. Based on your most common search criteria, set filters that you can easily access every time you need to find a document!
1. Open OneNode's main panel
Open OneNode's main panel
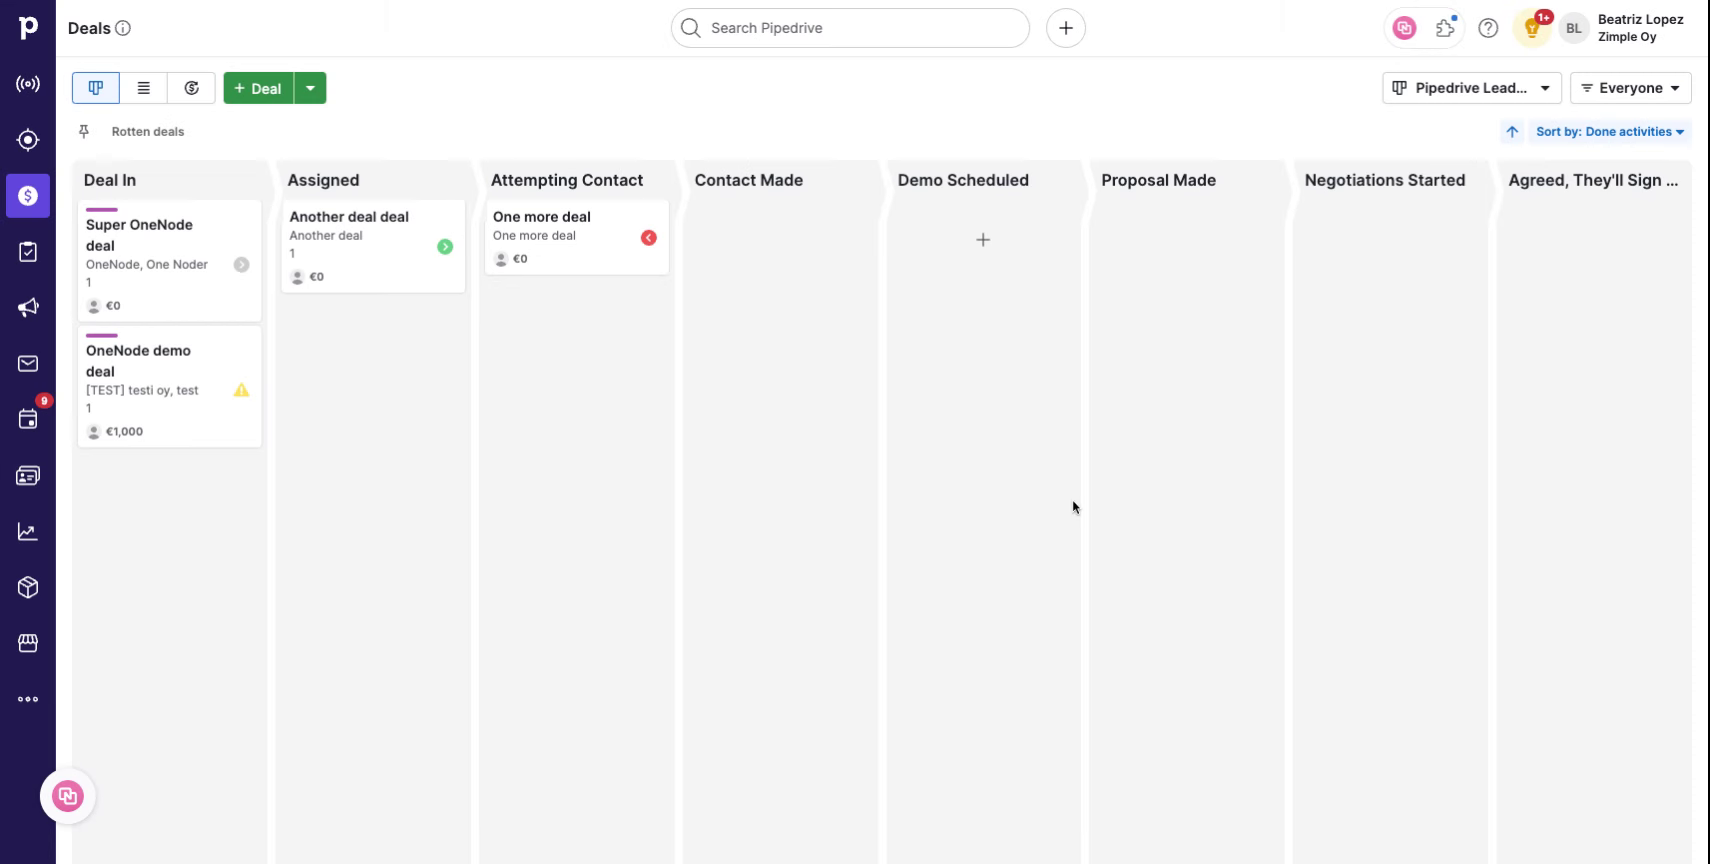
2. Click "Search"
Click on the "Search" tab and navigate to the "Filter" button
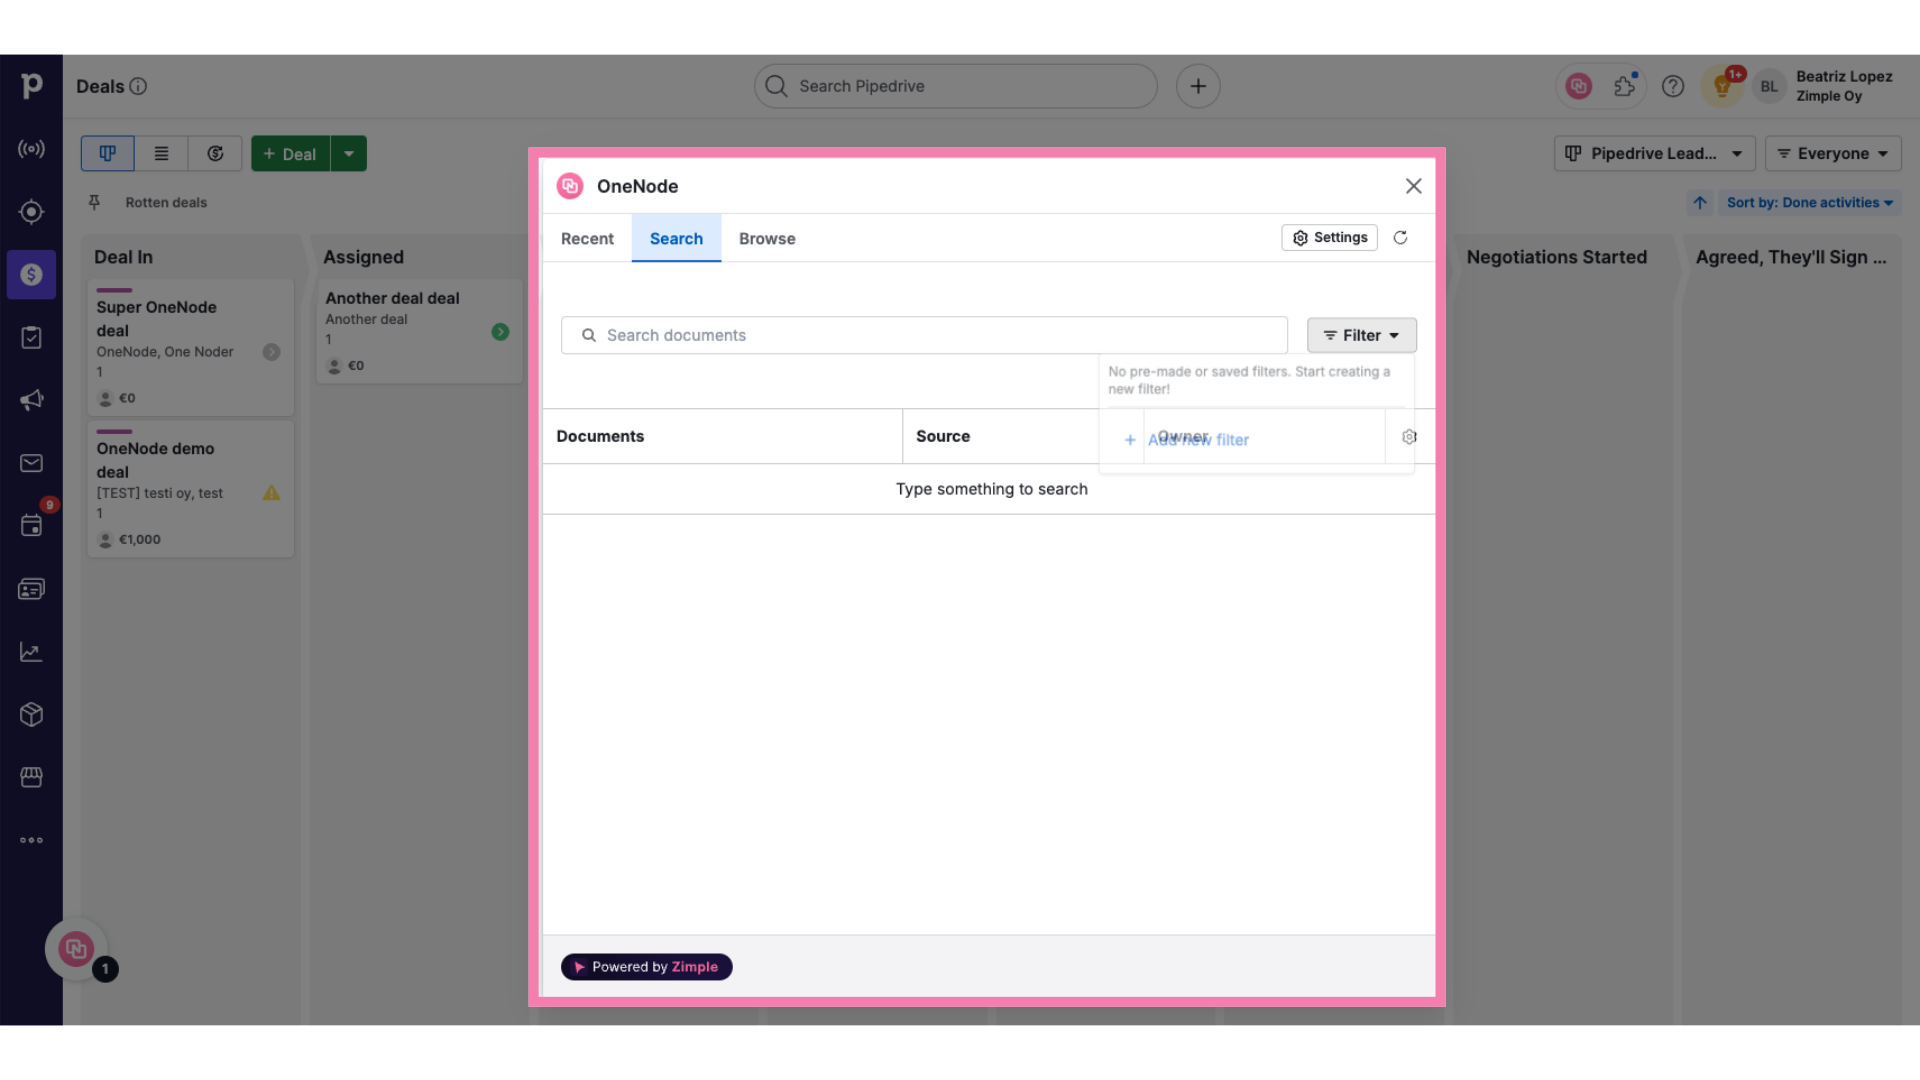
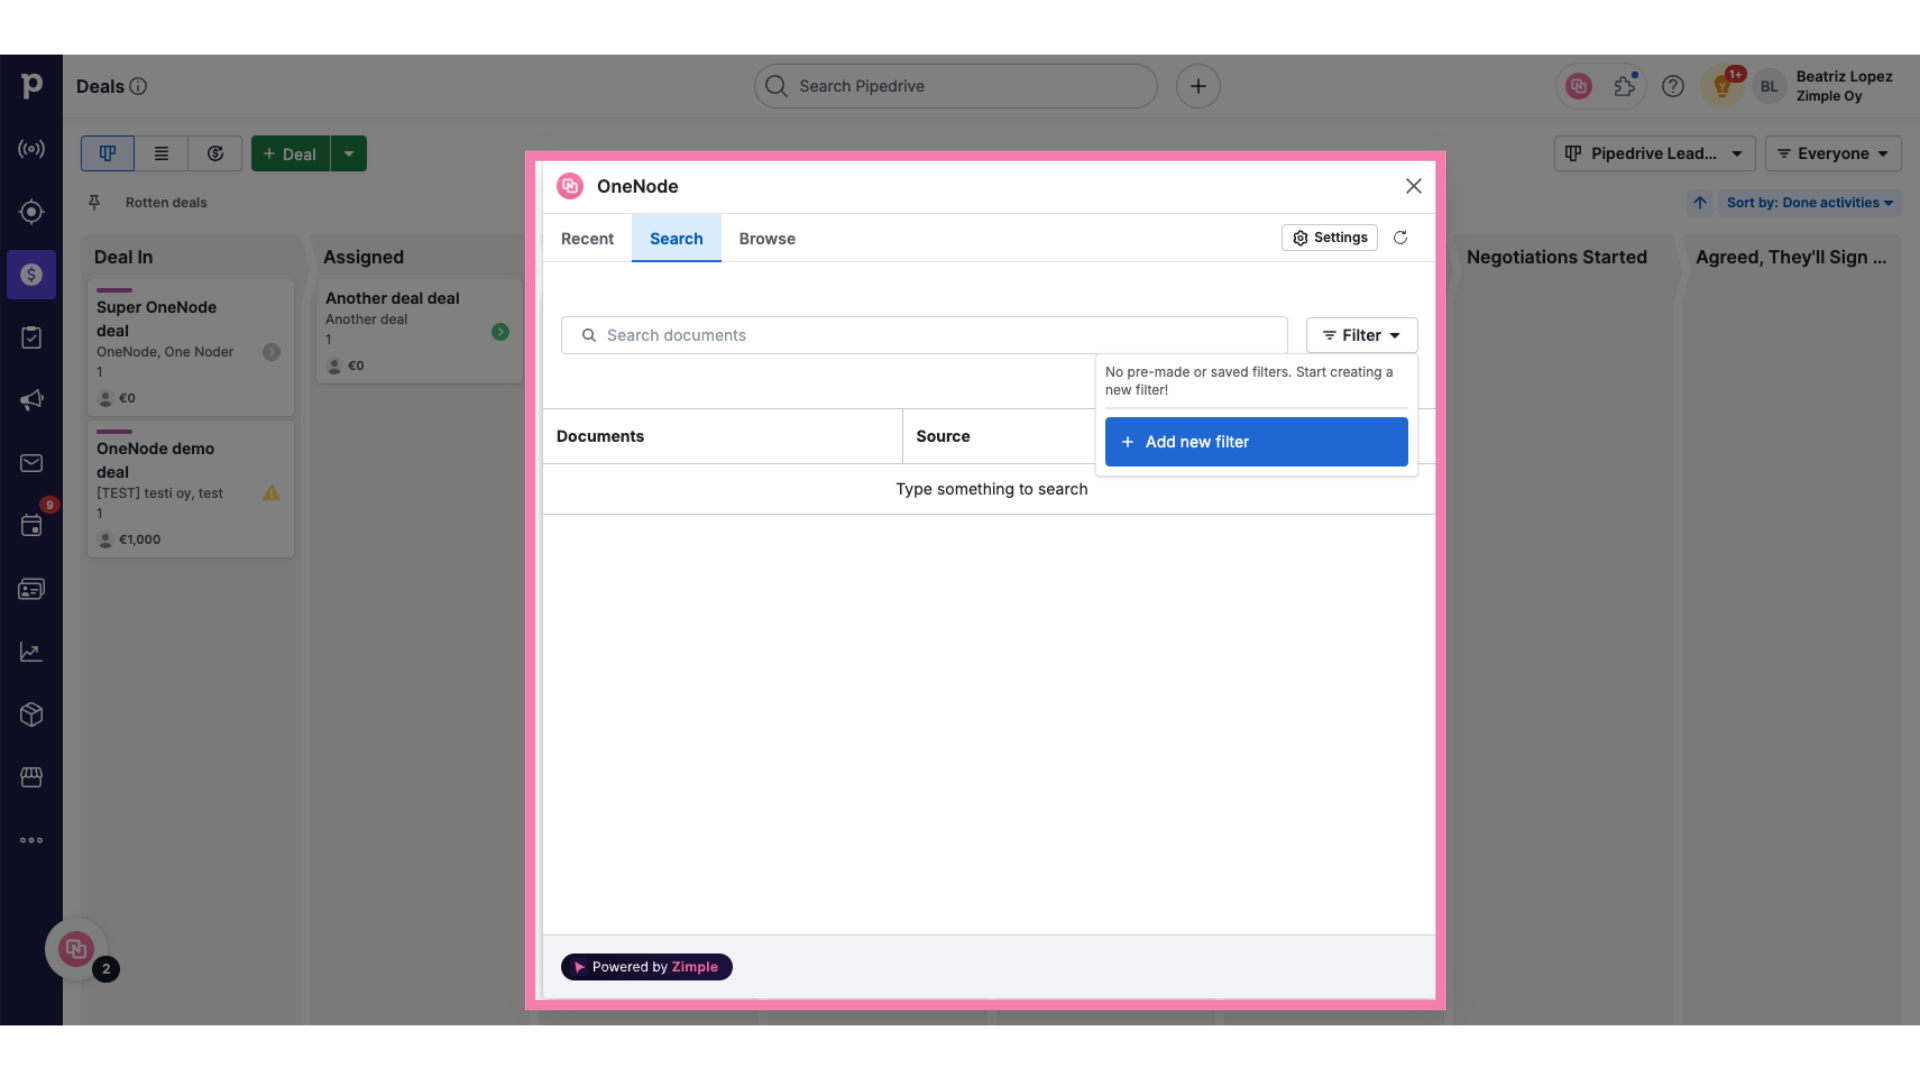
3. Click "Add new filter"
Select "Add new filter"
4. Give the filter a Name
Give your filter a name.
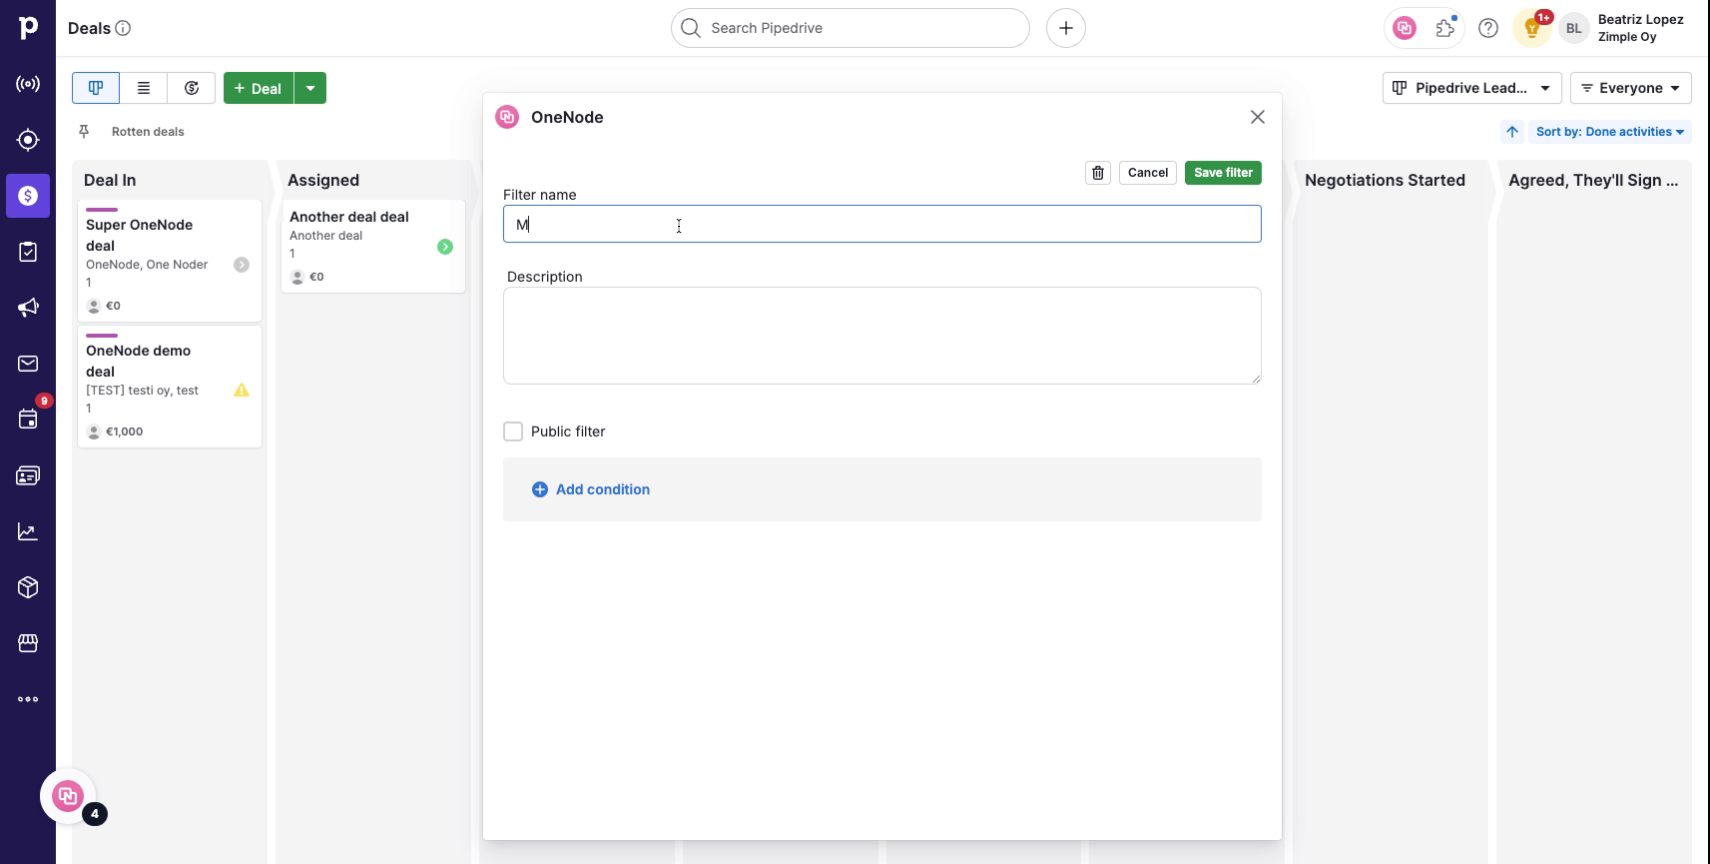
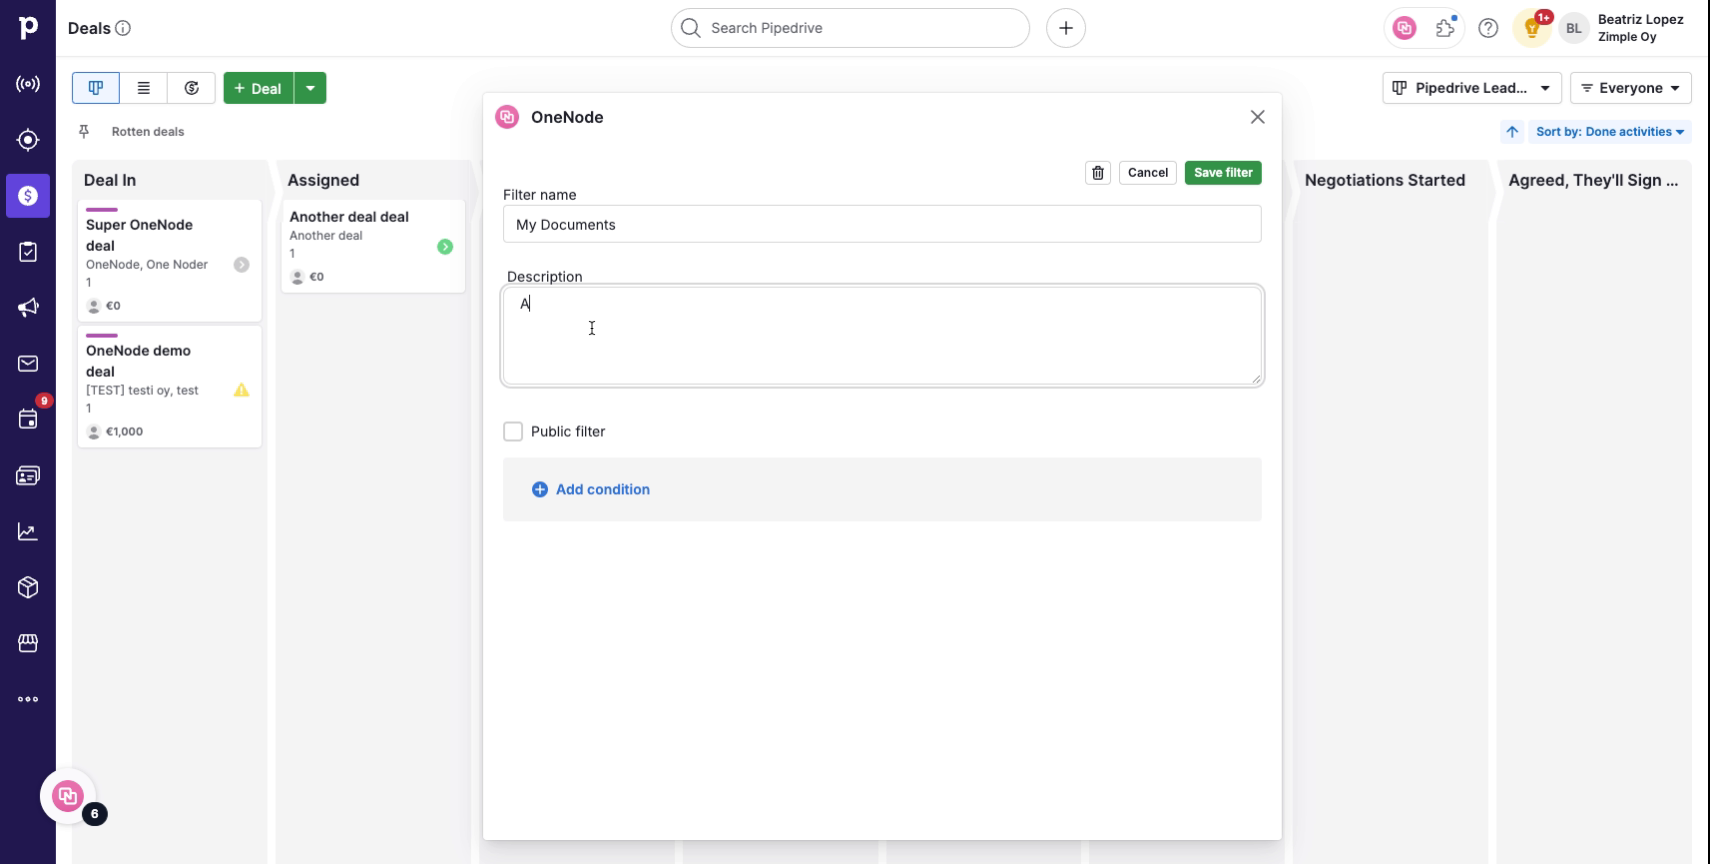
5. Type a "Description"
And add a description if you wish.
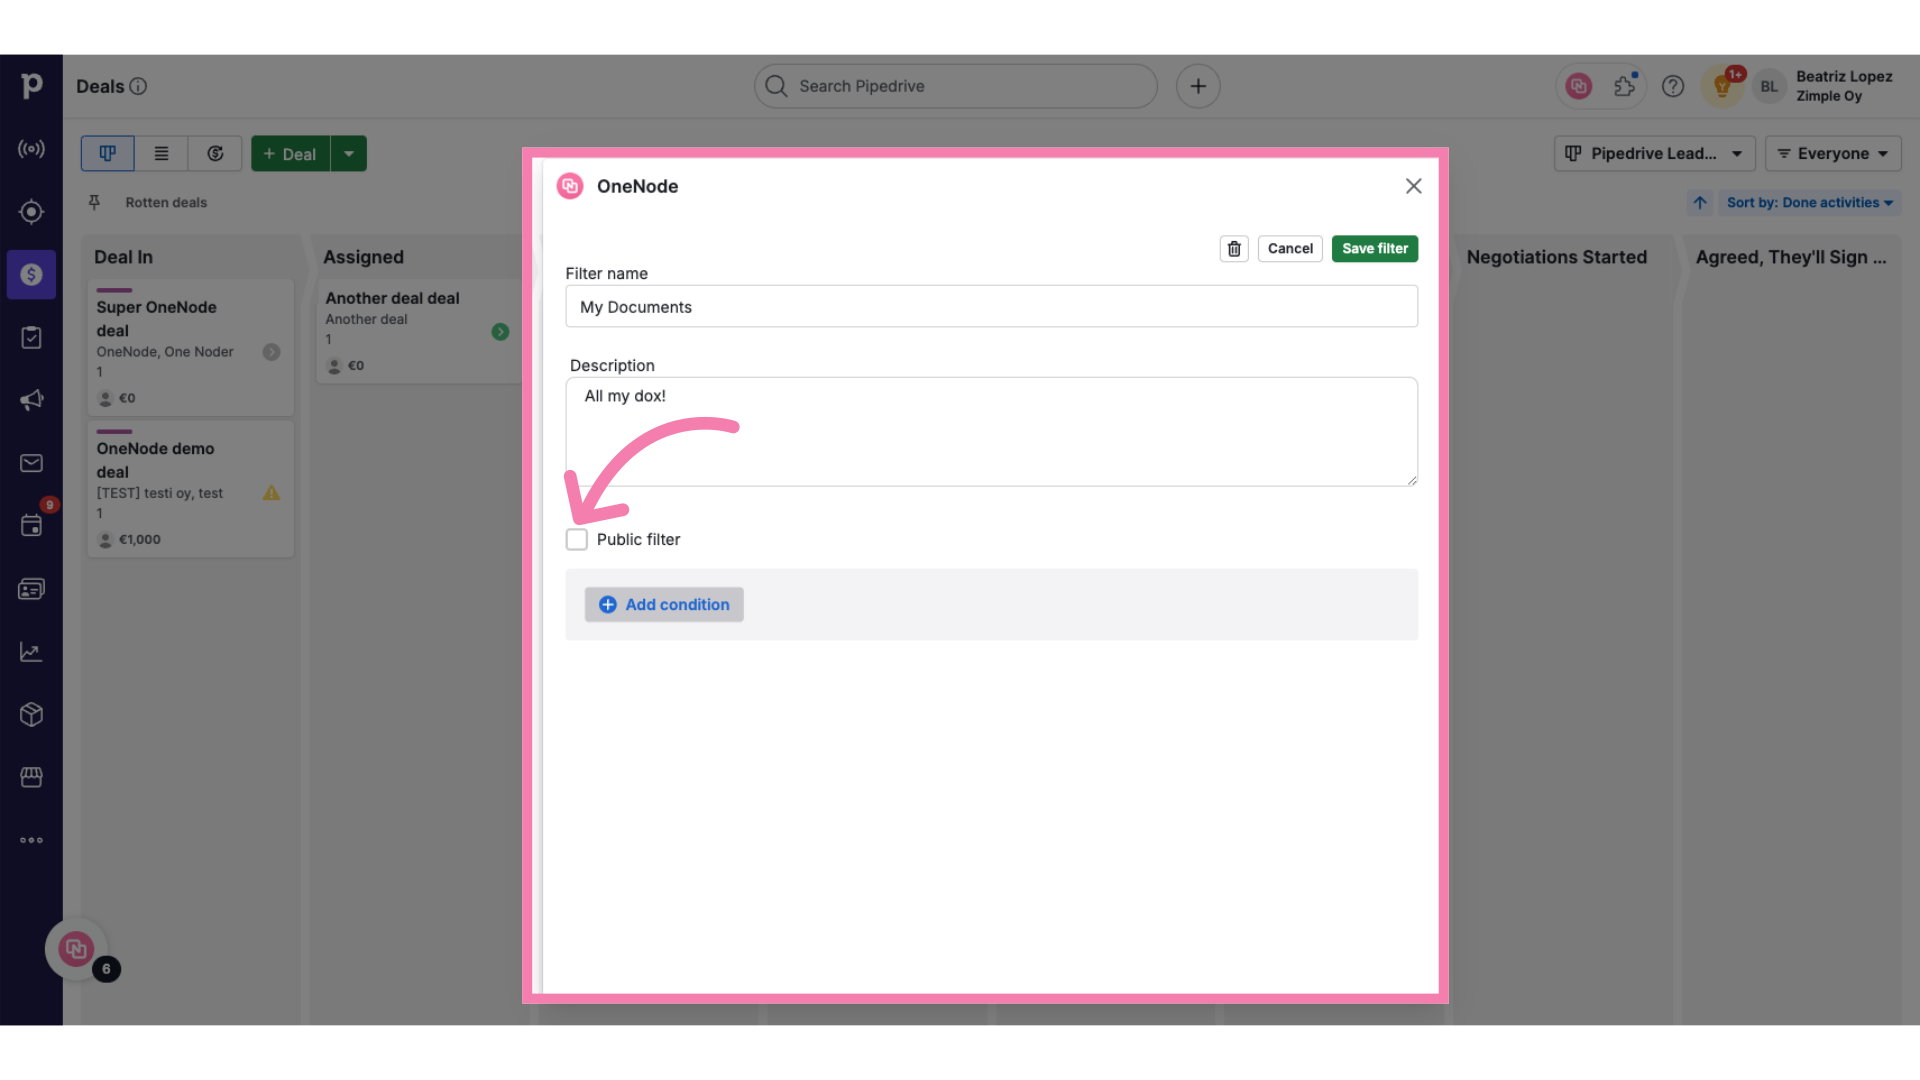
6. Define visibility
Decide if you'd like to make this filter public or keep it visible just for you.
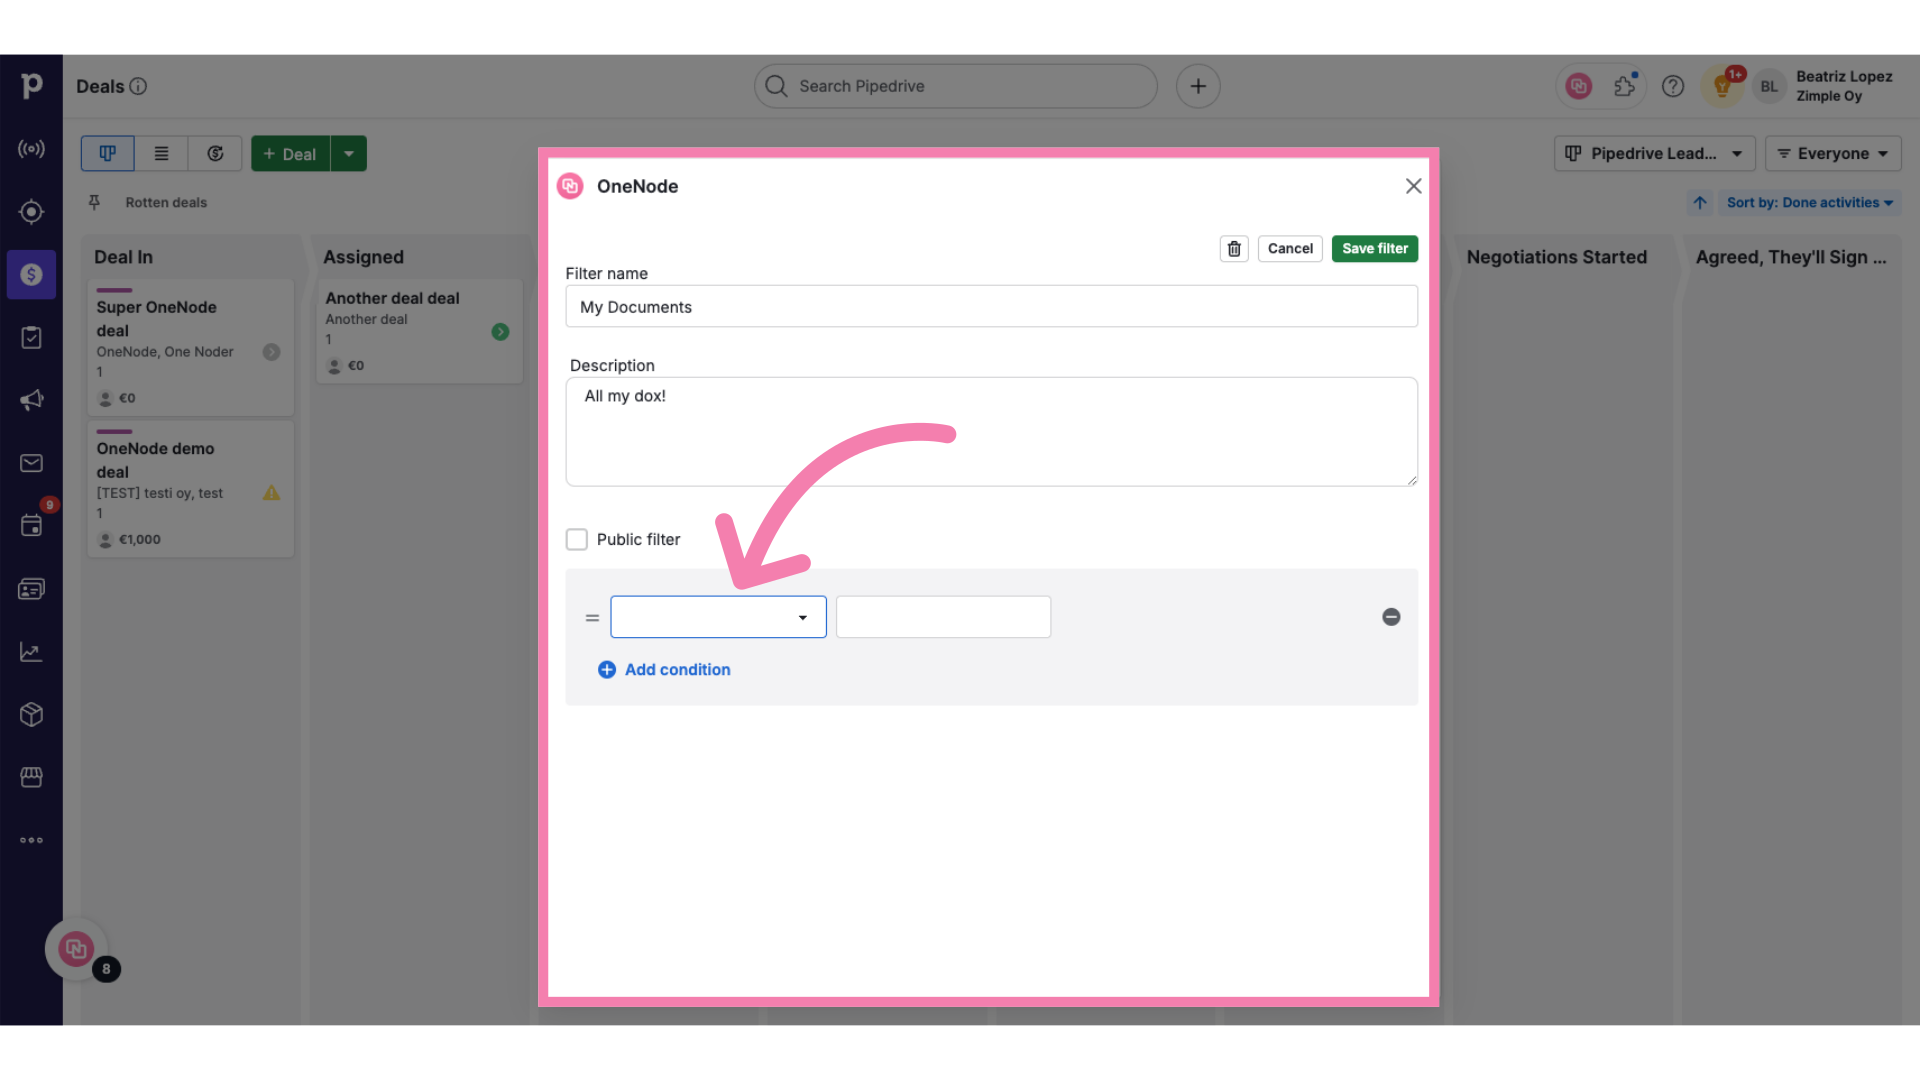
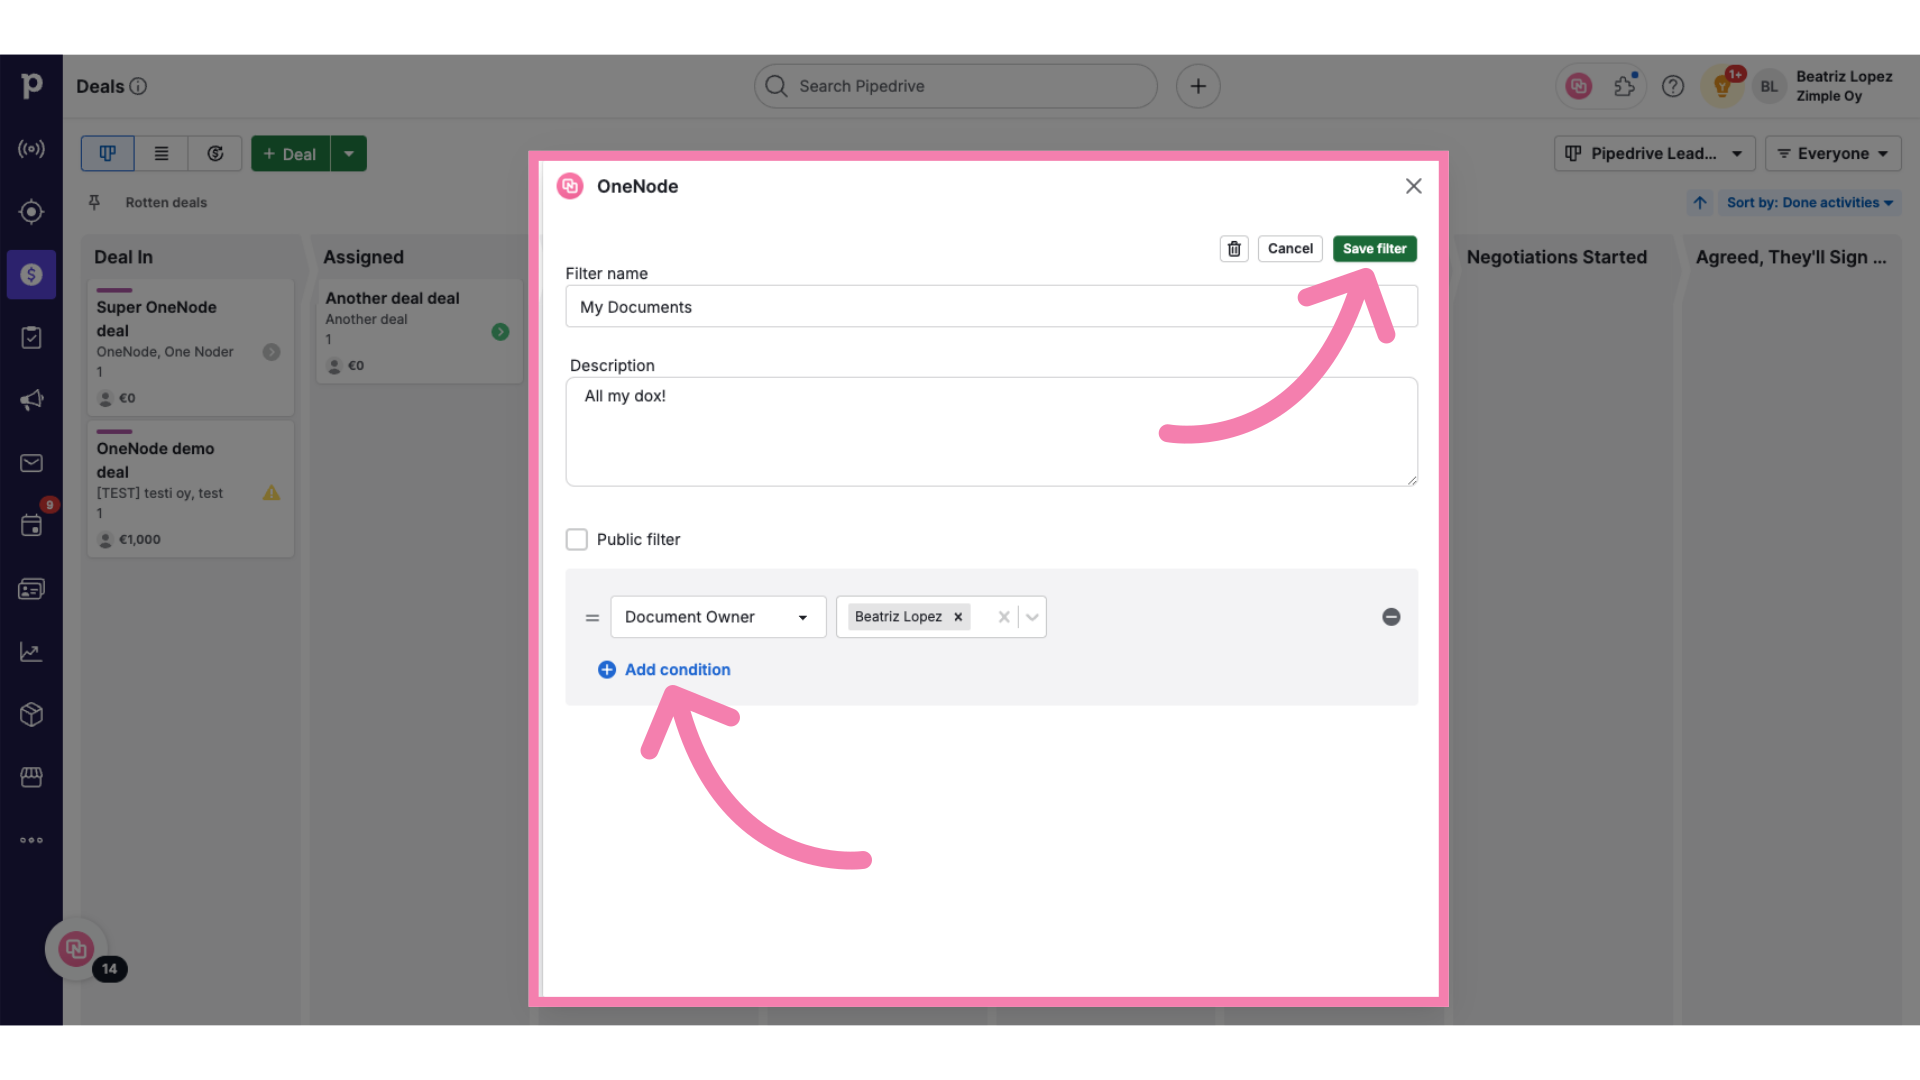
7. Add filter conditions
Choose the criteria that best meets your search needs from the conditions list.
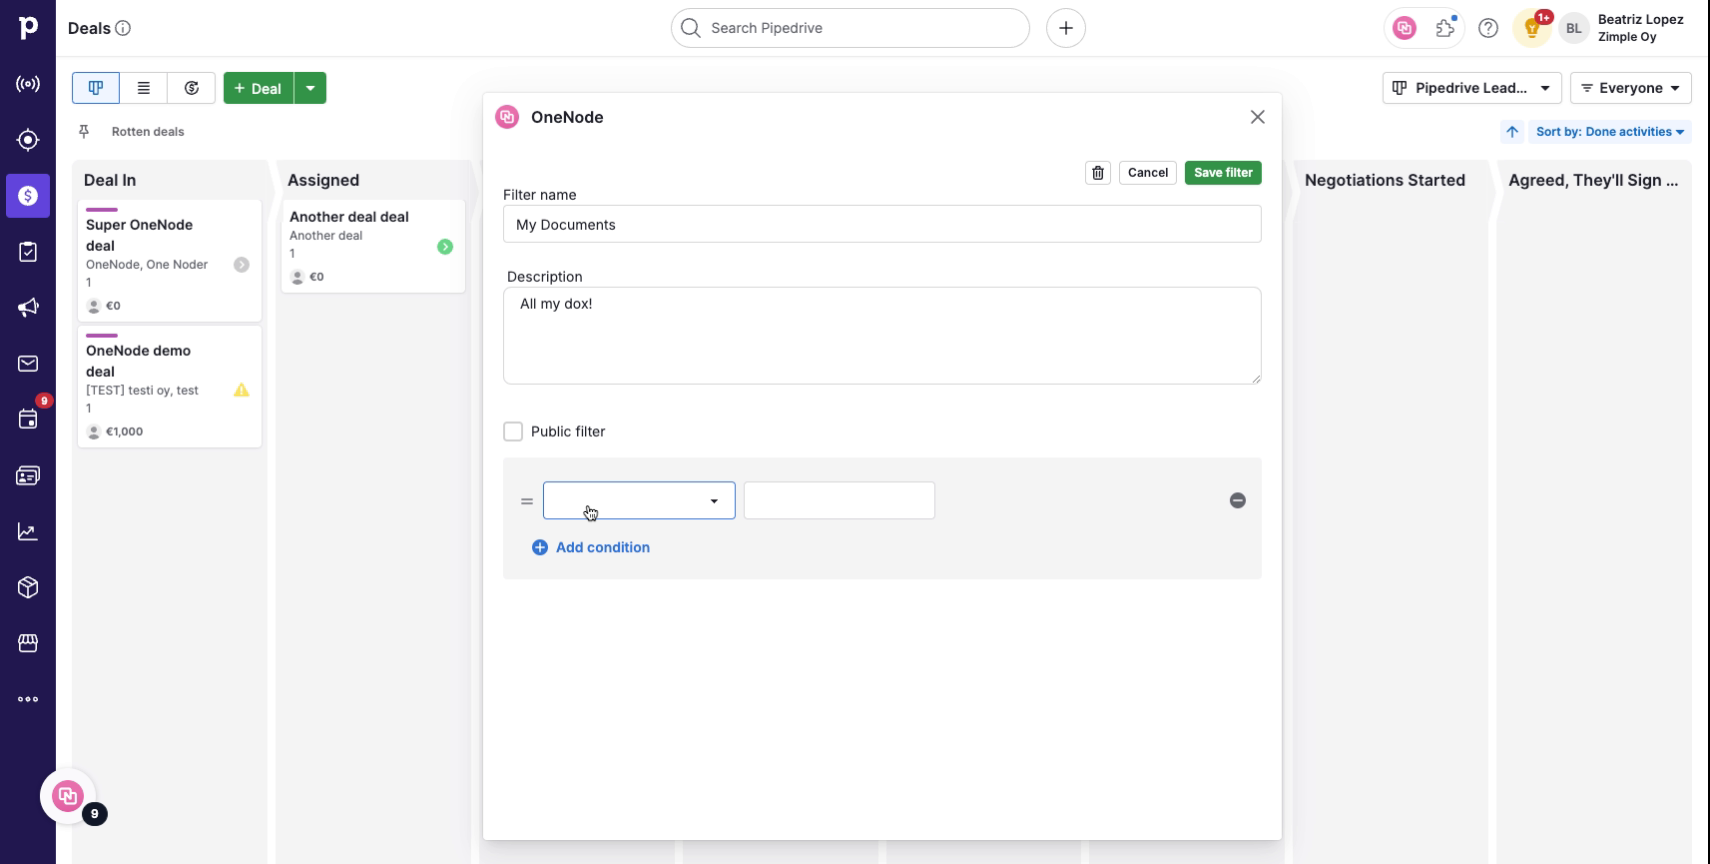
8. Select from the options
In this case we are building a filter by Document Owner
9. Click "Save filter"
If you need to, add more conditions and click on "Save"
10. Check your filter
All right! Let's try it out.
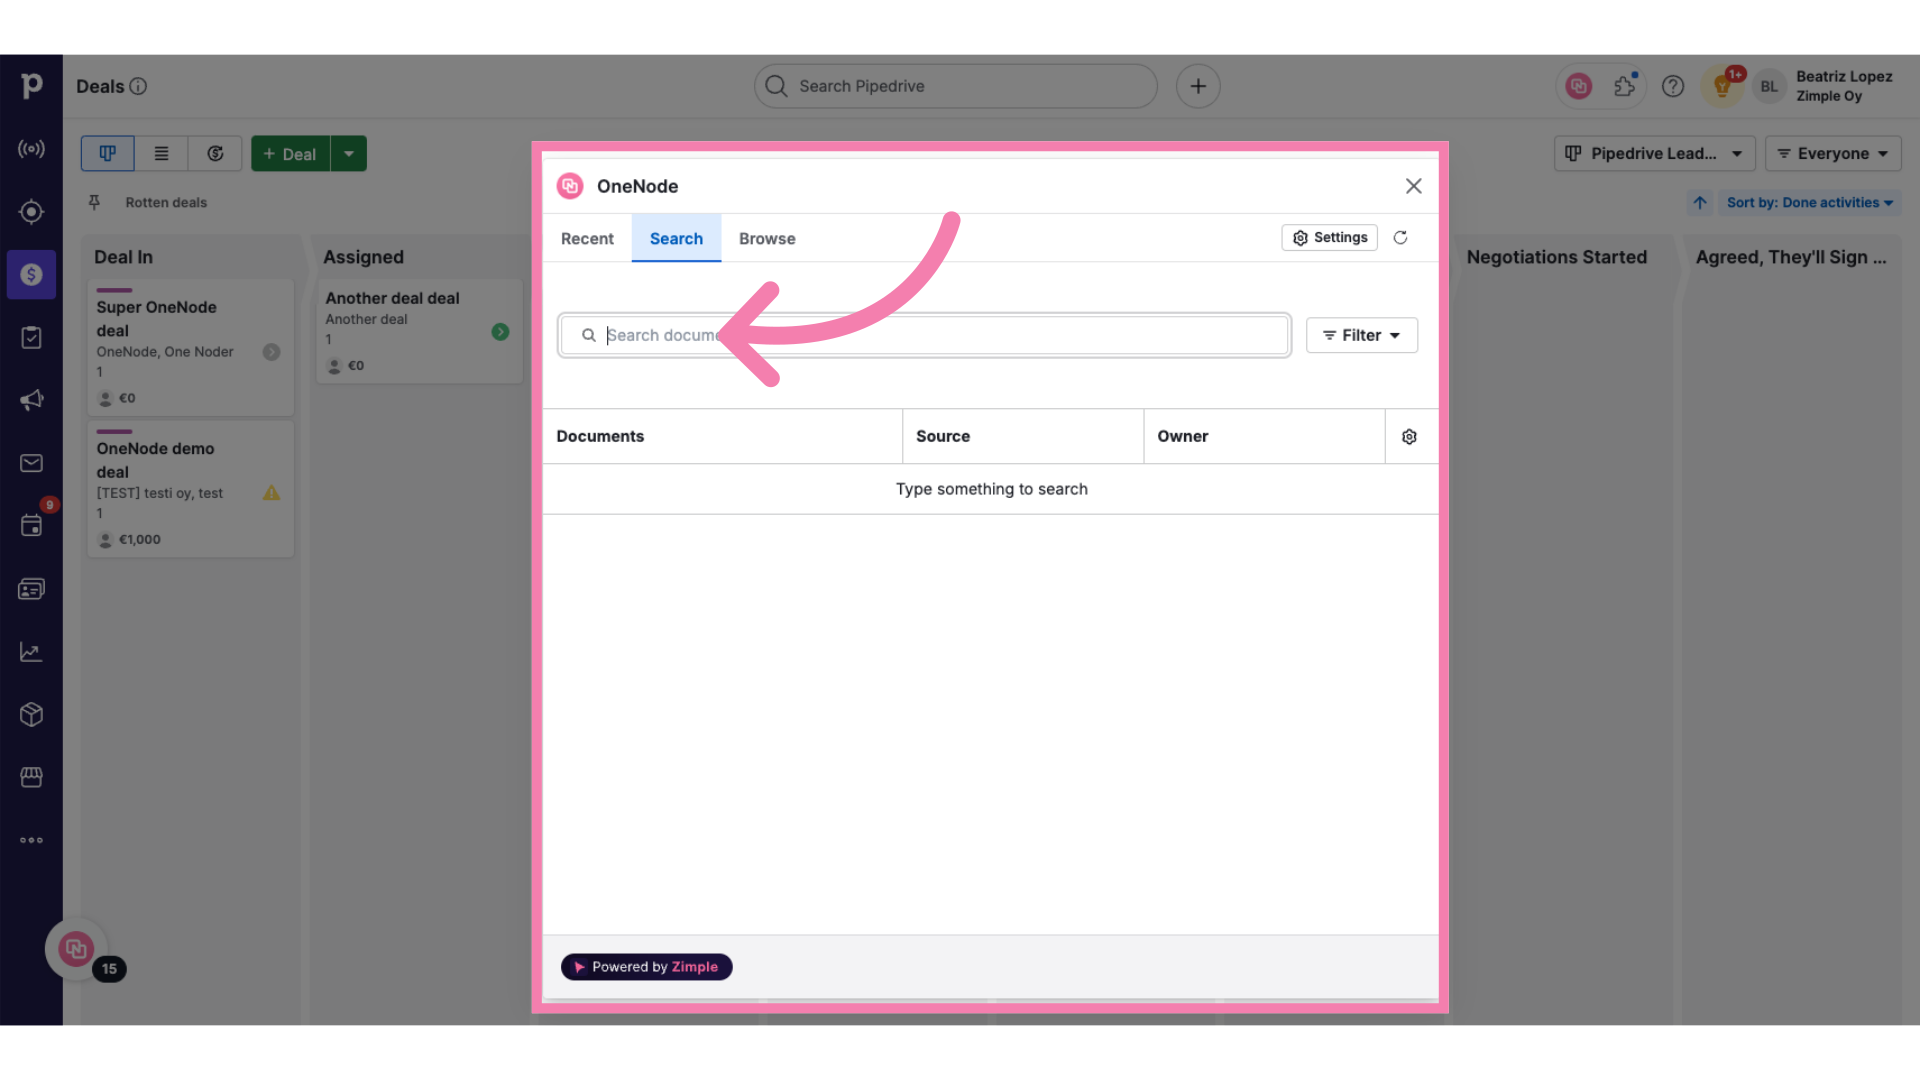
11. Type three search characters
Type three letters in the search bar
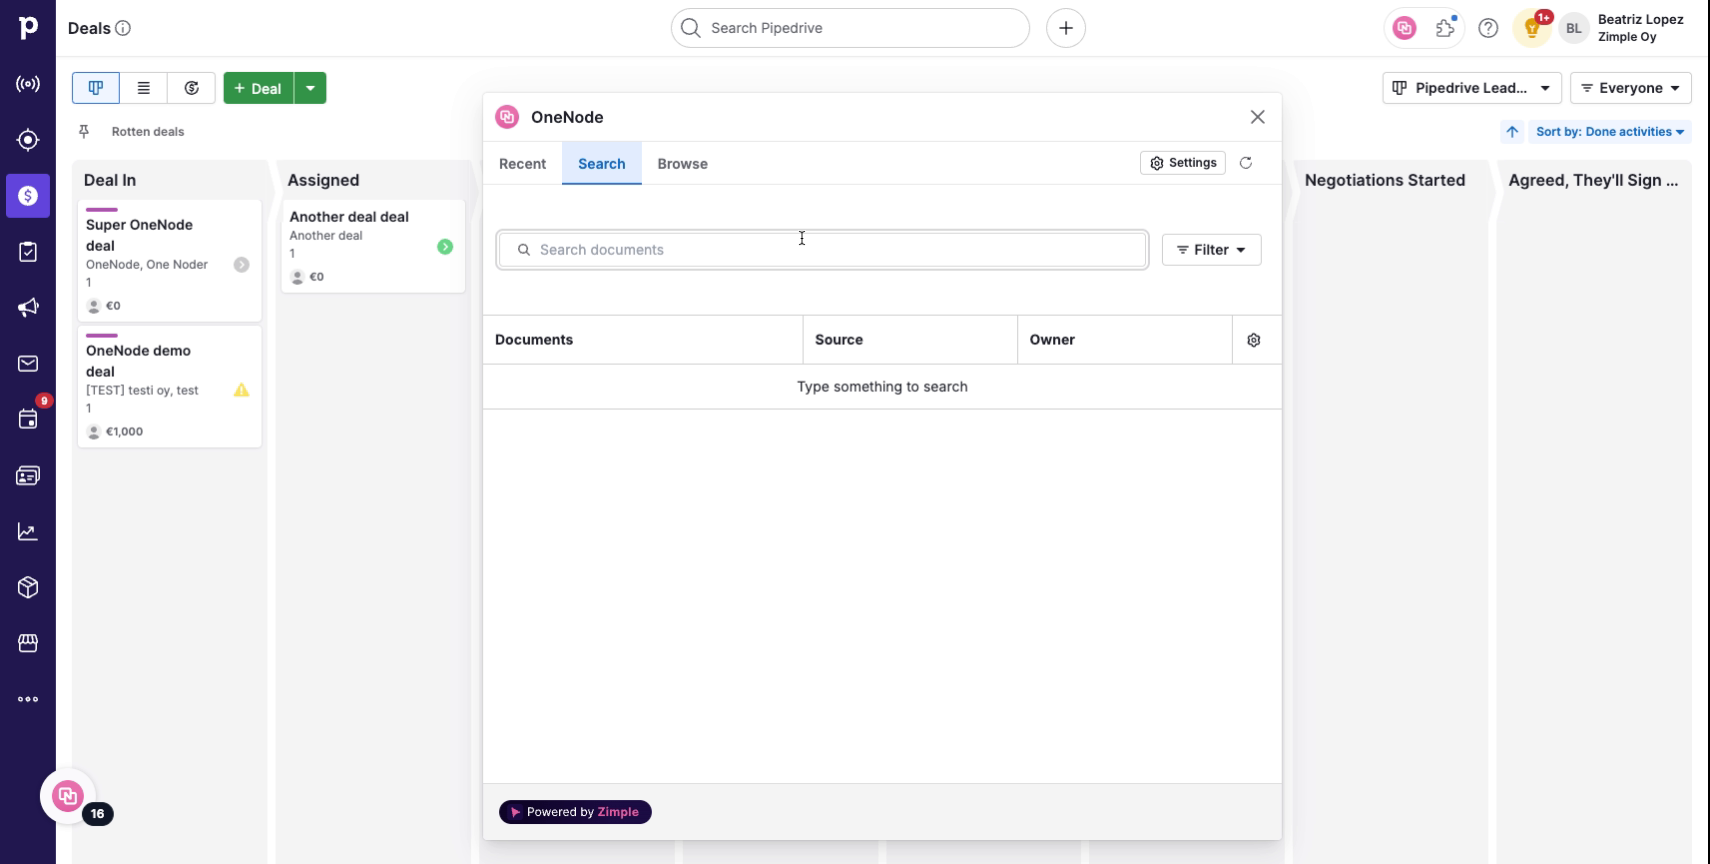
12. Check the results
You'll see the results for all Document owners
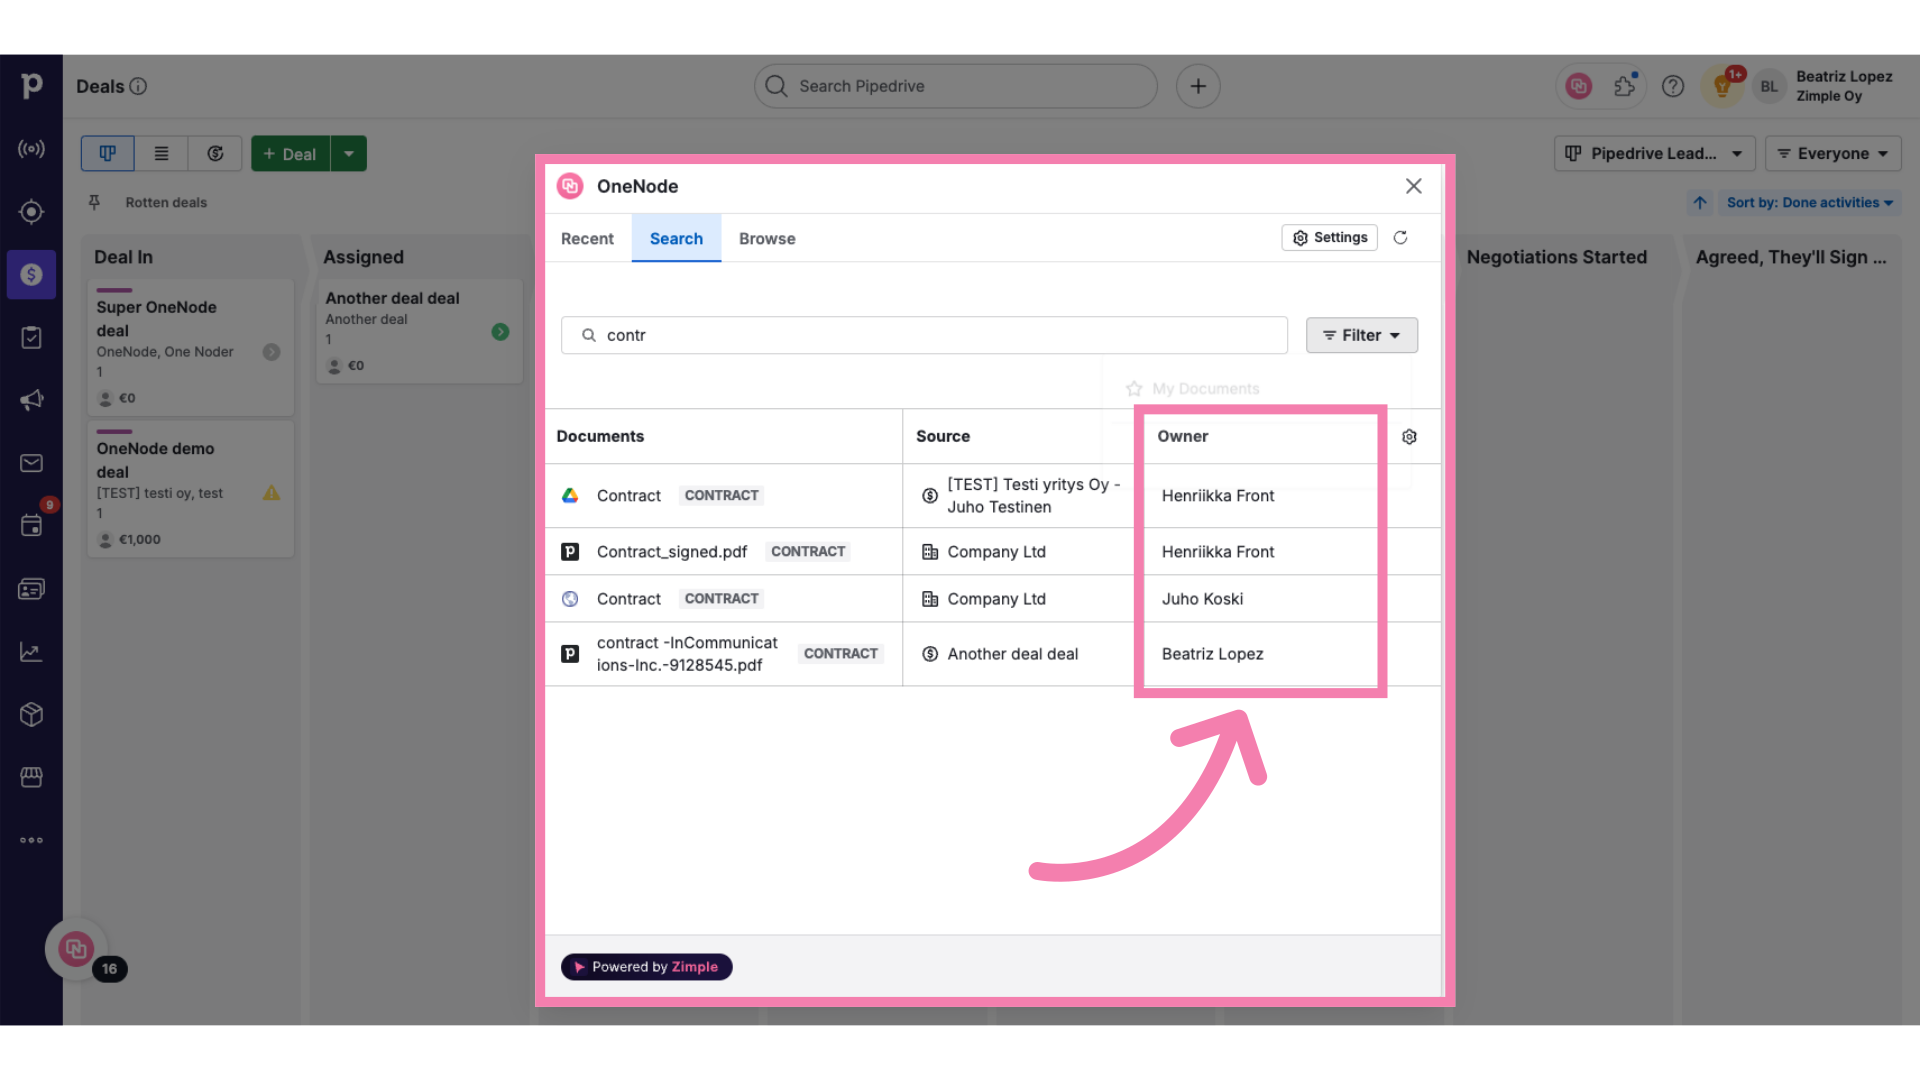
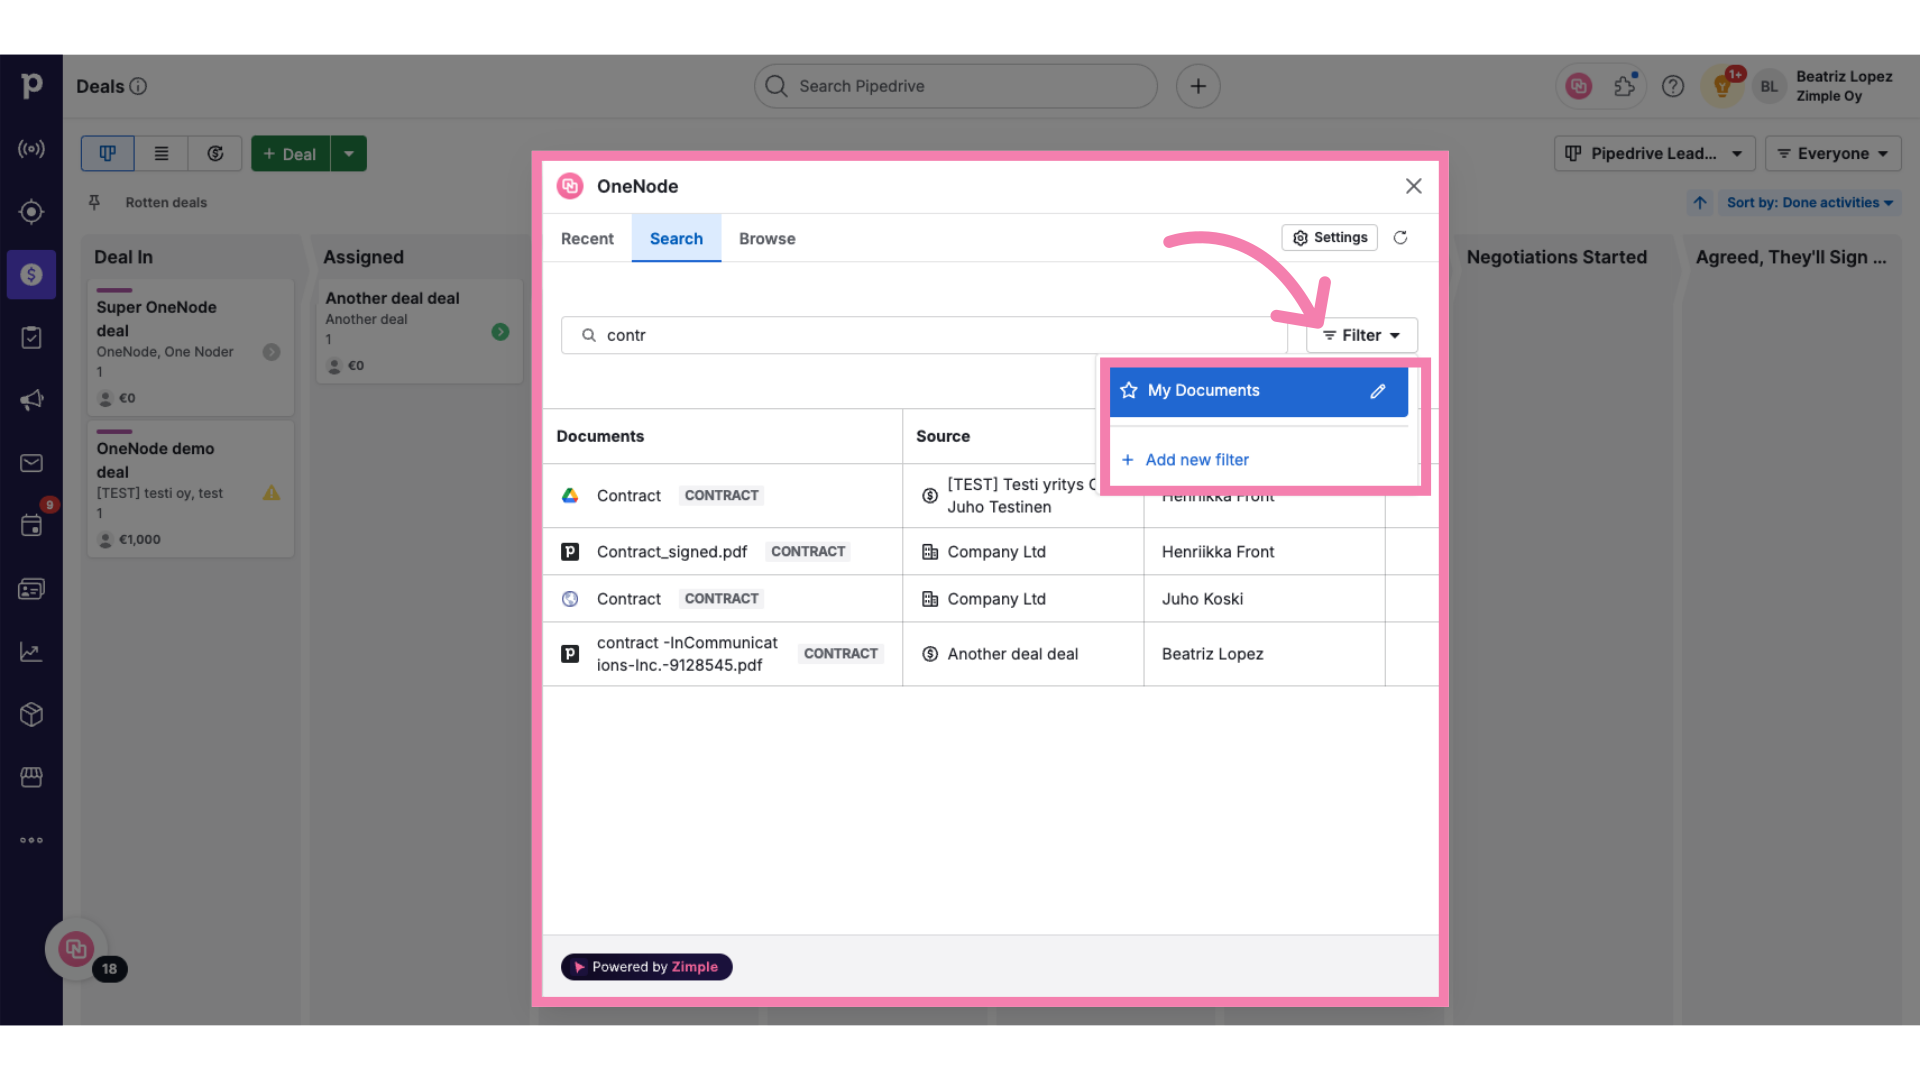
13. Apply the new Filter
Click on "Filters" and choose the filter you just created.
14. Filtered view
Only those documents matching the filter criteria will be displayed.
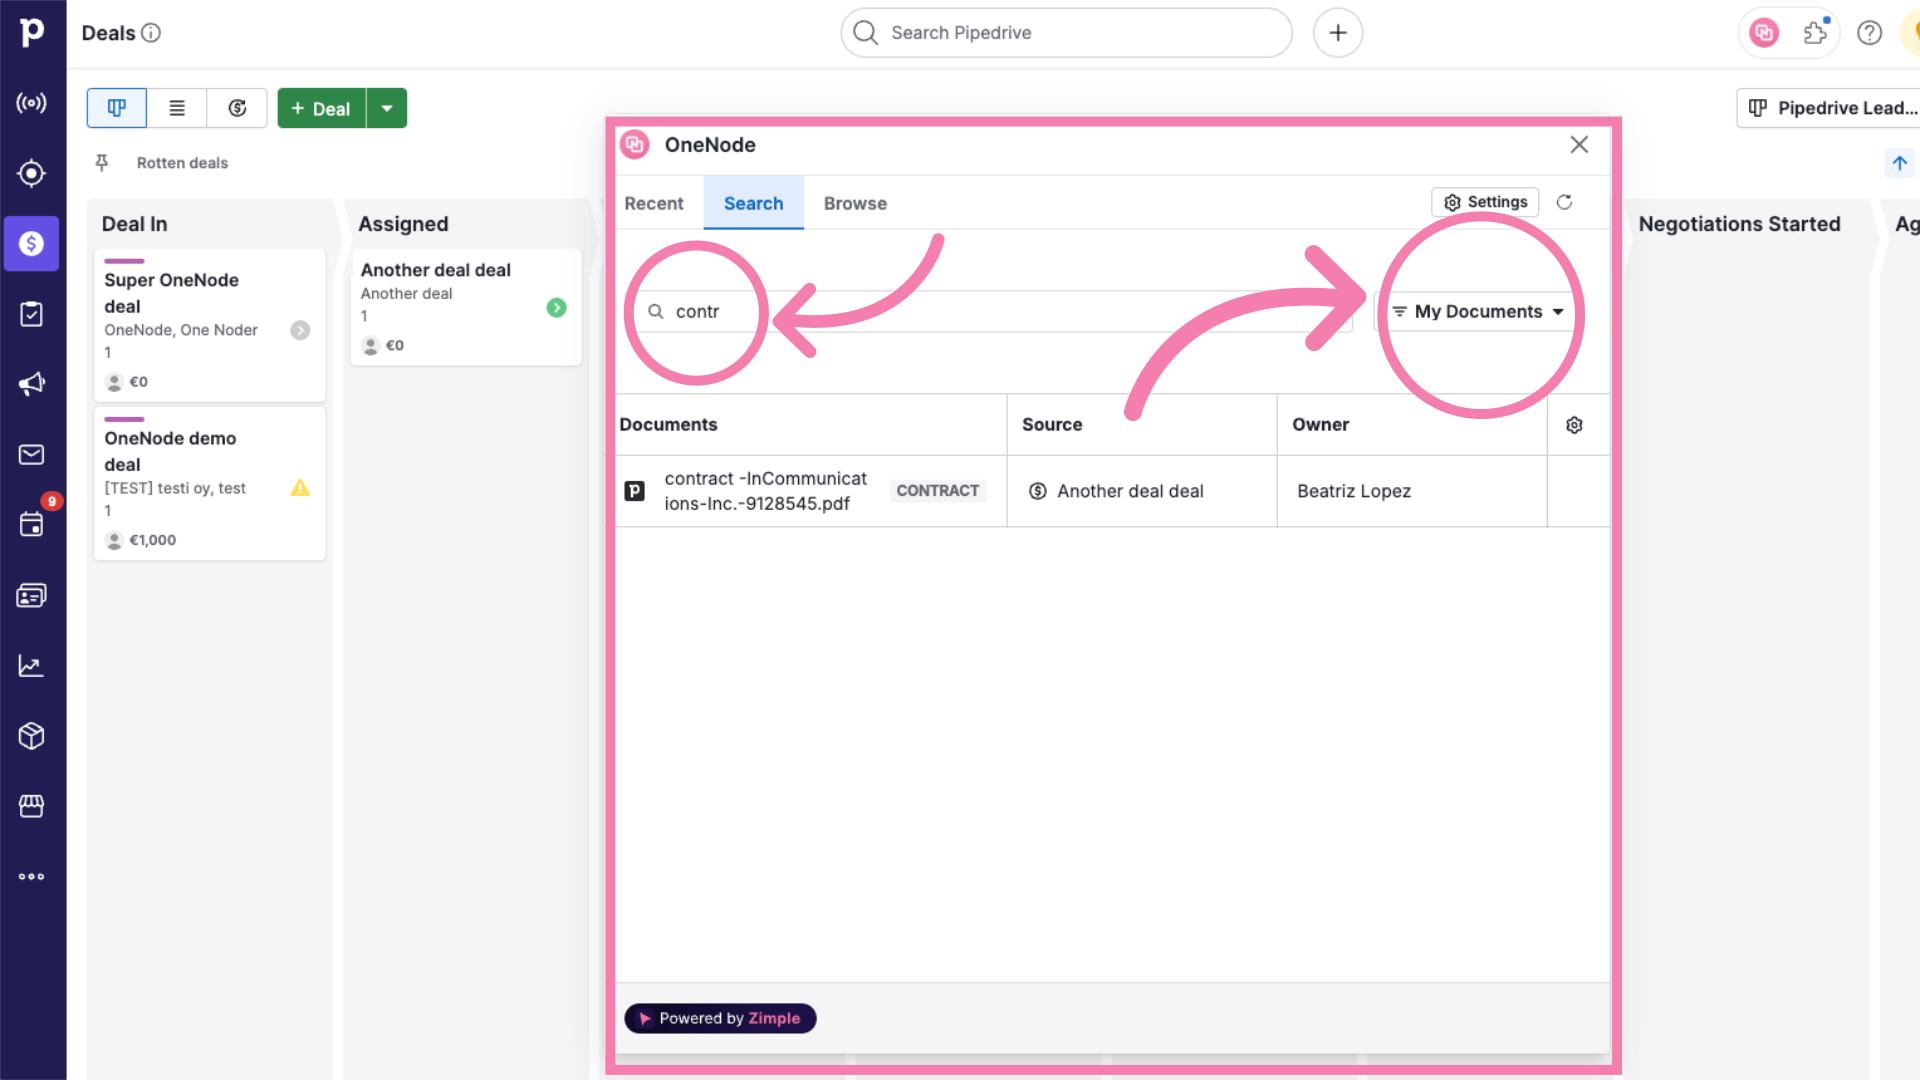
All set! Dive-in and explore more filters and criteria to set up your go-to search filters in OneNode.
