Adding documents
Price List use case
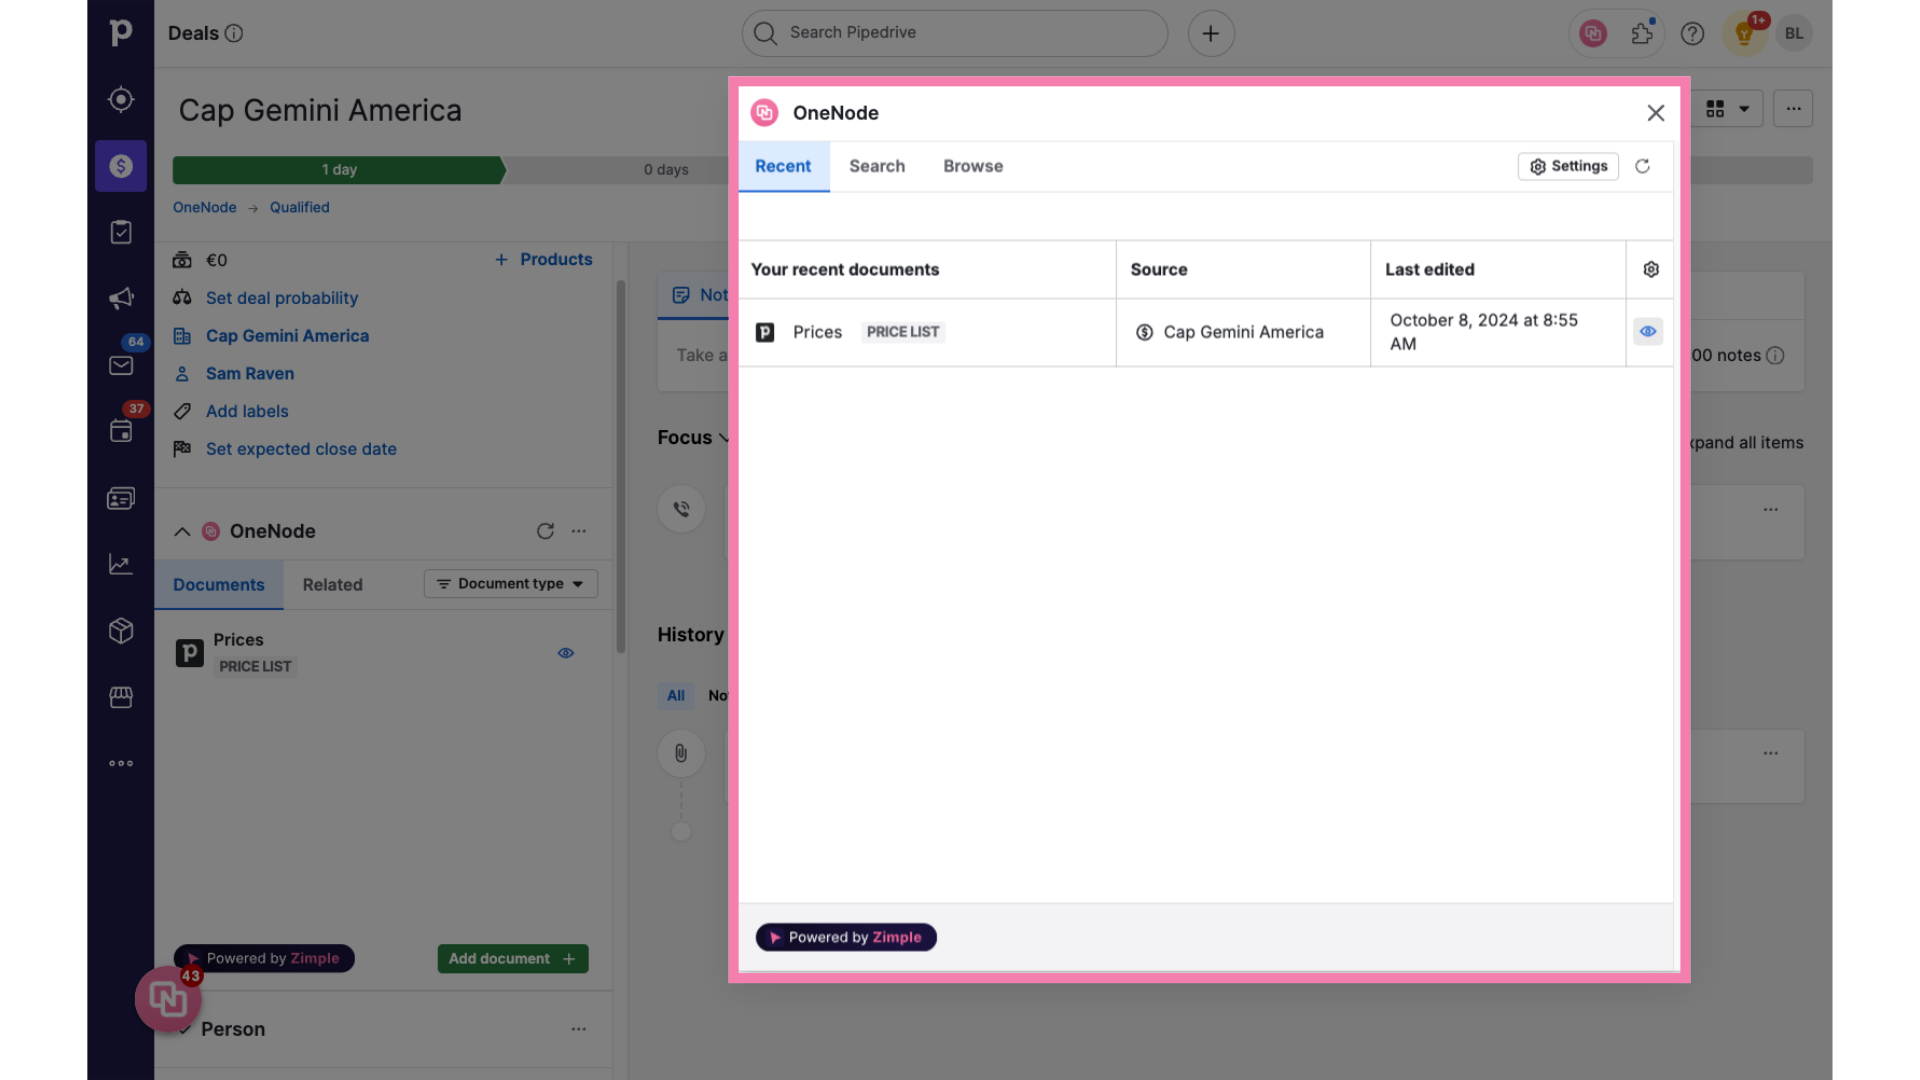
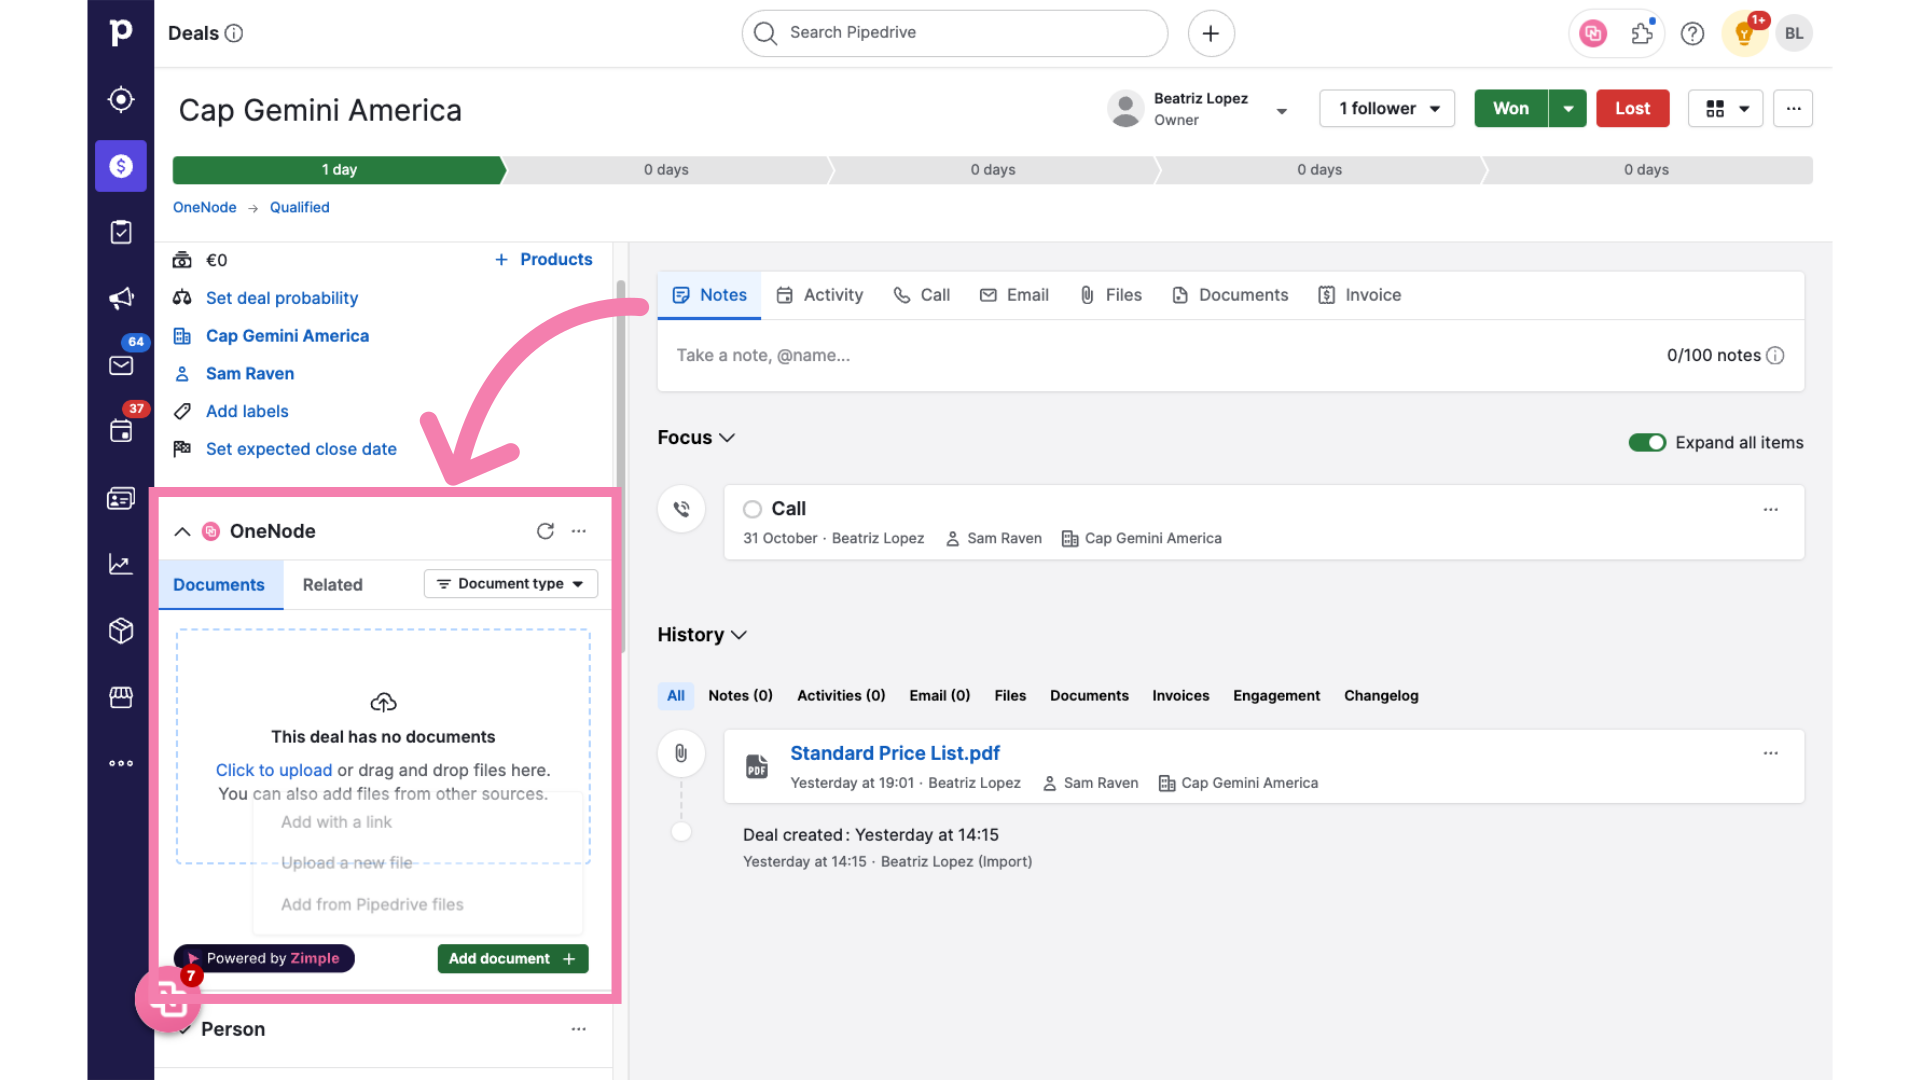
1. Go to the OneNode panel
From the OneNode panel
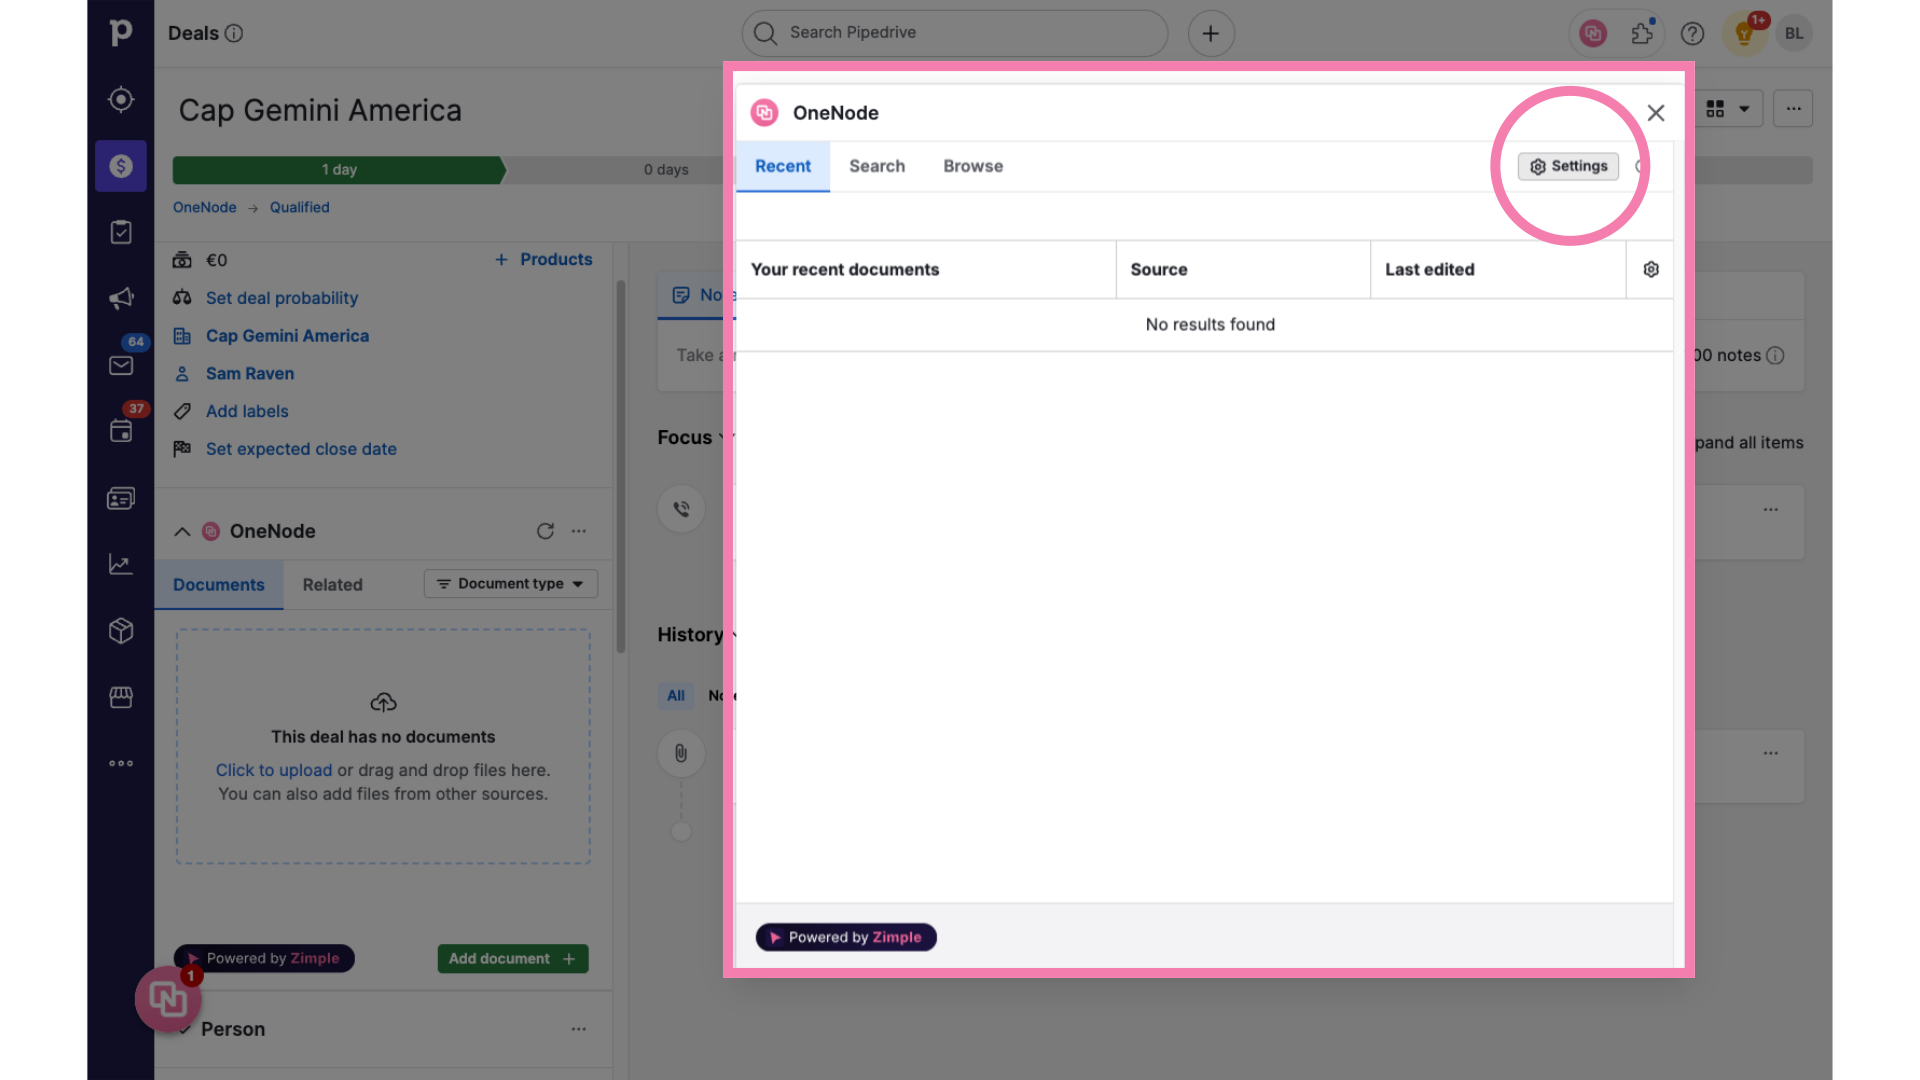
2. Click "Settings"
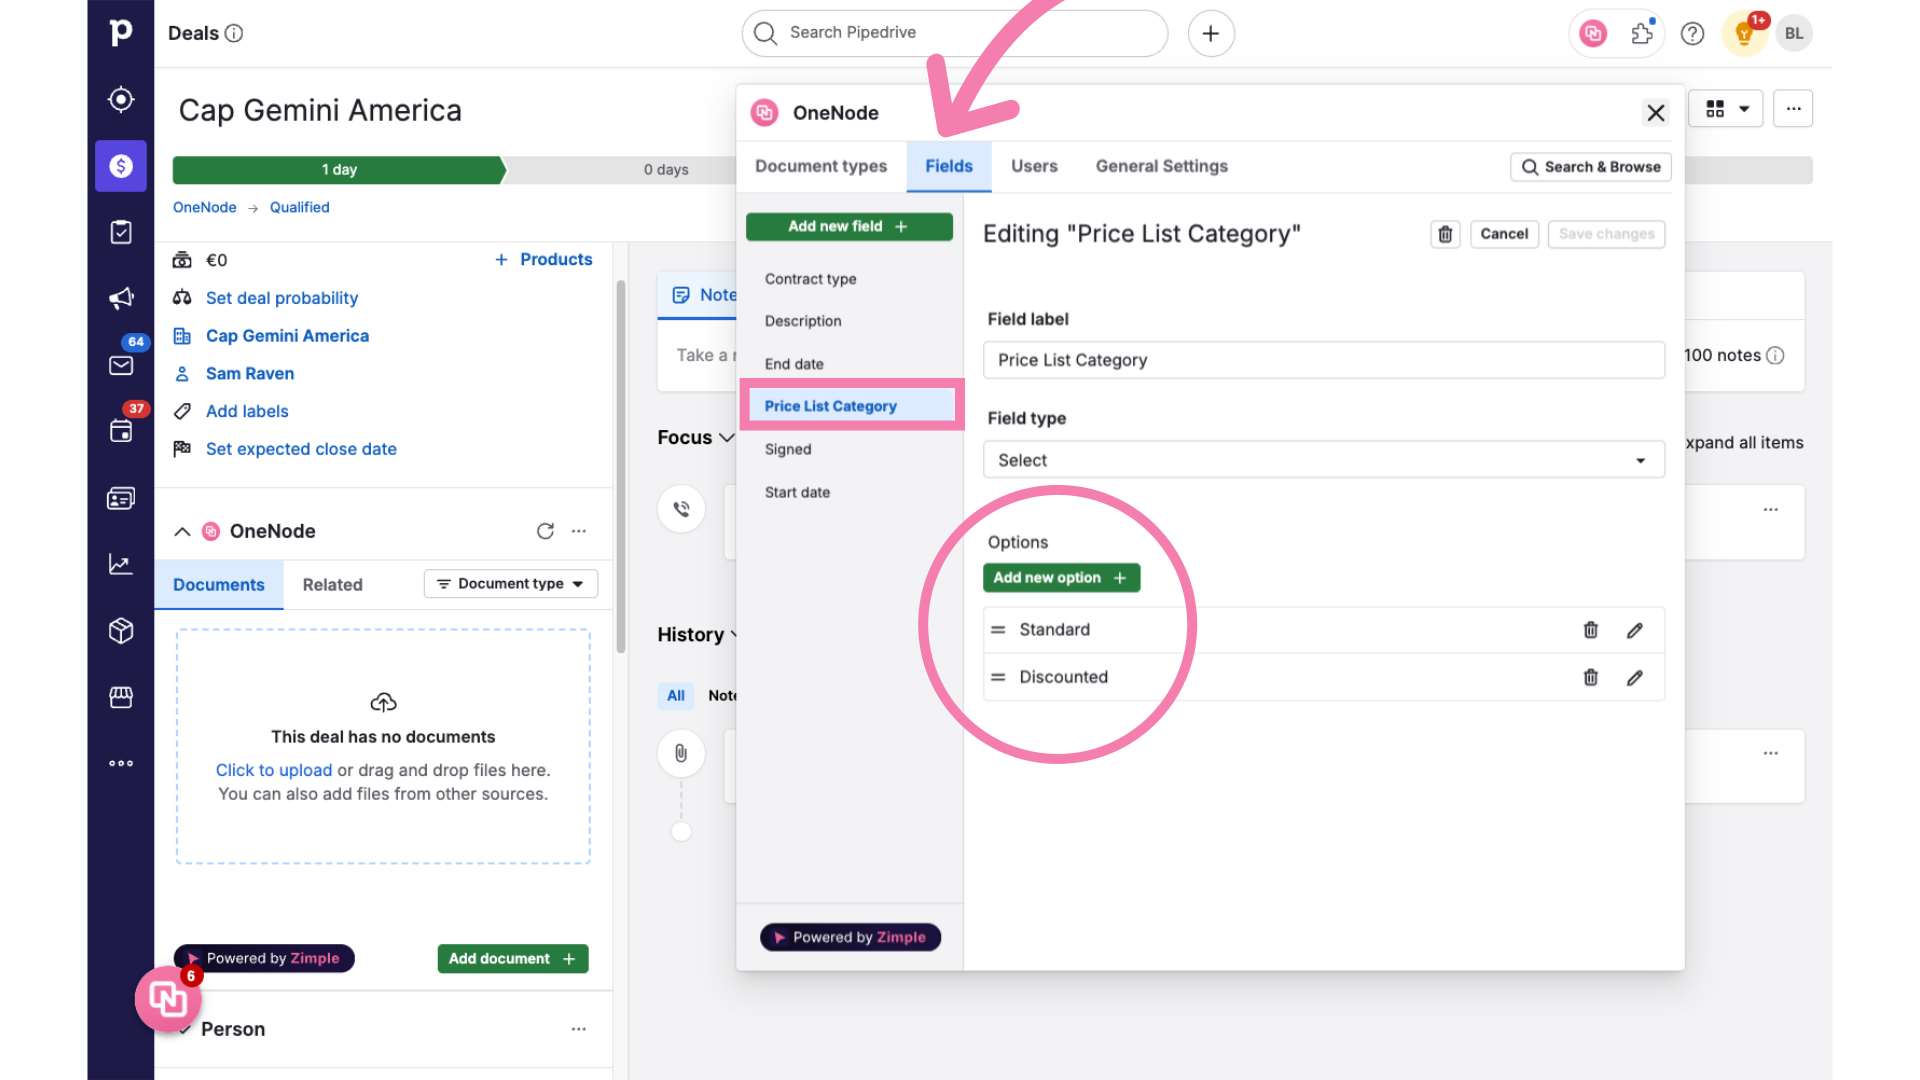
3. Click "Document Types"
Say your organization has different price lists, for example: standard or discounted; for partners and direct customers; or, in different currencies, or in different languages. So Price Lists are classified by category.

4. Click on "Fields"
So your Pipedrive admin has created a Document field Type called: "Price List Category" to distinguish Standard and Discounted Price List Documents
5. Close One Node Panel and switch to the Deal View
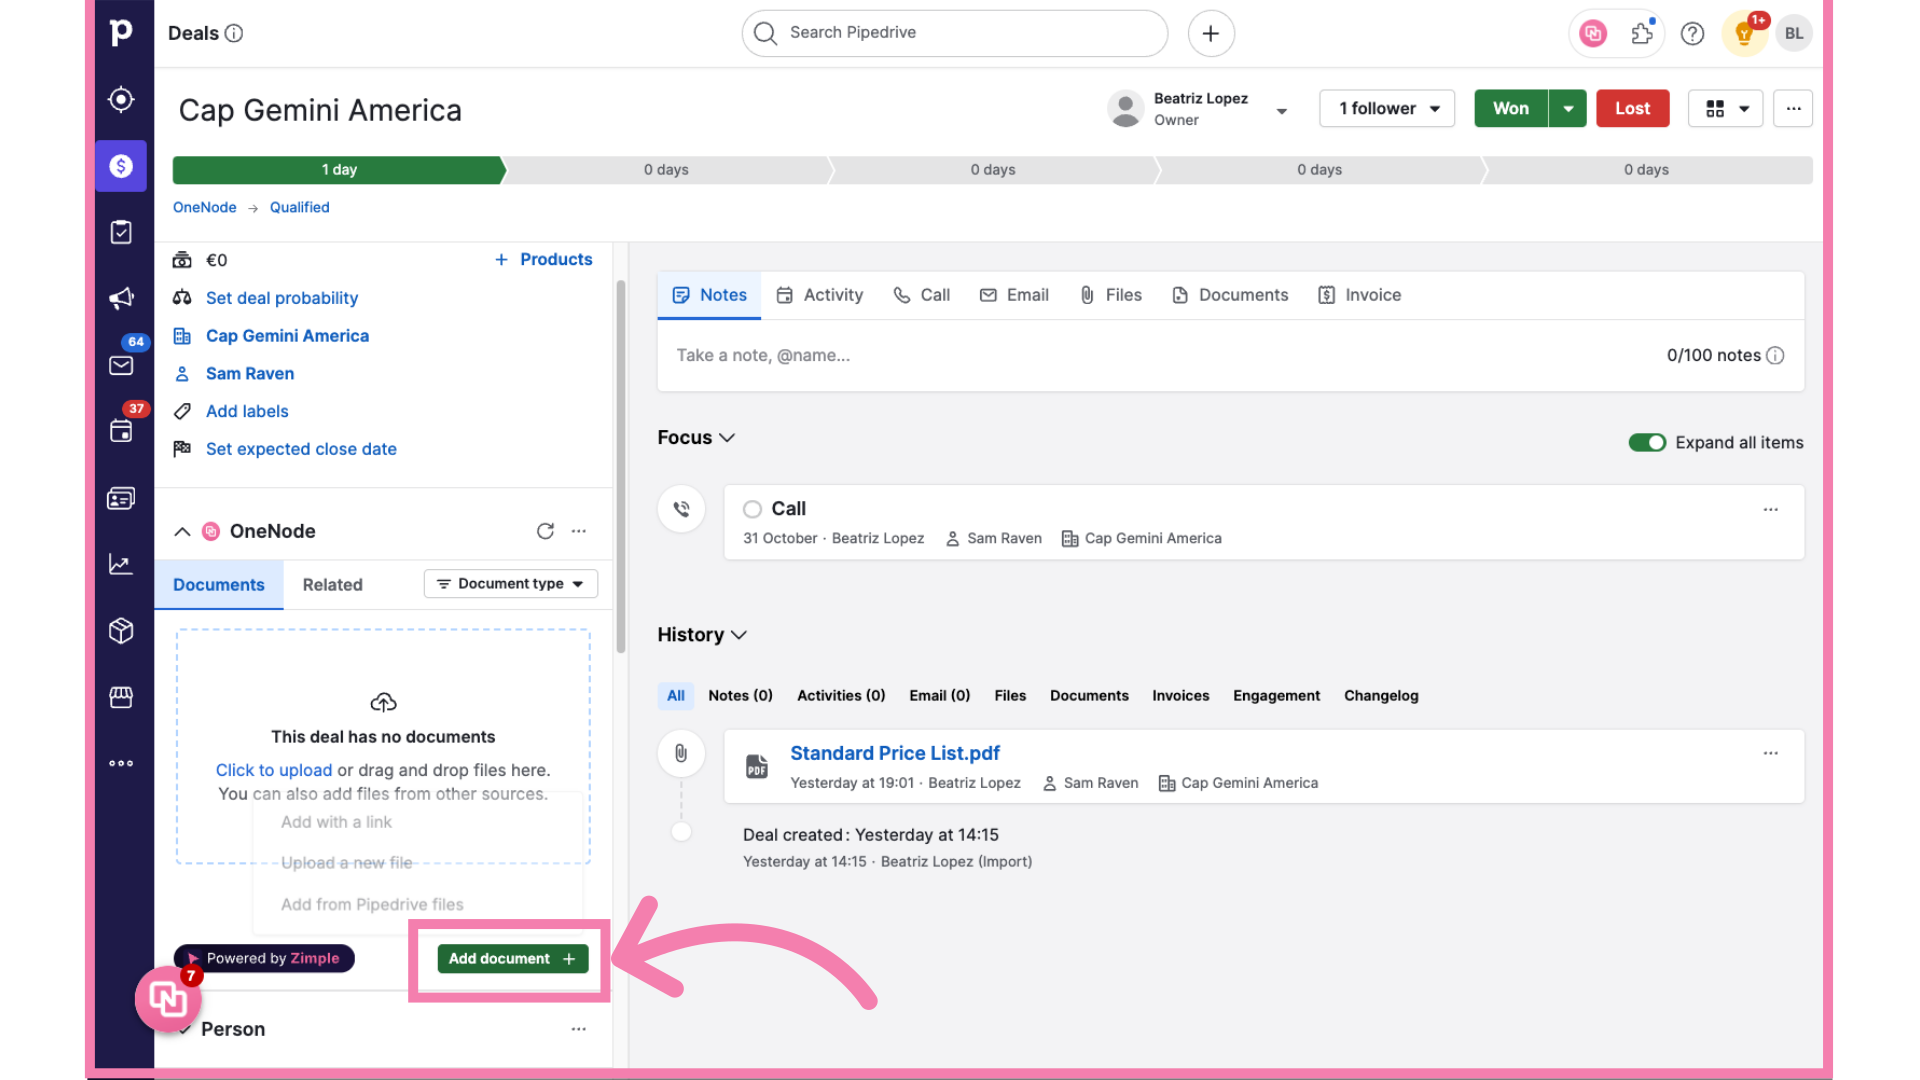
6. Click "Add document"
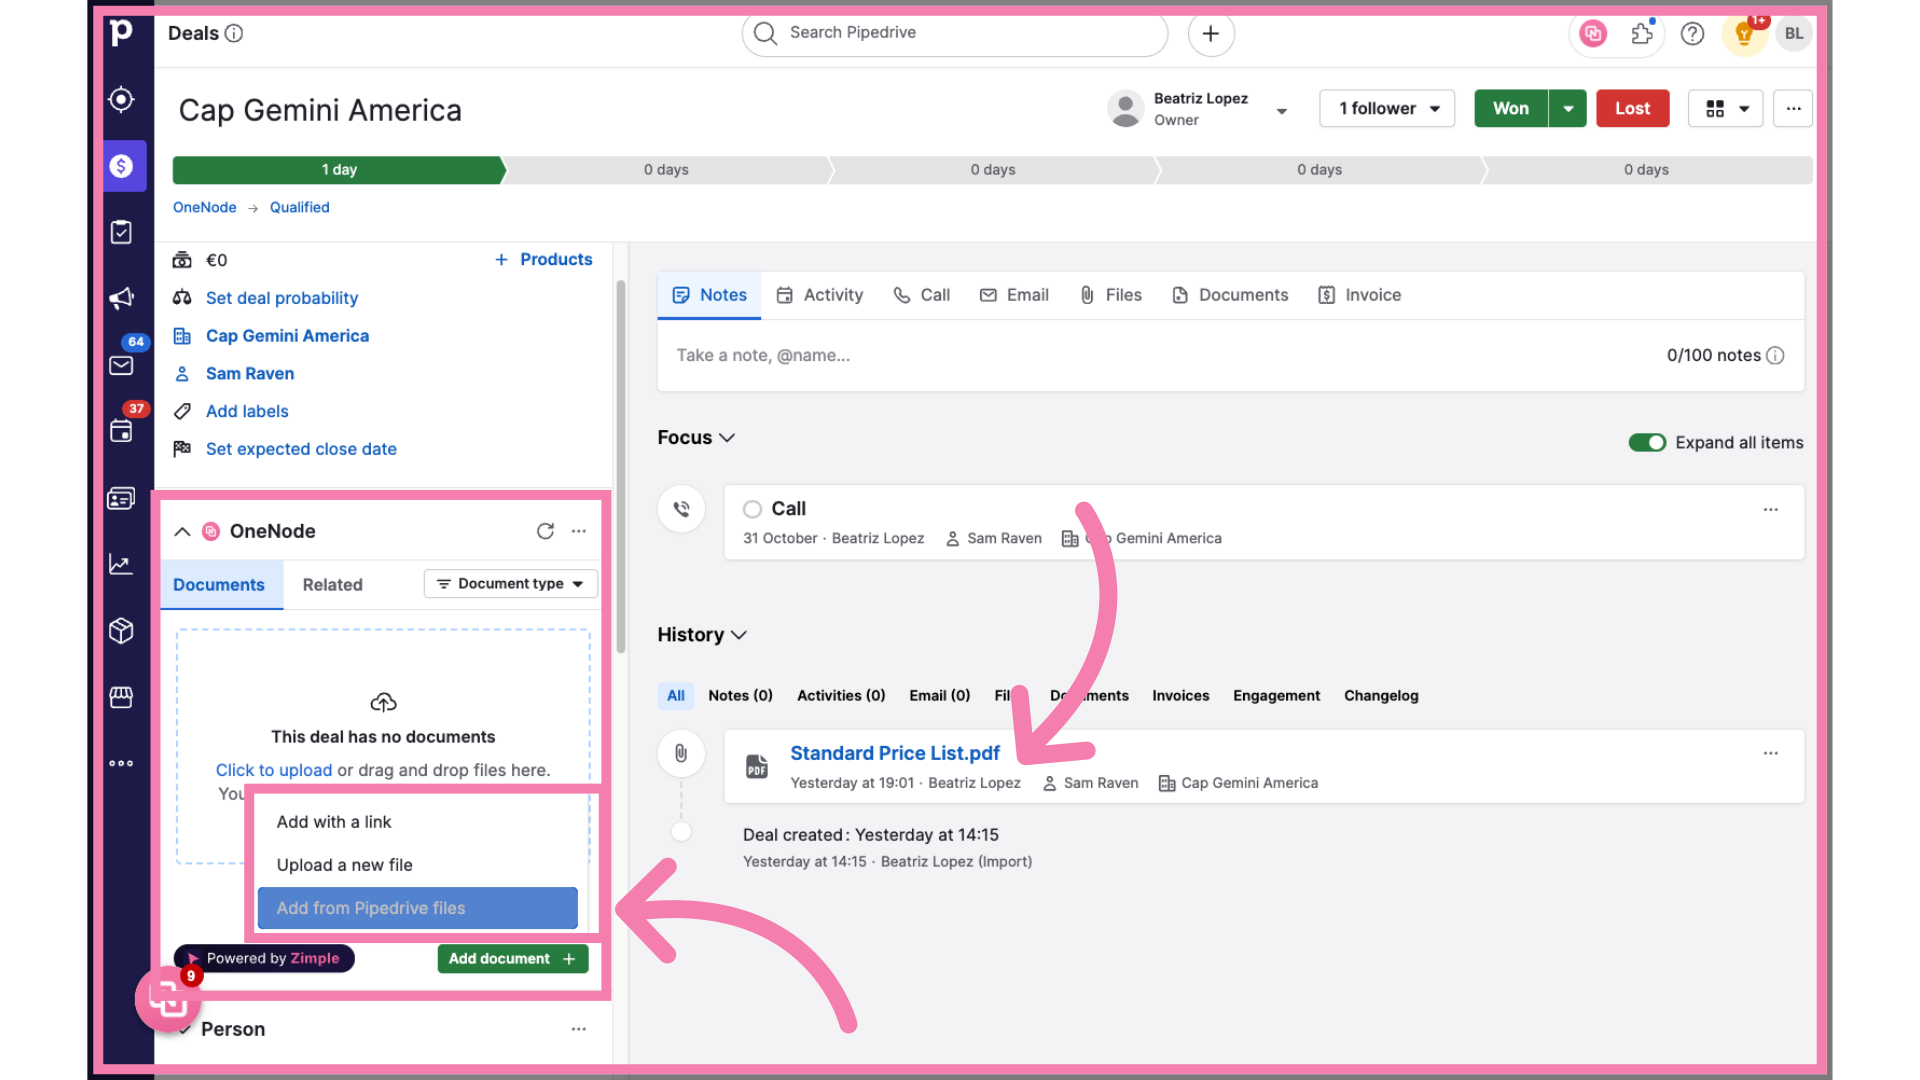
7. Click "Add from Pipedrive files"
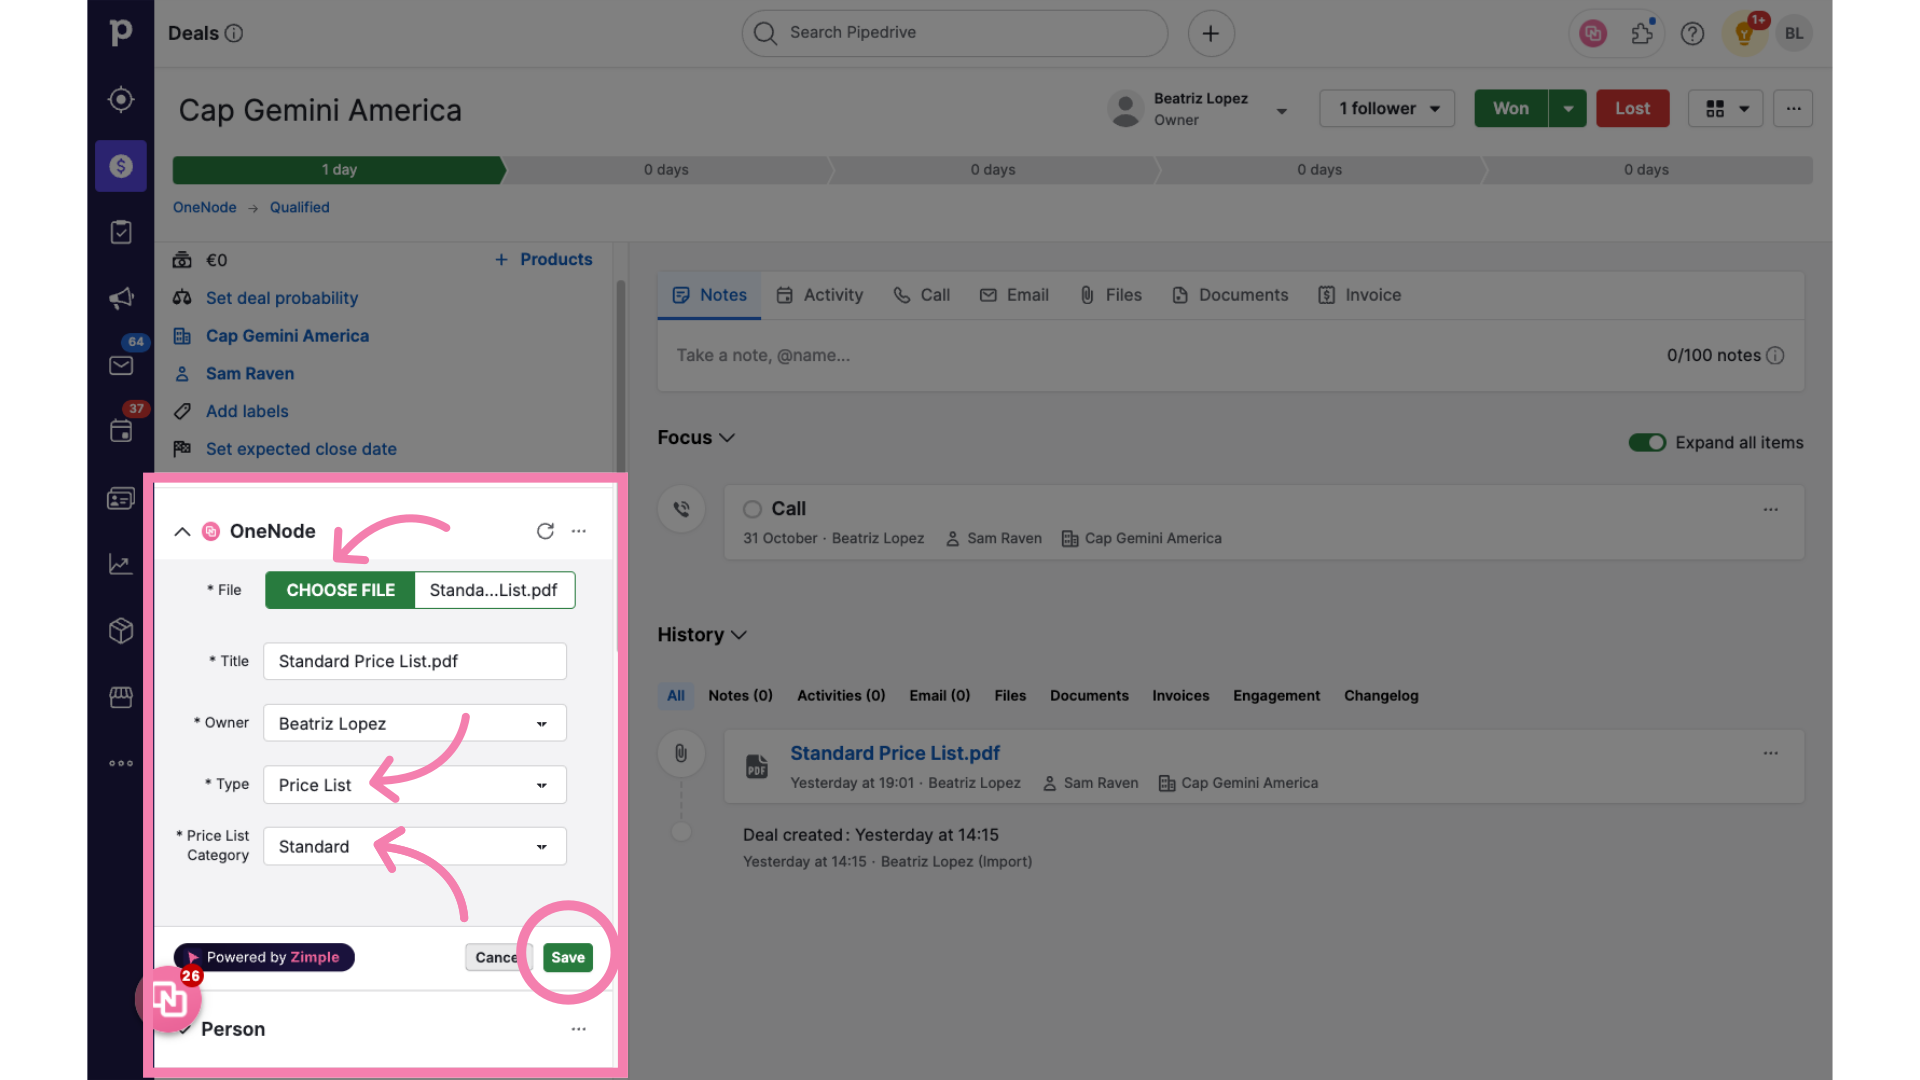
8. Go over the empty fields
And easily complete the details
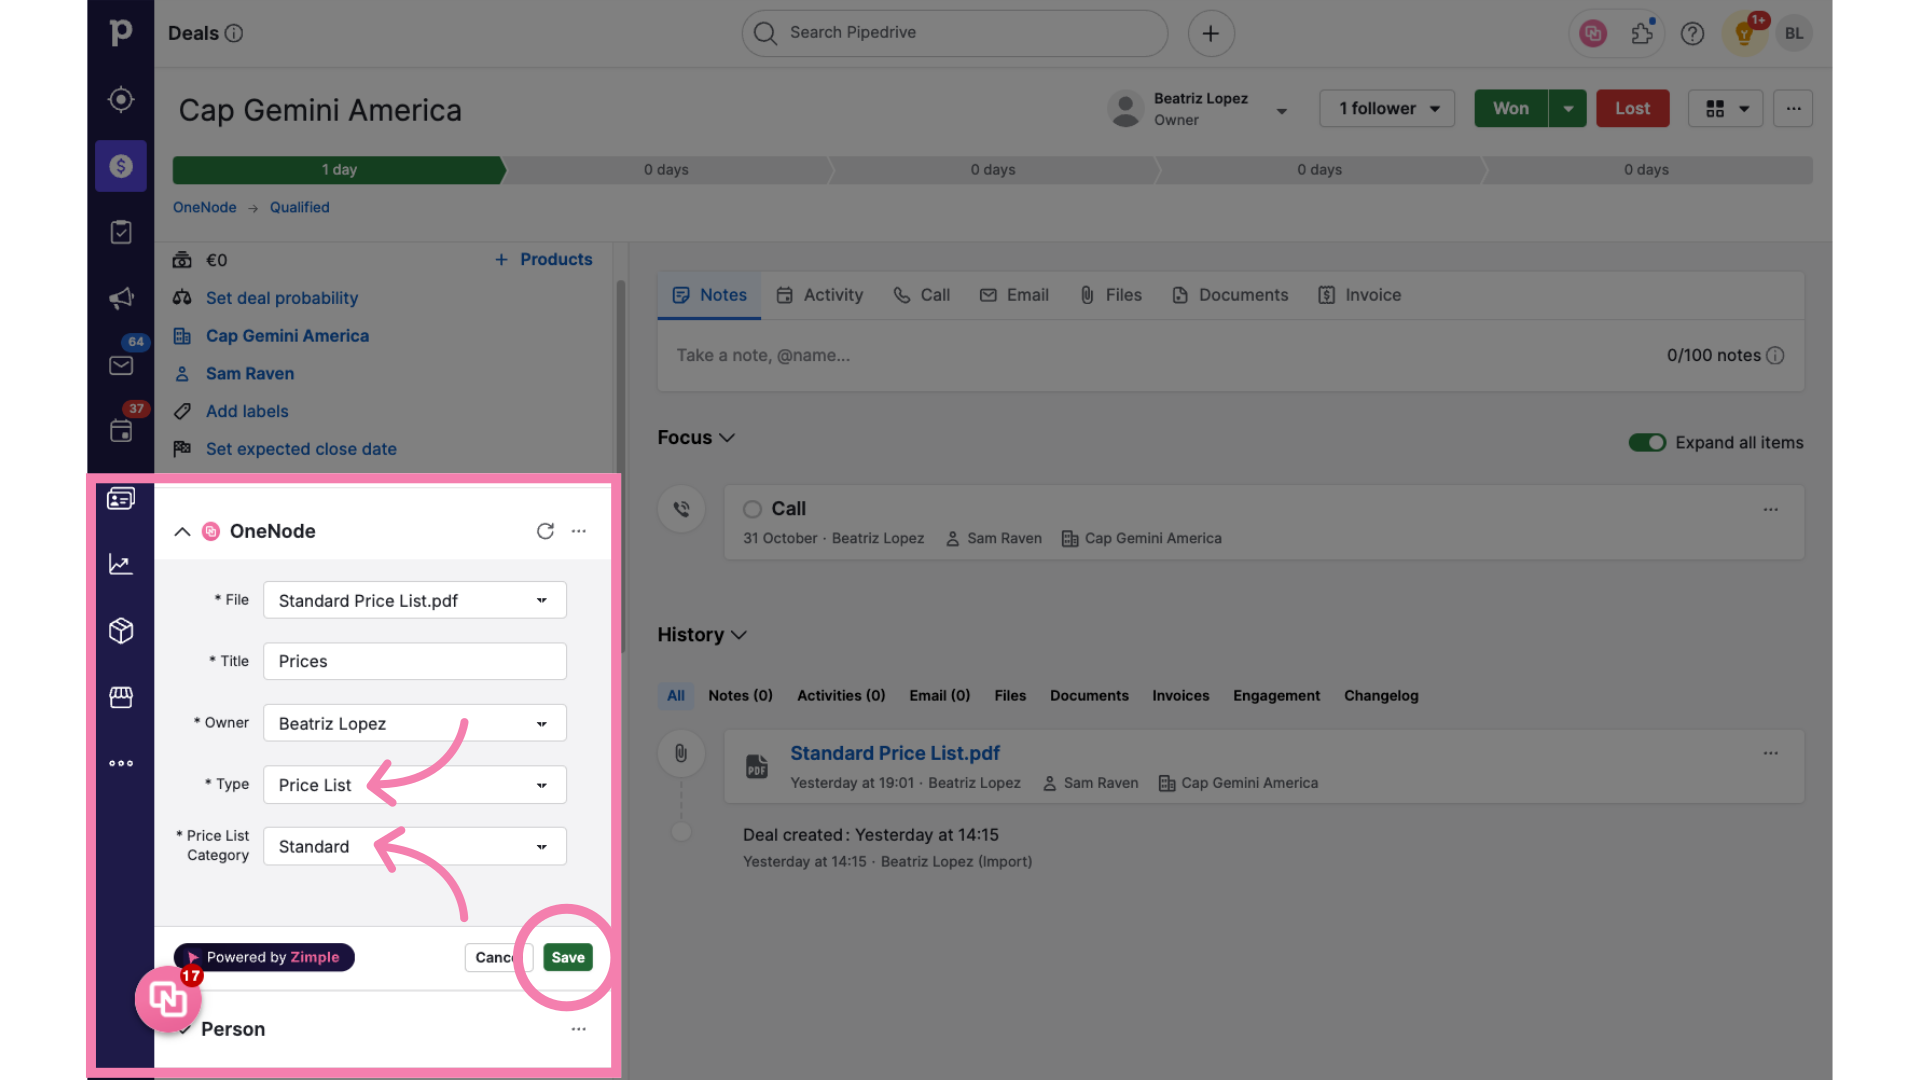
9. Voila!
There you go! The document has been added!

10. Option 2.
Another way to add files is by Uploading them directly

11. Complete the fields
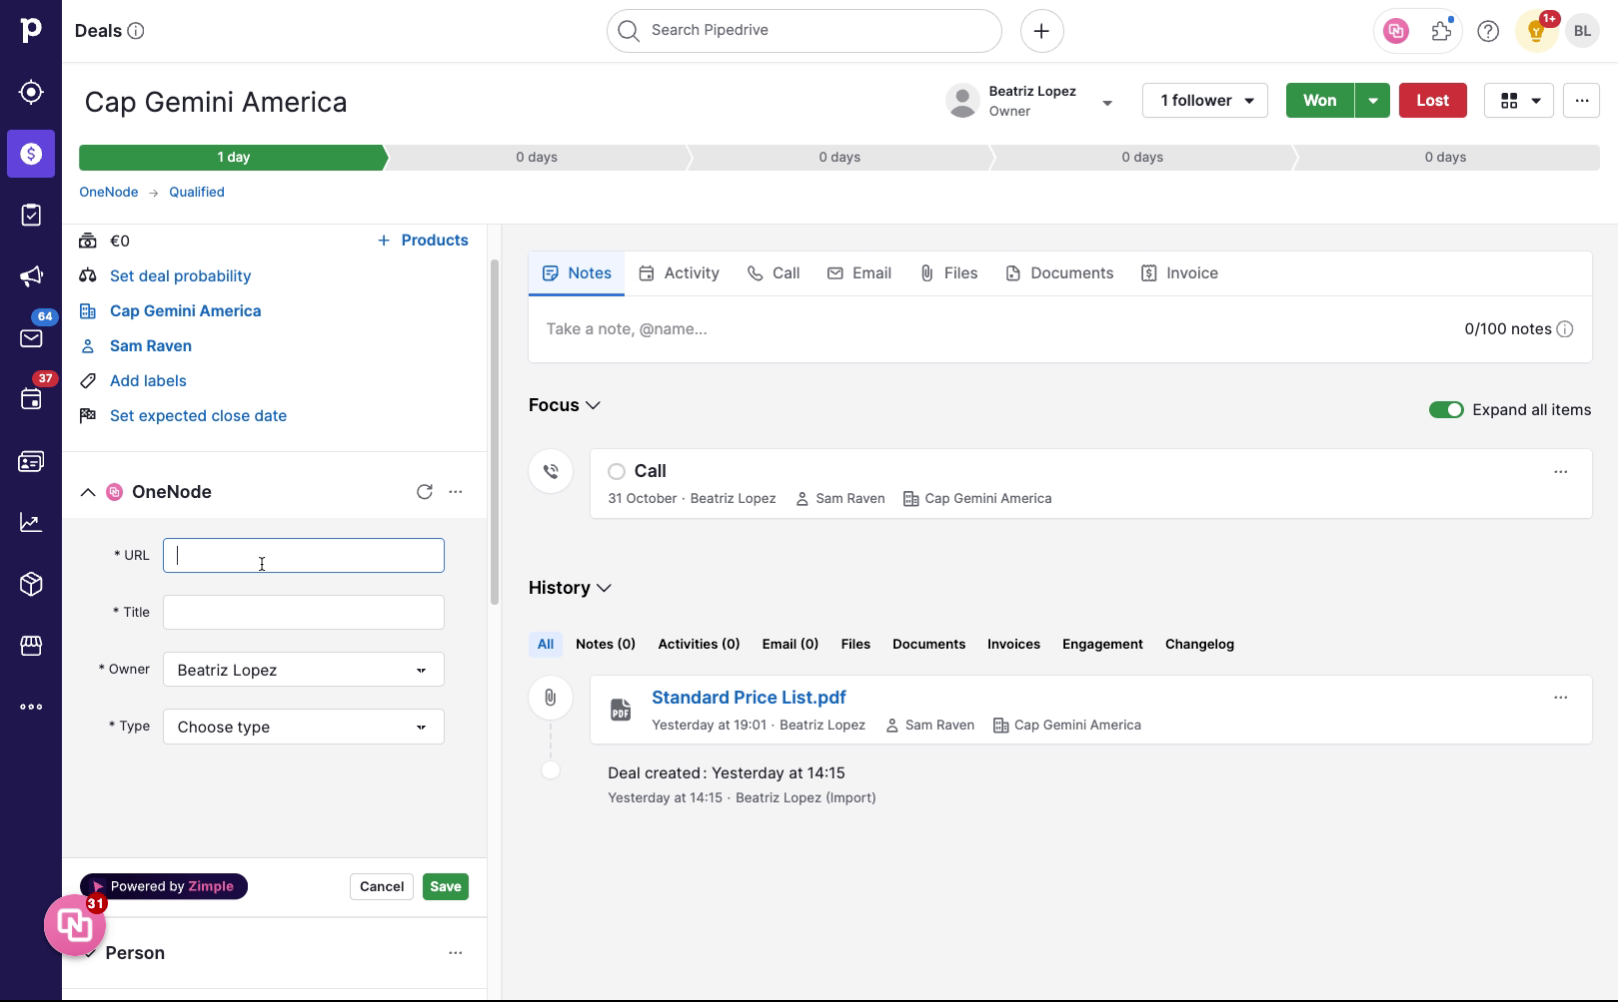
12. Option 3.
But there's more! The easiest way to add a document from your Cloud storage or any other SaaS is by adding a URL.

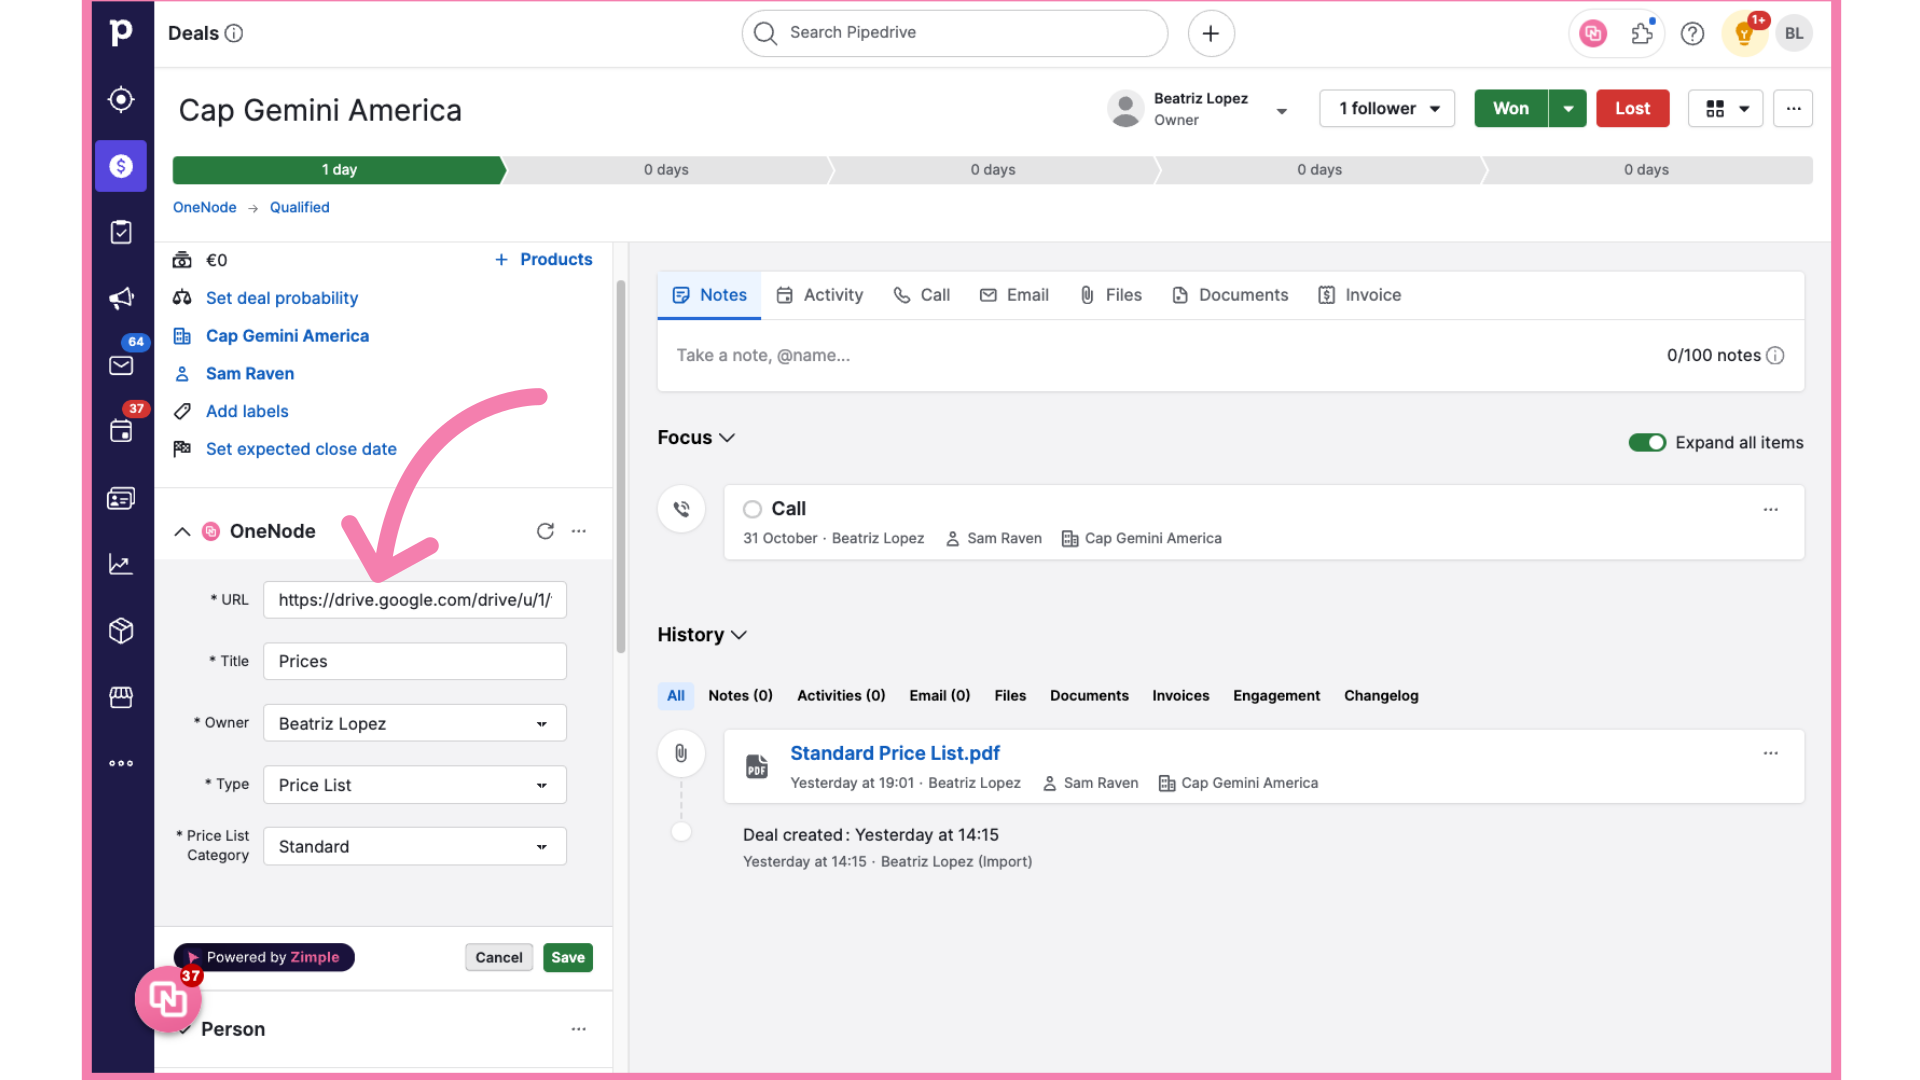
13. Copy and Paste the URL
Simply copy and paste the URL
14. Complete the details
and fill in the rest of the details
15. The document has been added!
Here we go! you've now added a document that you and other users can access easily

16. Open One Node Panel
From now one, use OneNode's Browse and Search tool to find this document anytime.