
Create user groups
Create User Groups
This guide will walk you through the process of creating user groups in OneNode
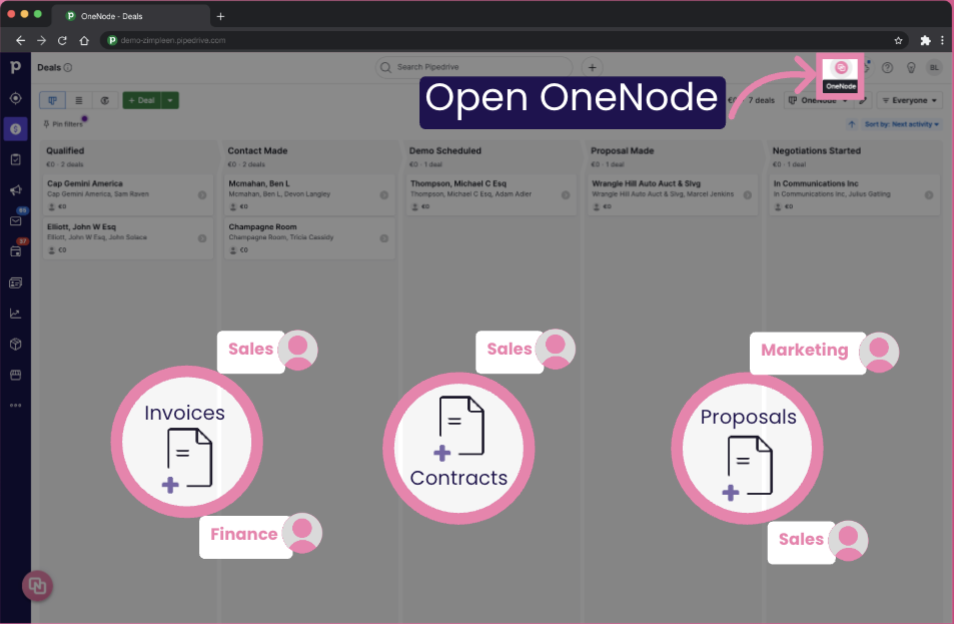
1. Open OneNode
Maybe your organization requires that certain types of documents are viewed only by specific user teams
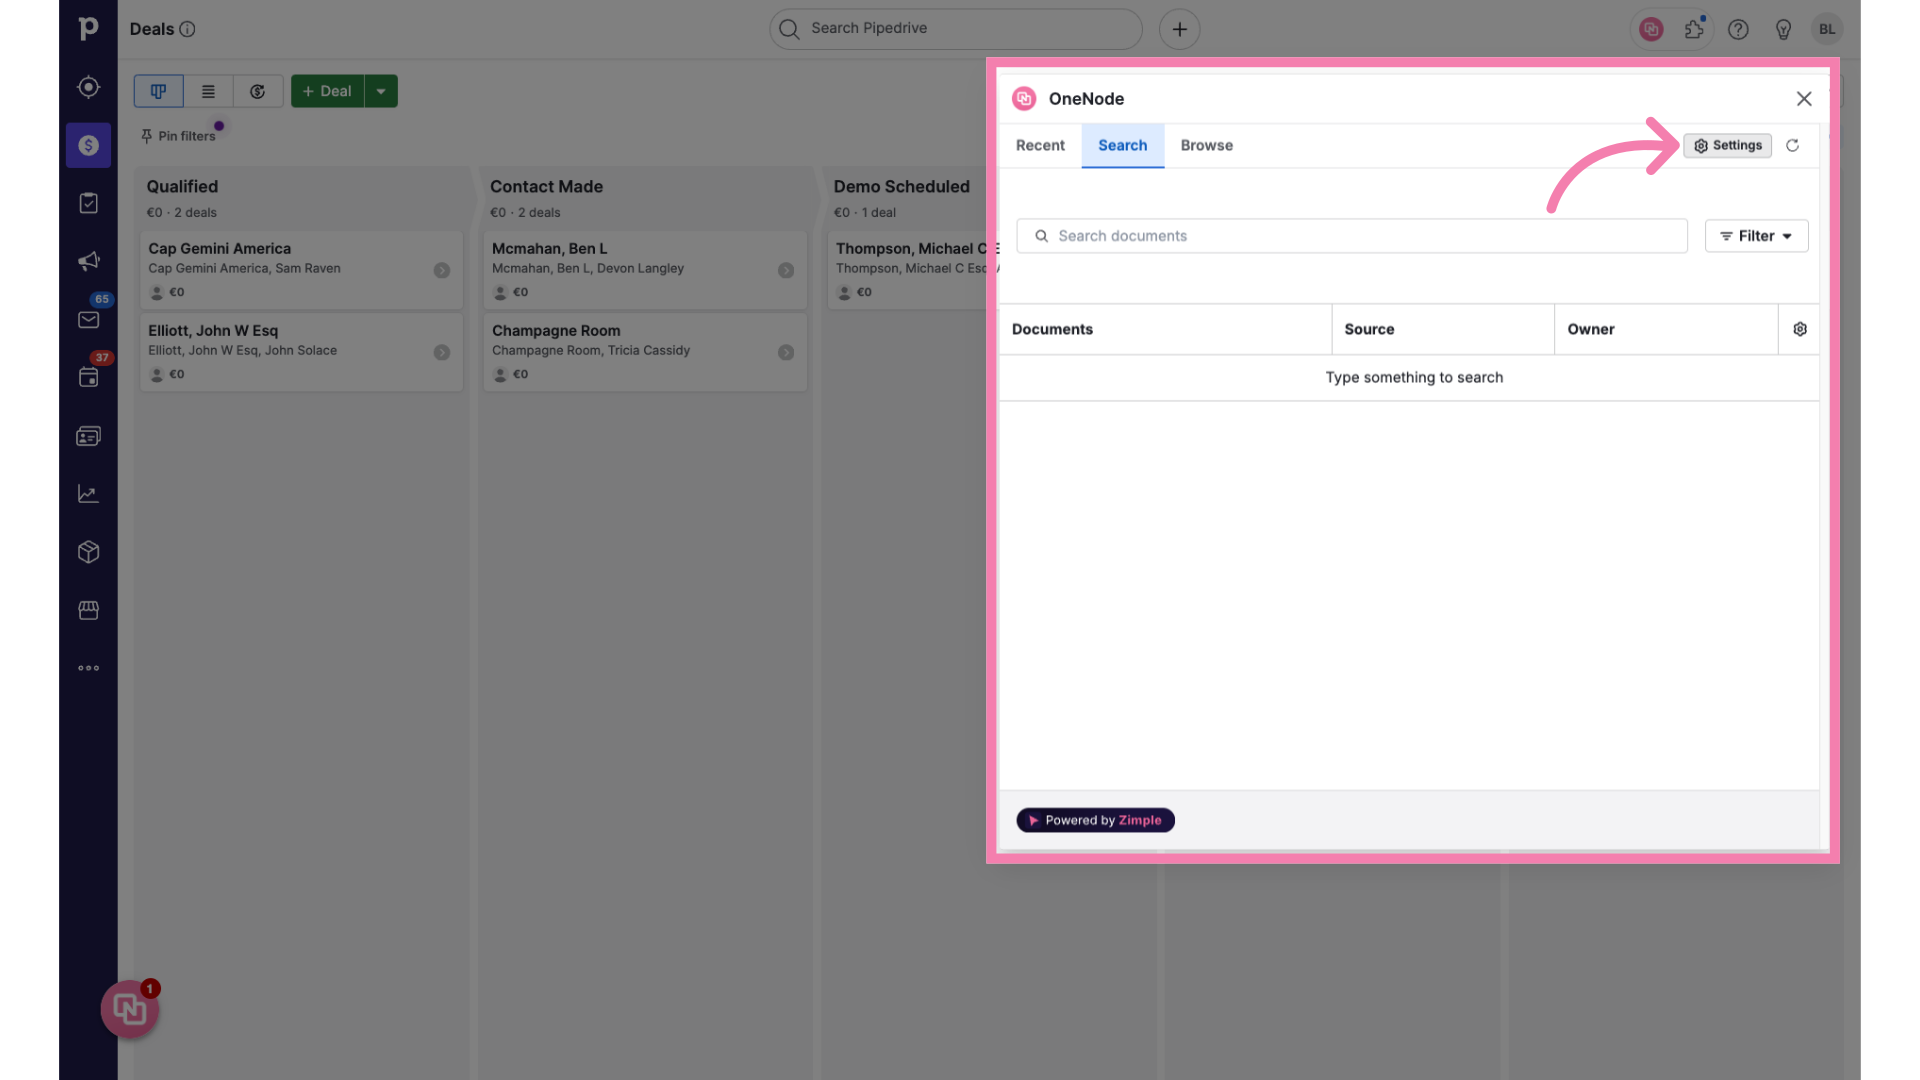
2. Click on "Settings"
Start by opening OneNode and then click on Settings
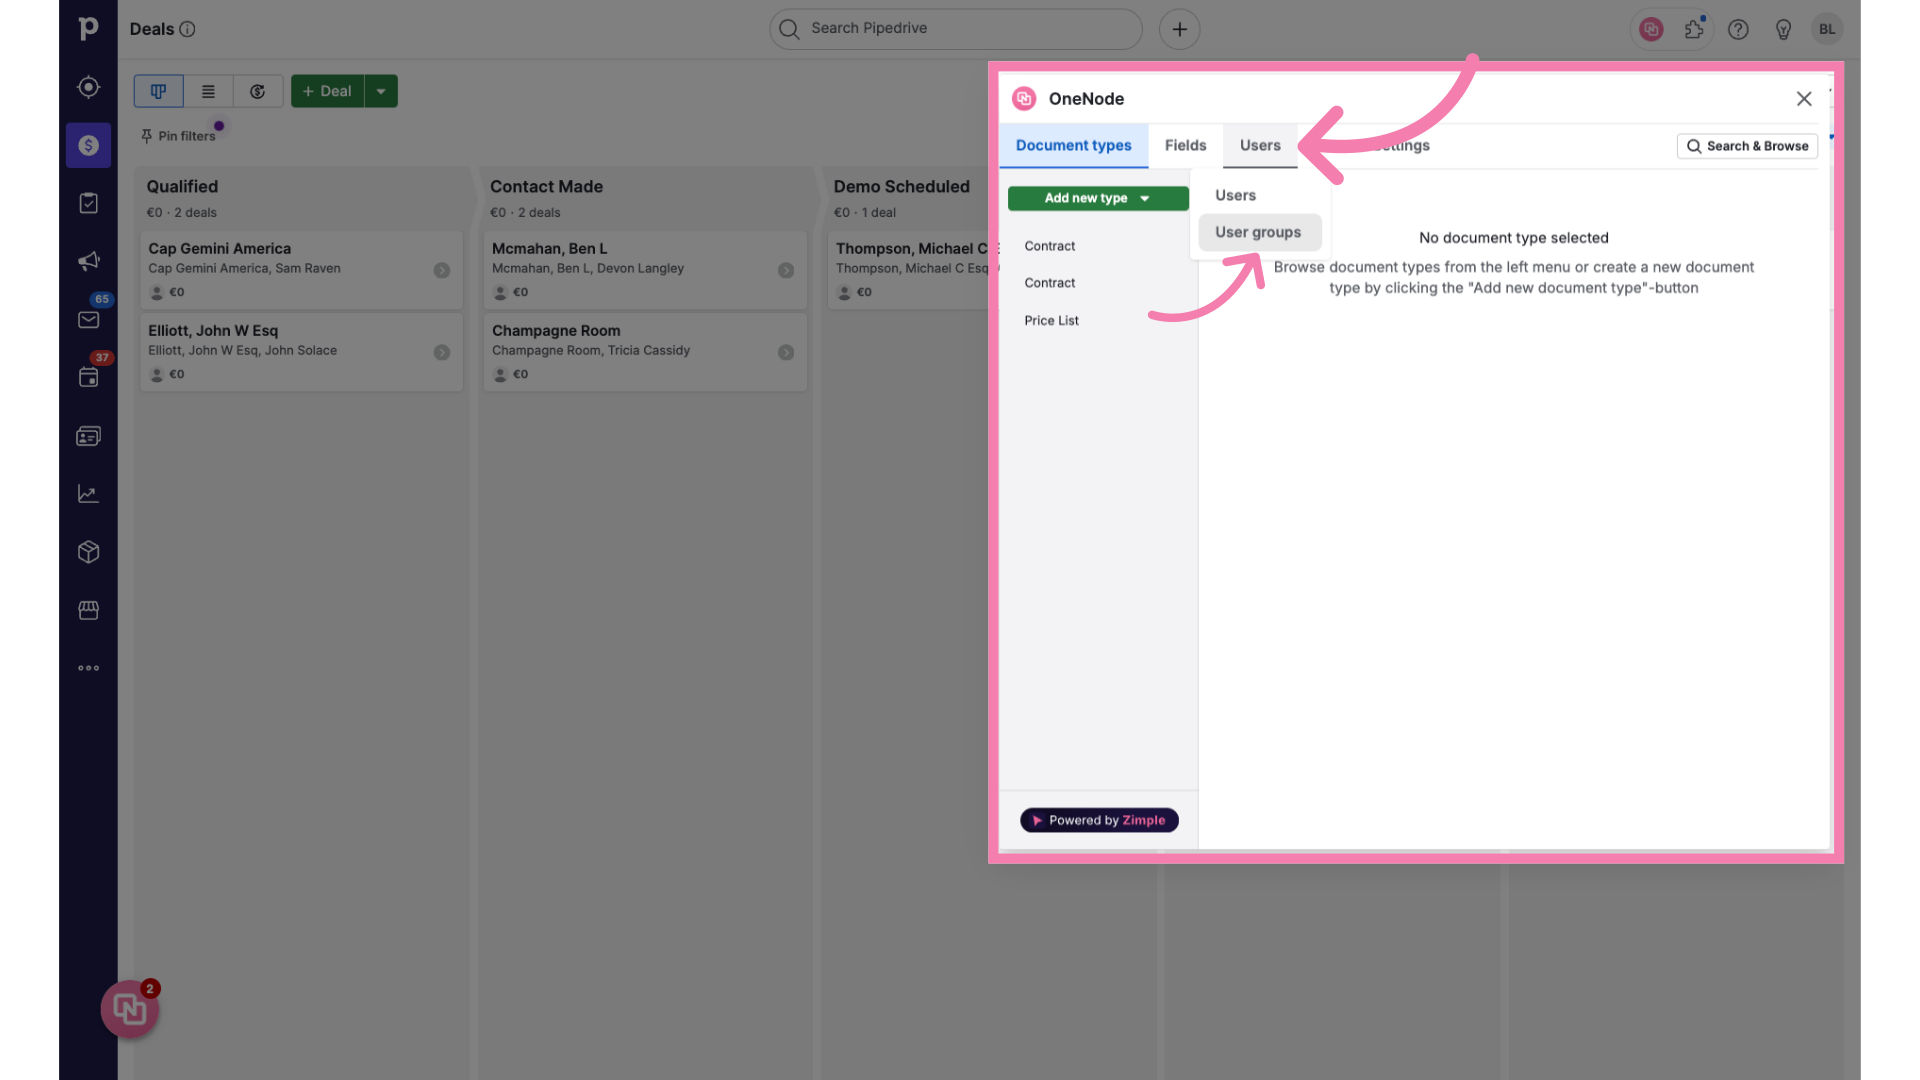
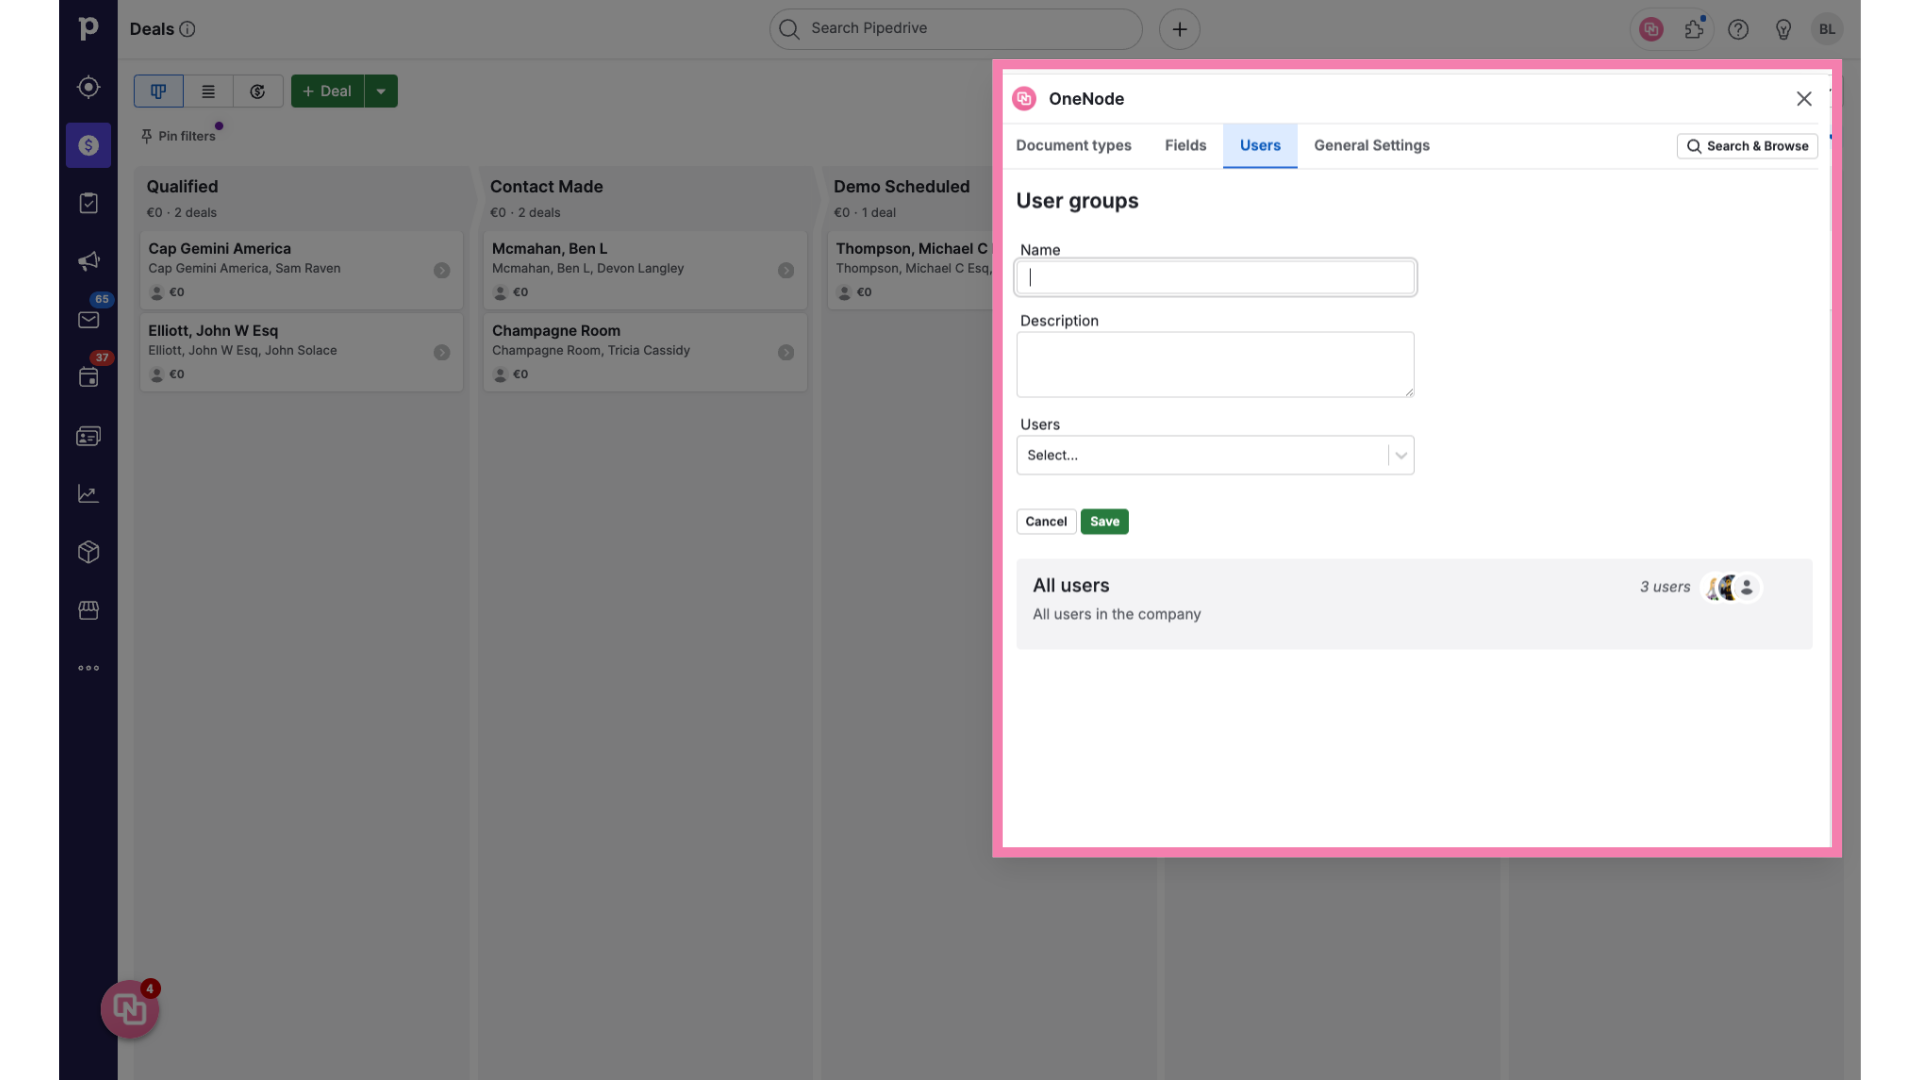
3. Click "User groups"
Select the "Users" tab and Click on the "User groups" option from the dropdown.
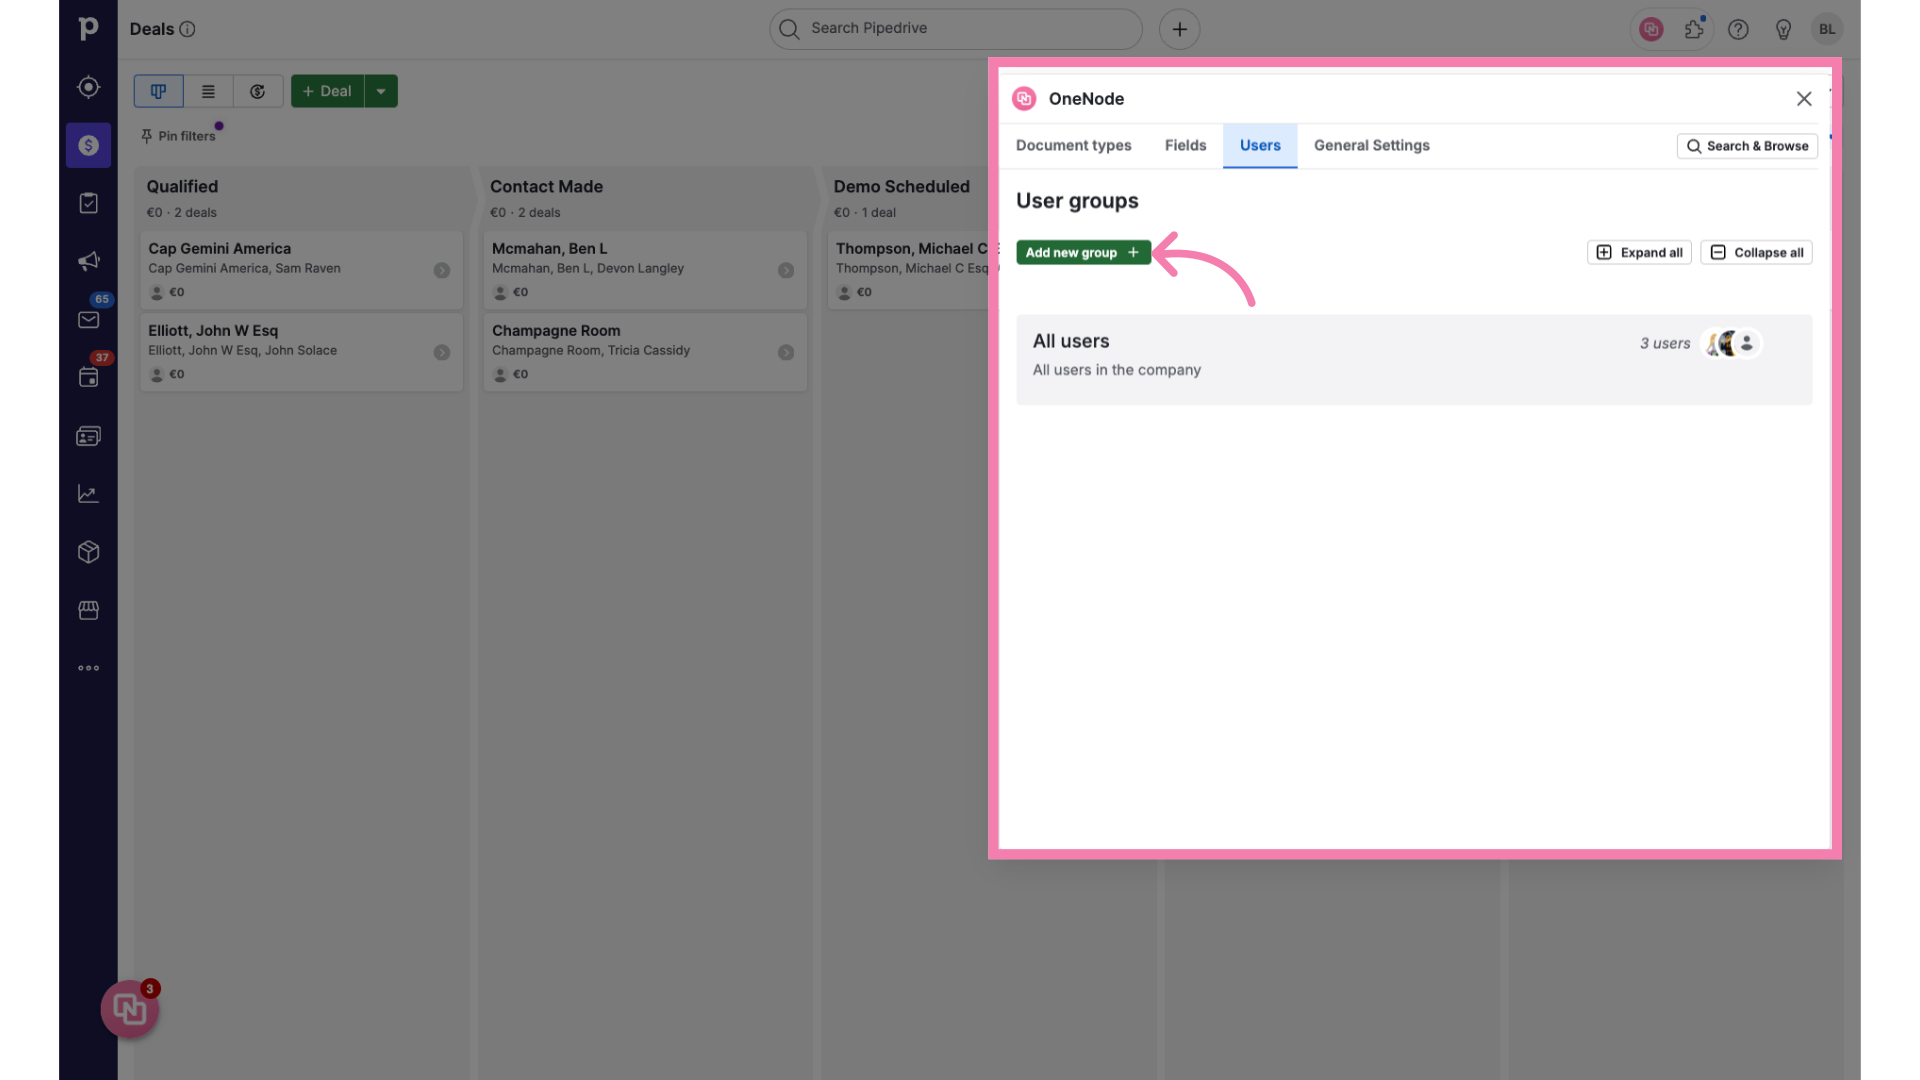
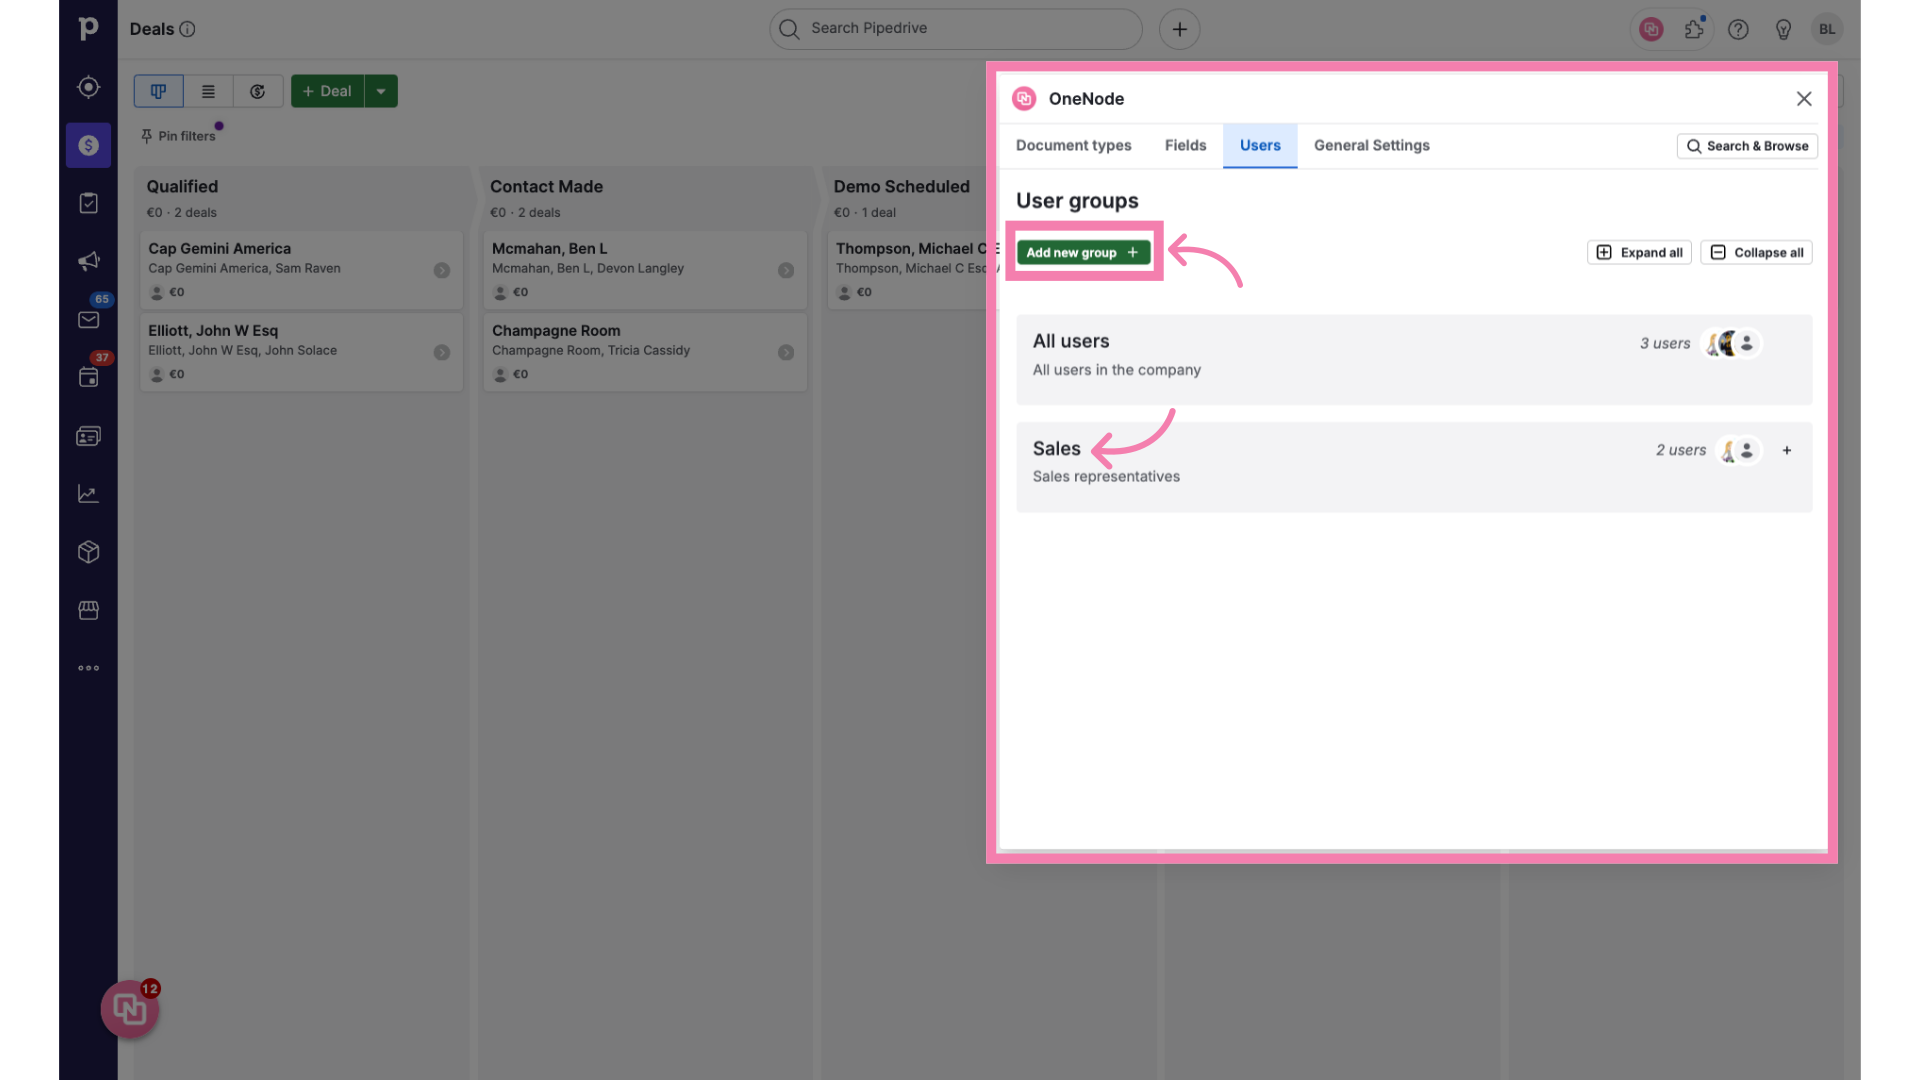
4. Click "Add new group"
Click on the "Add new group" button.
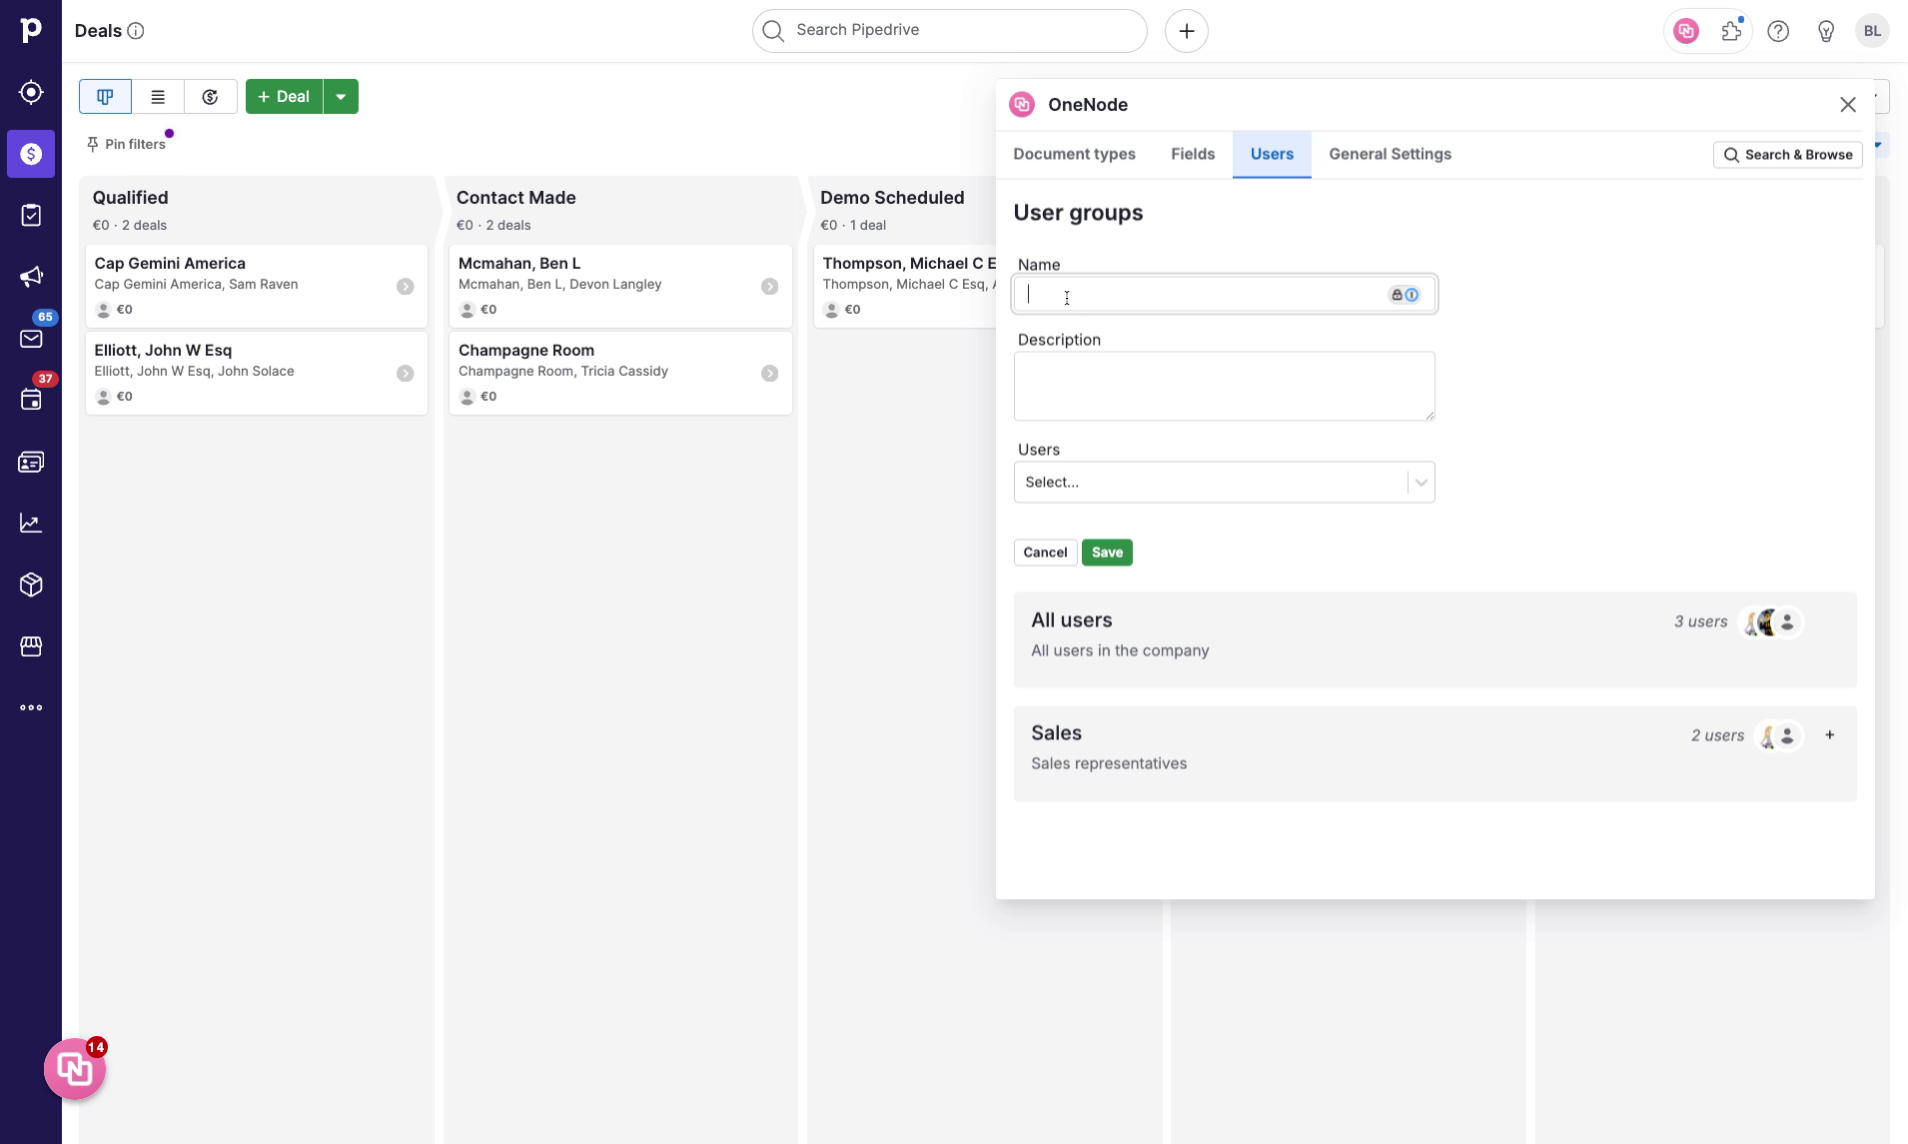
5. Define the user group
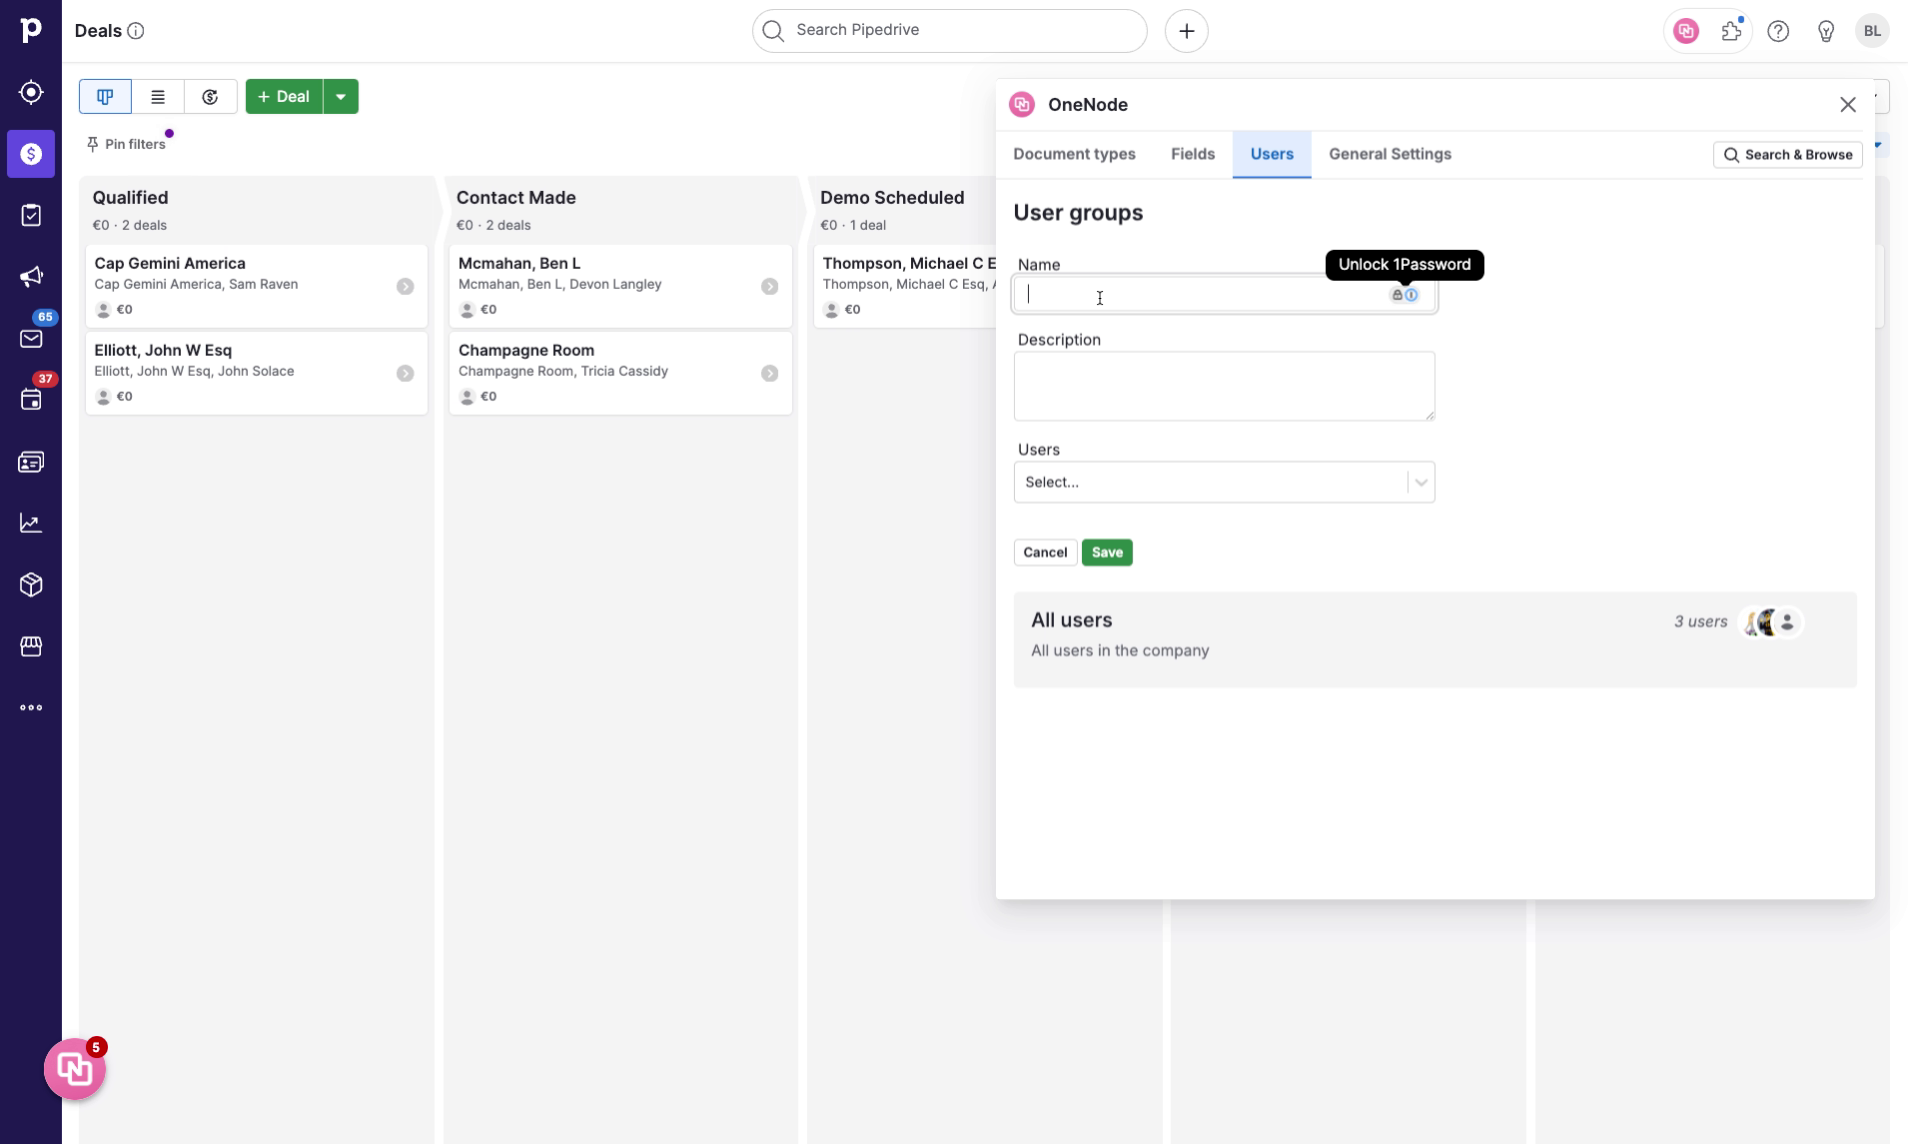
Then, fill in the Name of this user group
6. Type the Group name
Let's call the new User group: "Sales"
7. Click on "Users"
And select the users that you want to assign to this group from the dropdown
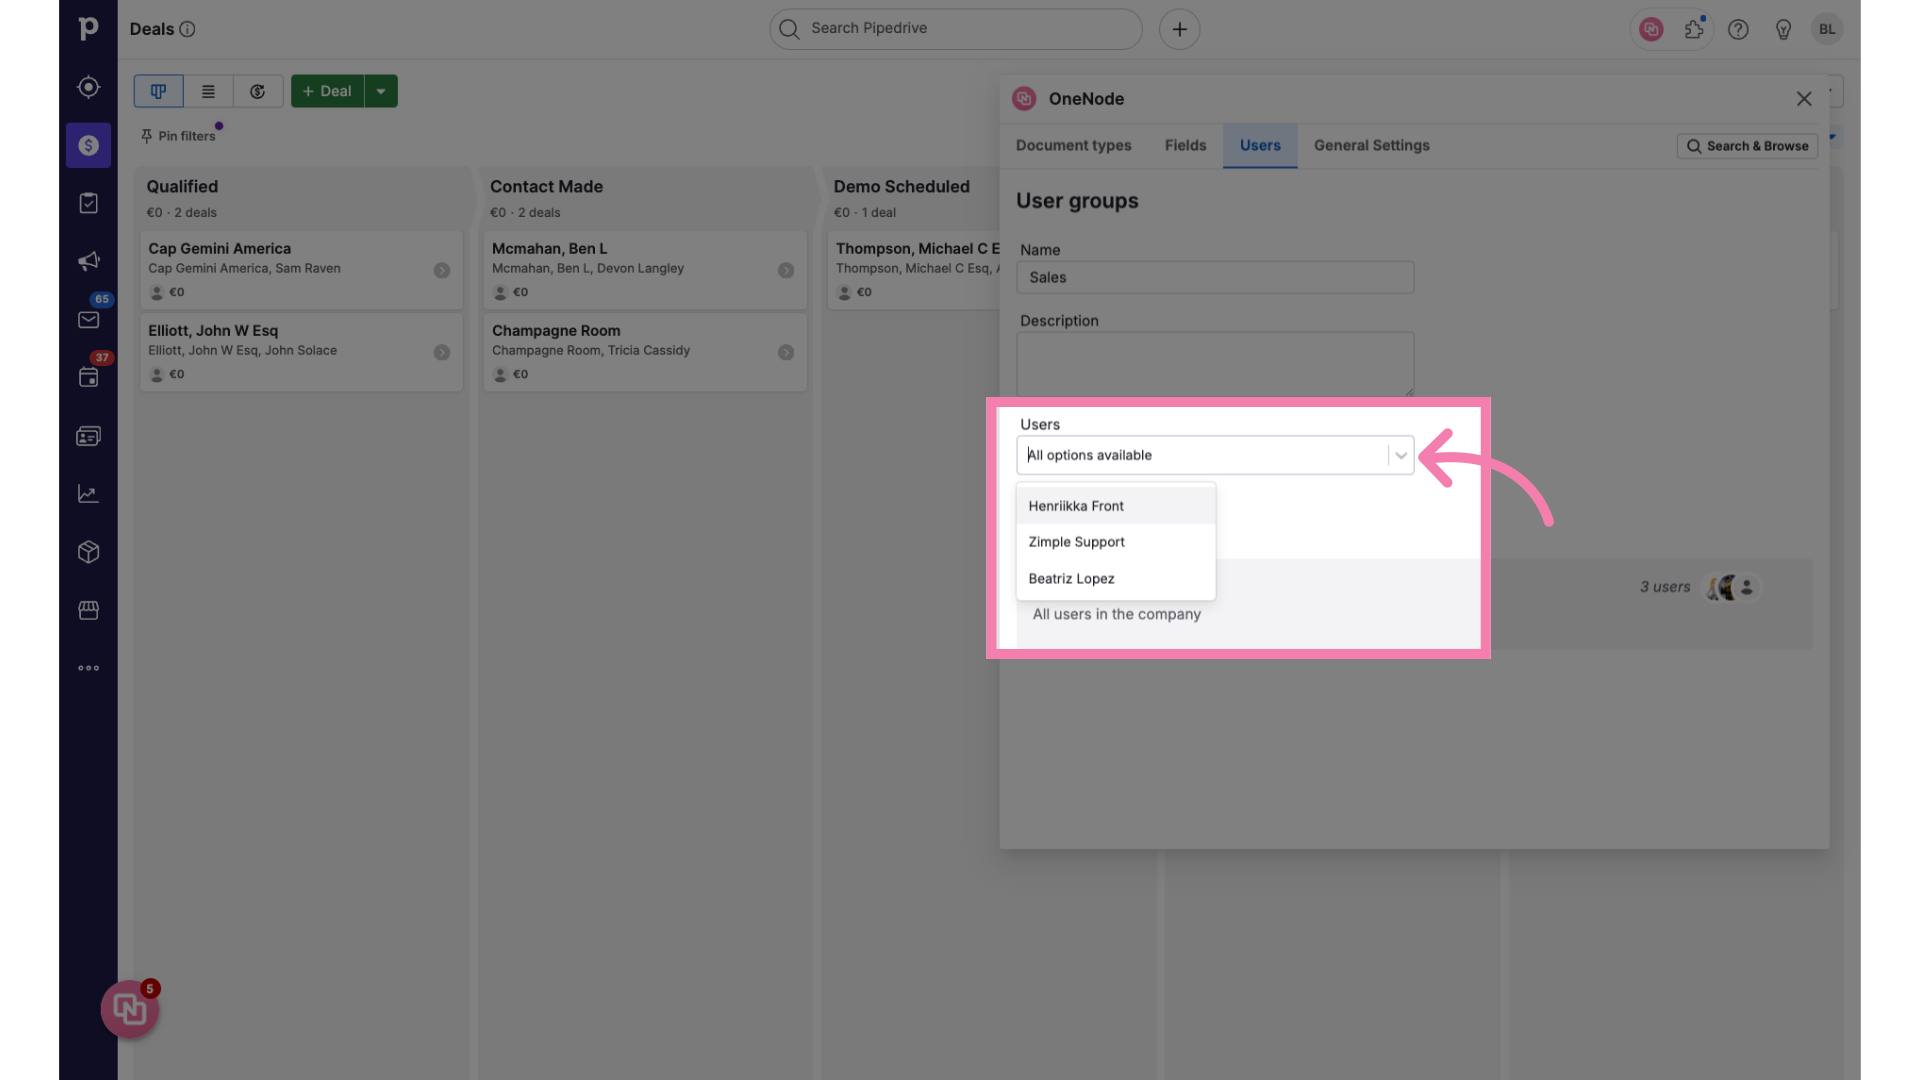
8. Click "Description"
Add as many users as you need and go back up to the Description field
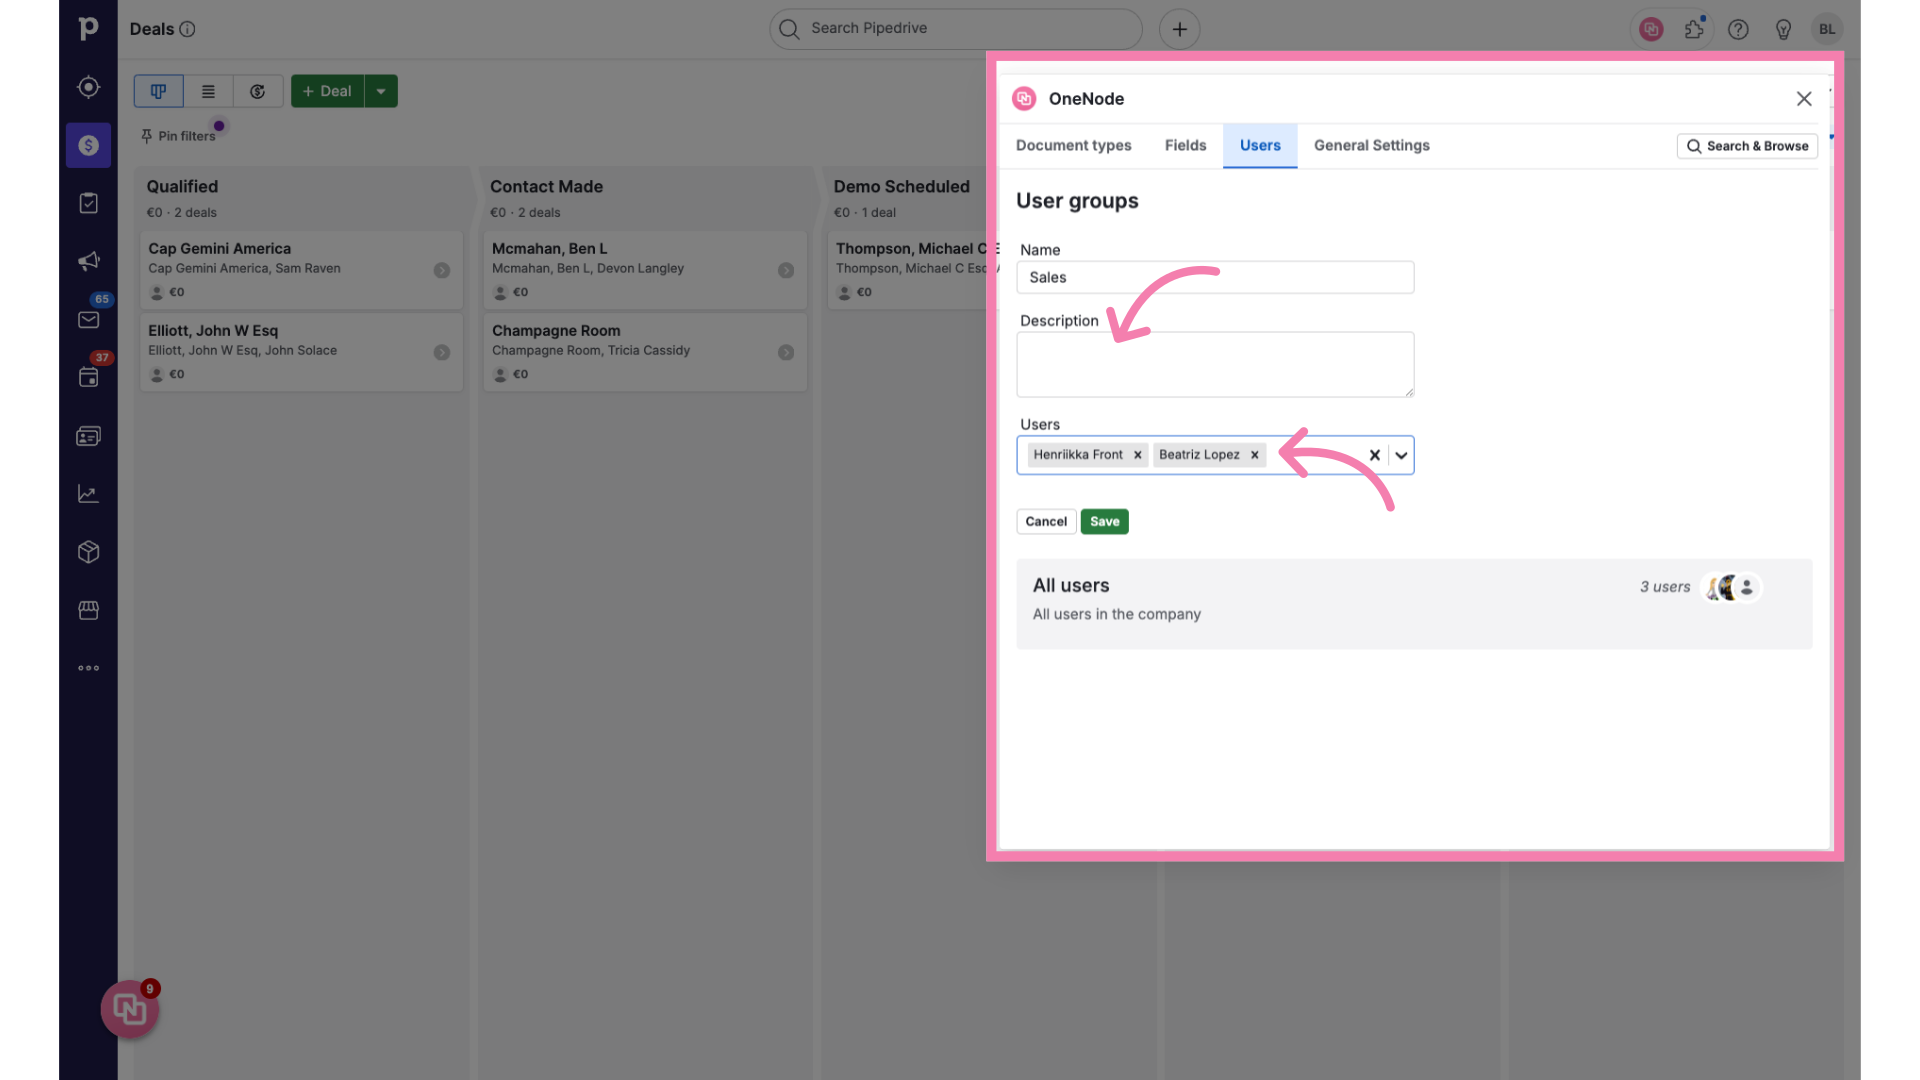
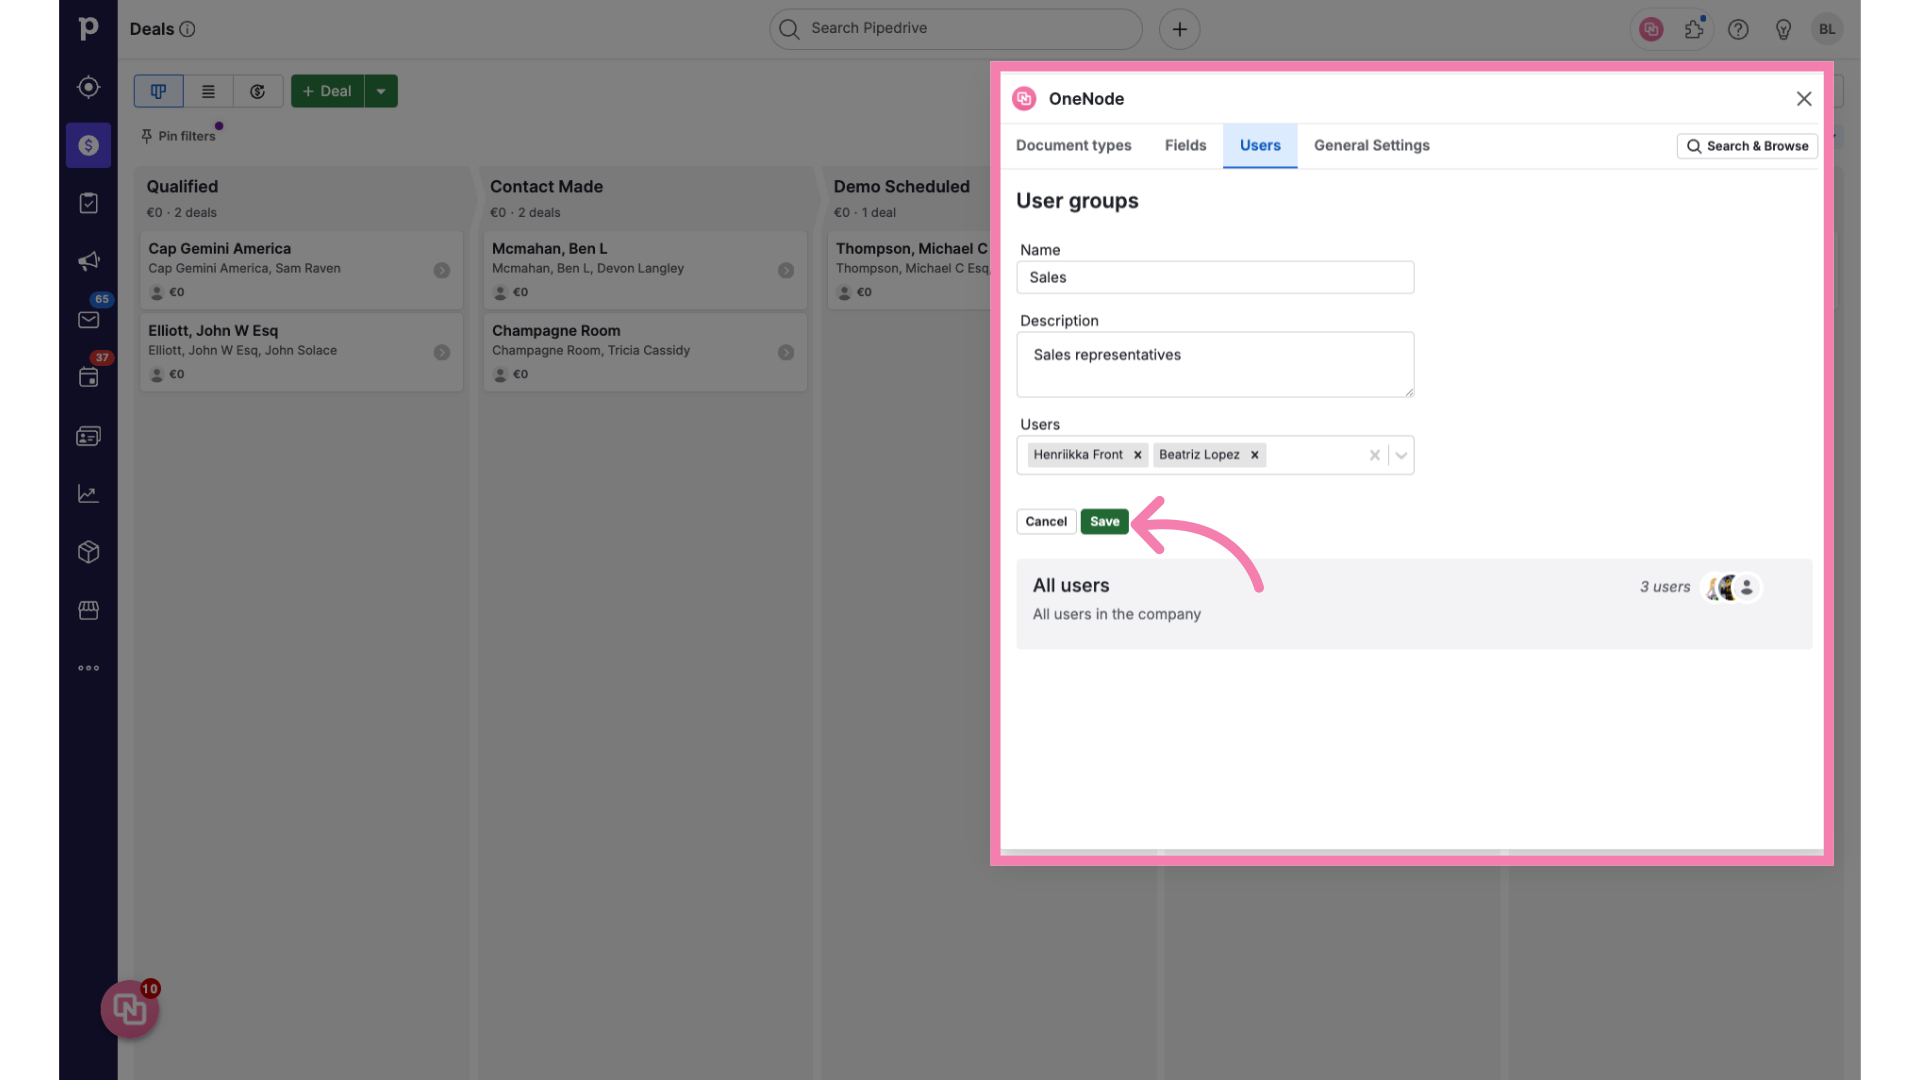
9. Enter a group description
if you'd like, type a description of the group here
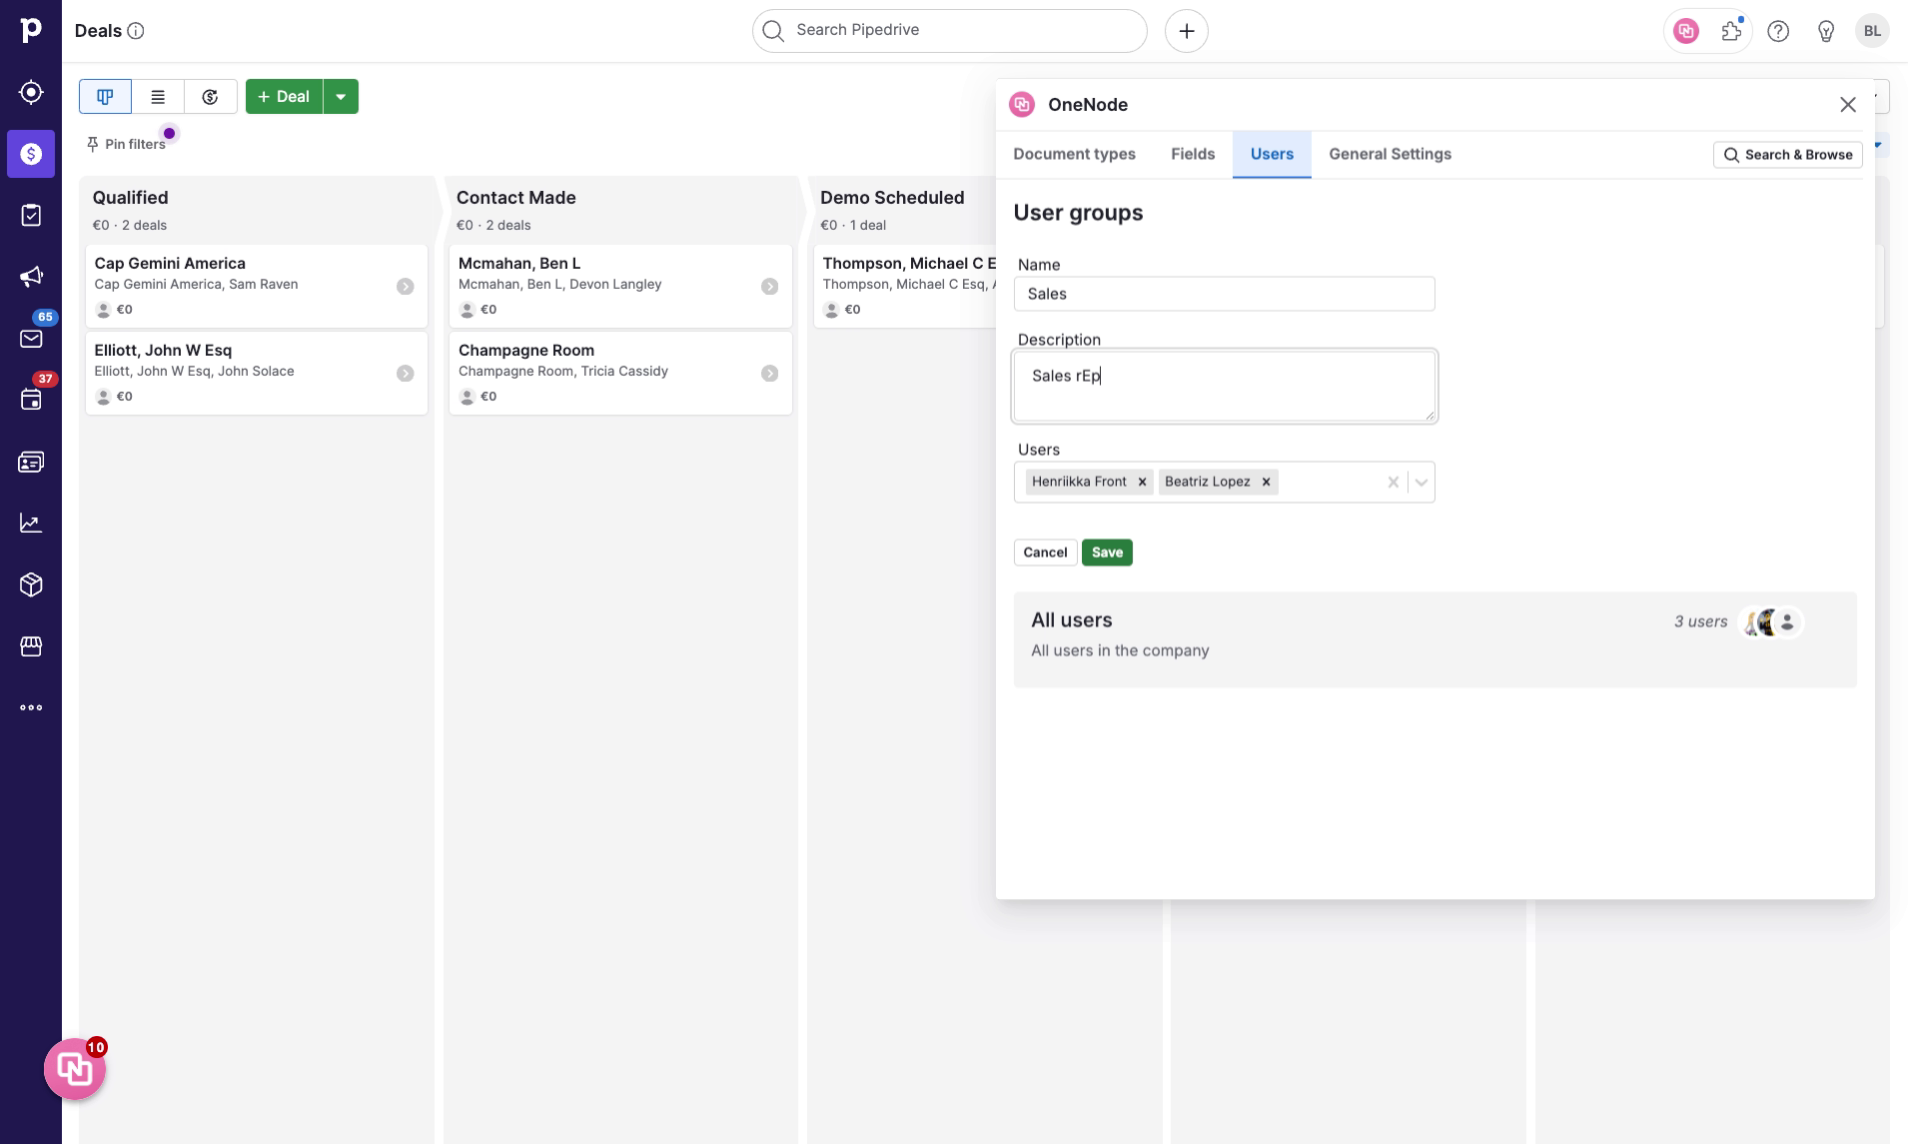
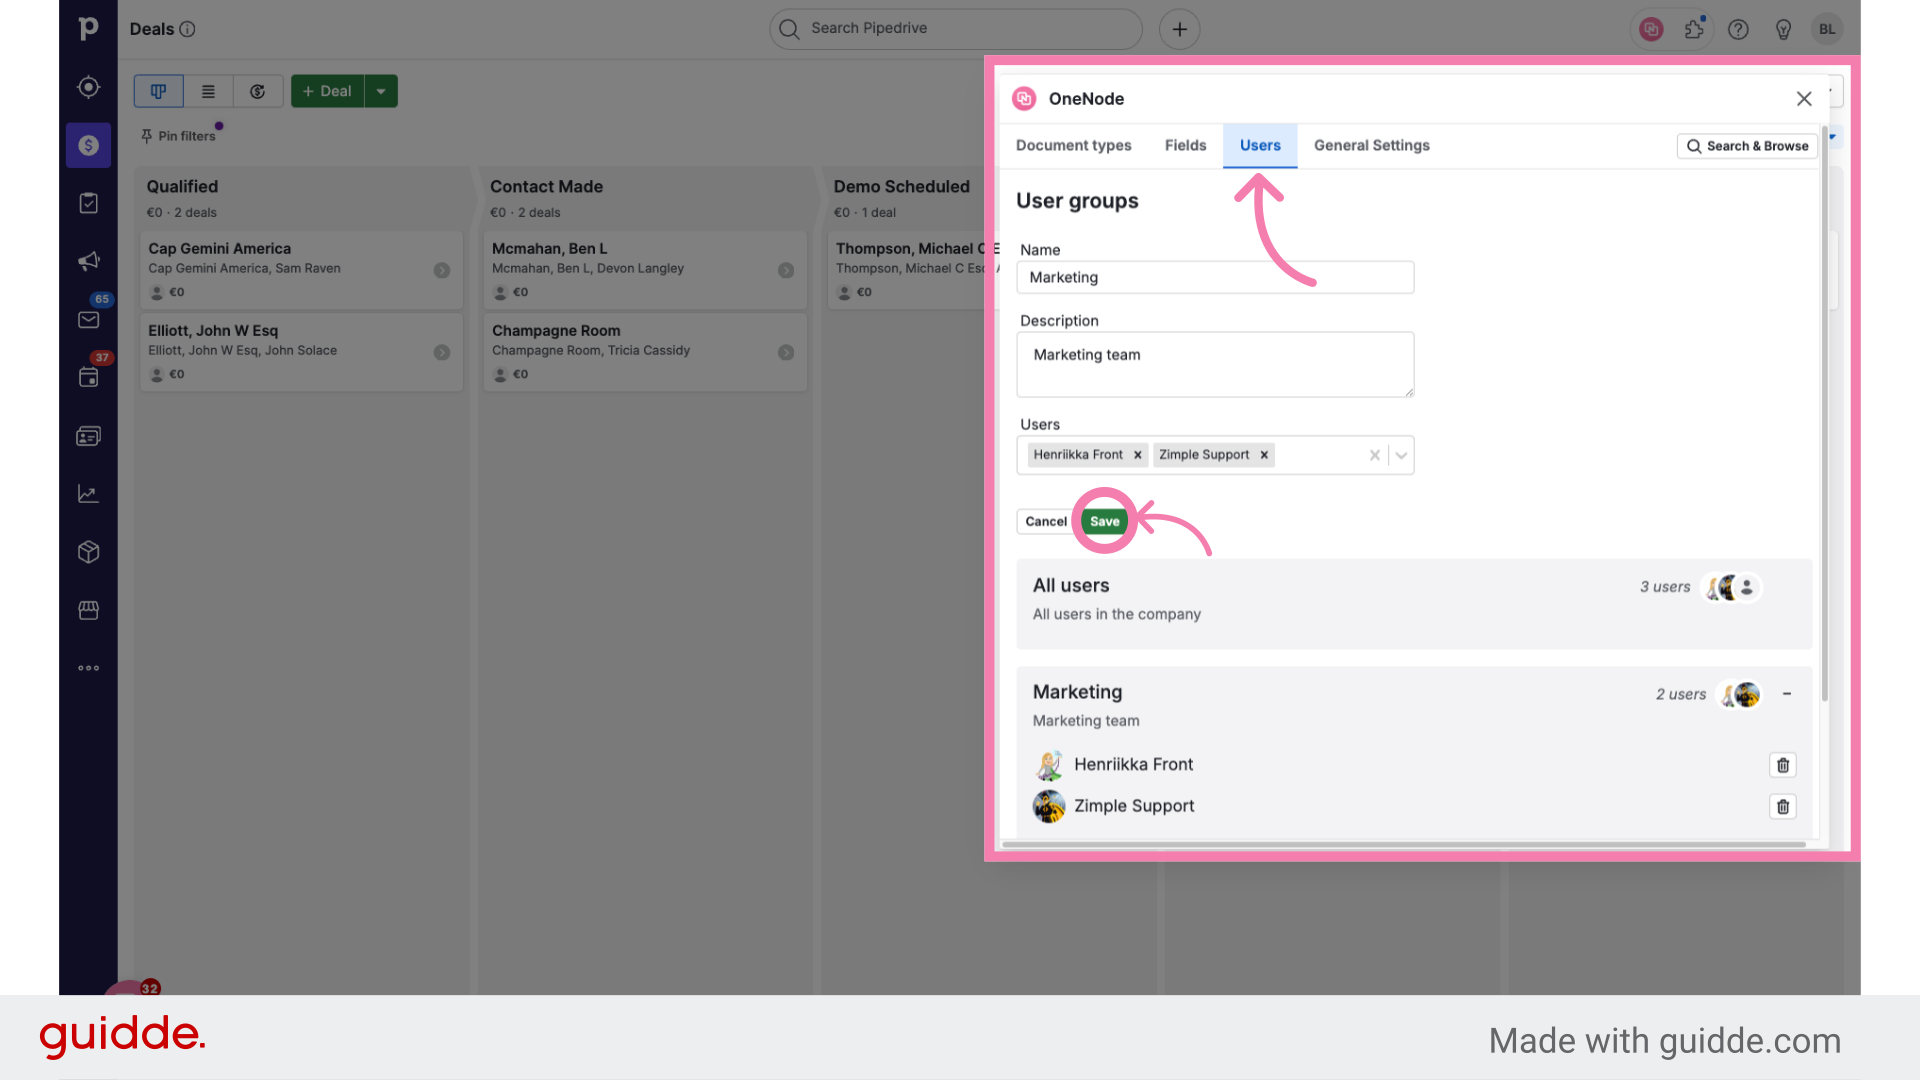
10. Click "Save"
Save the changes made
11. Review the existing groups
You're all done! Now you can see the default group called "All Users" and the new Sales Group you just created. Let's try another one. Click on "Add new group" again
12. Type the group's name
And let's call this group "Marketing"
13. Enter a group description
proceed with a brief group description
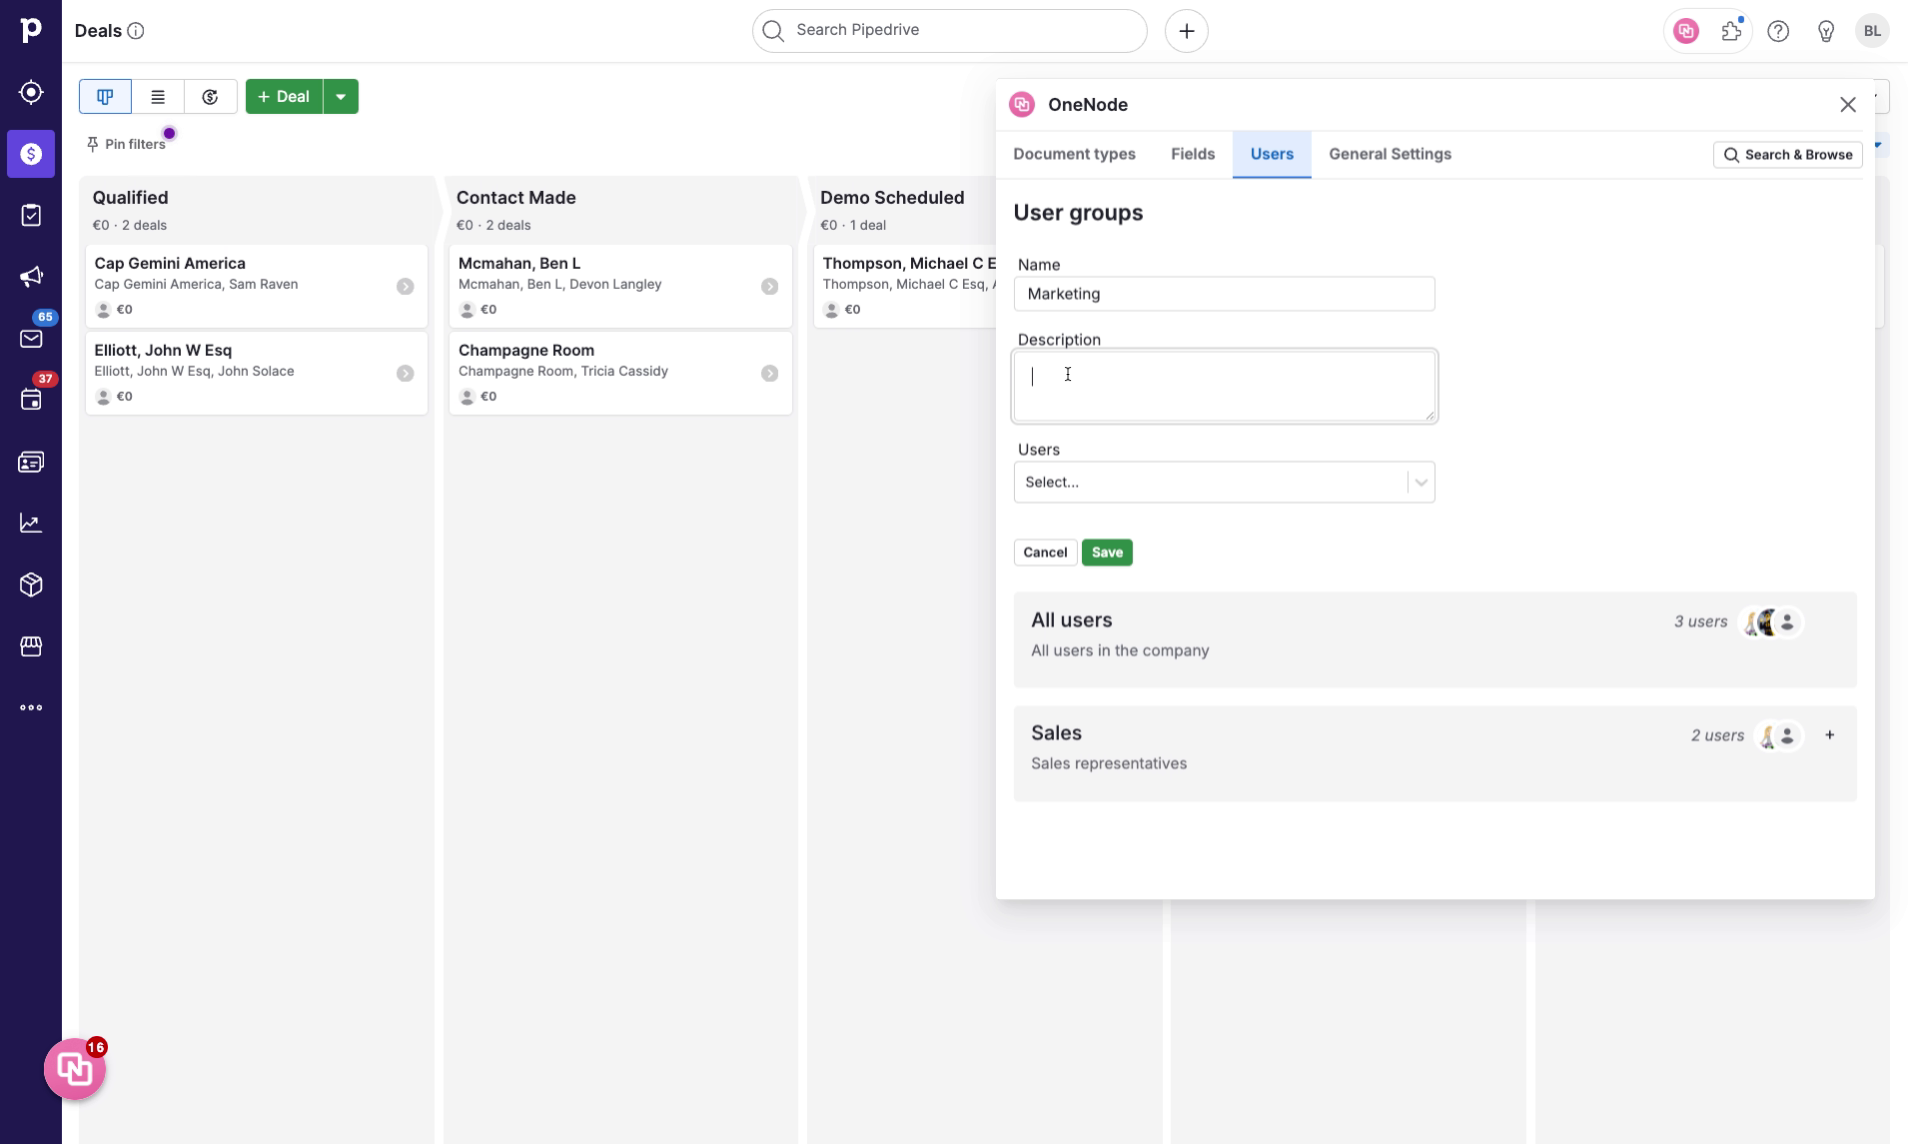
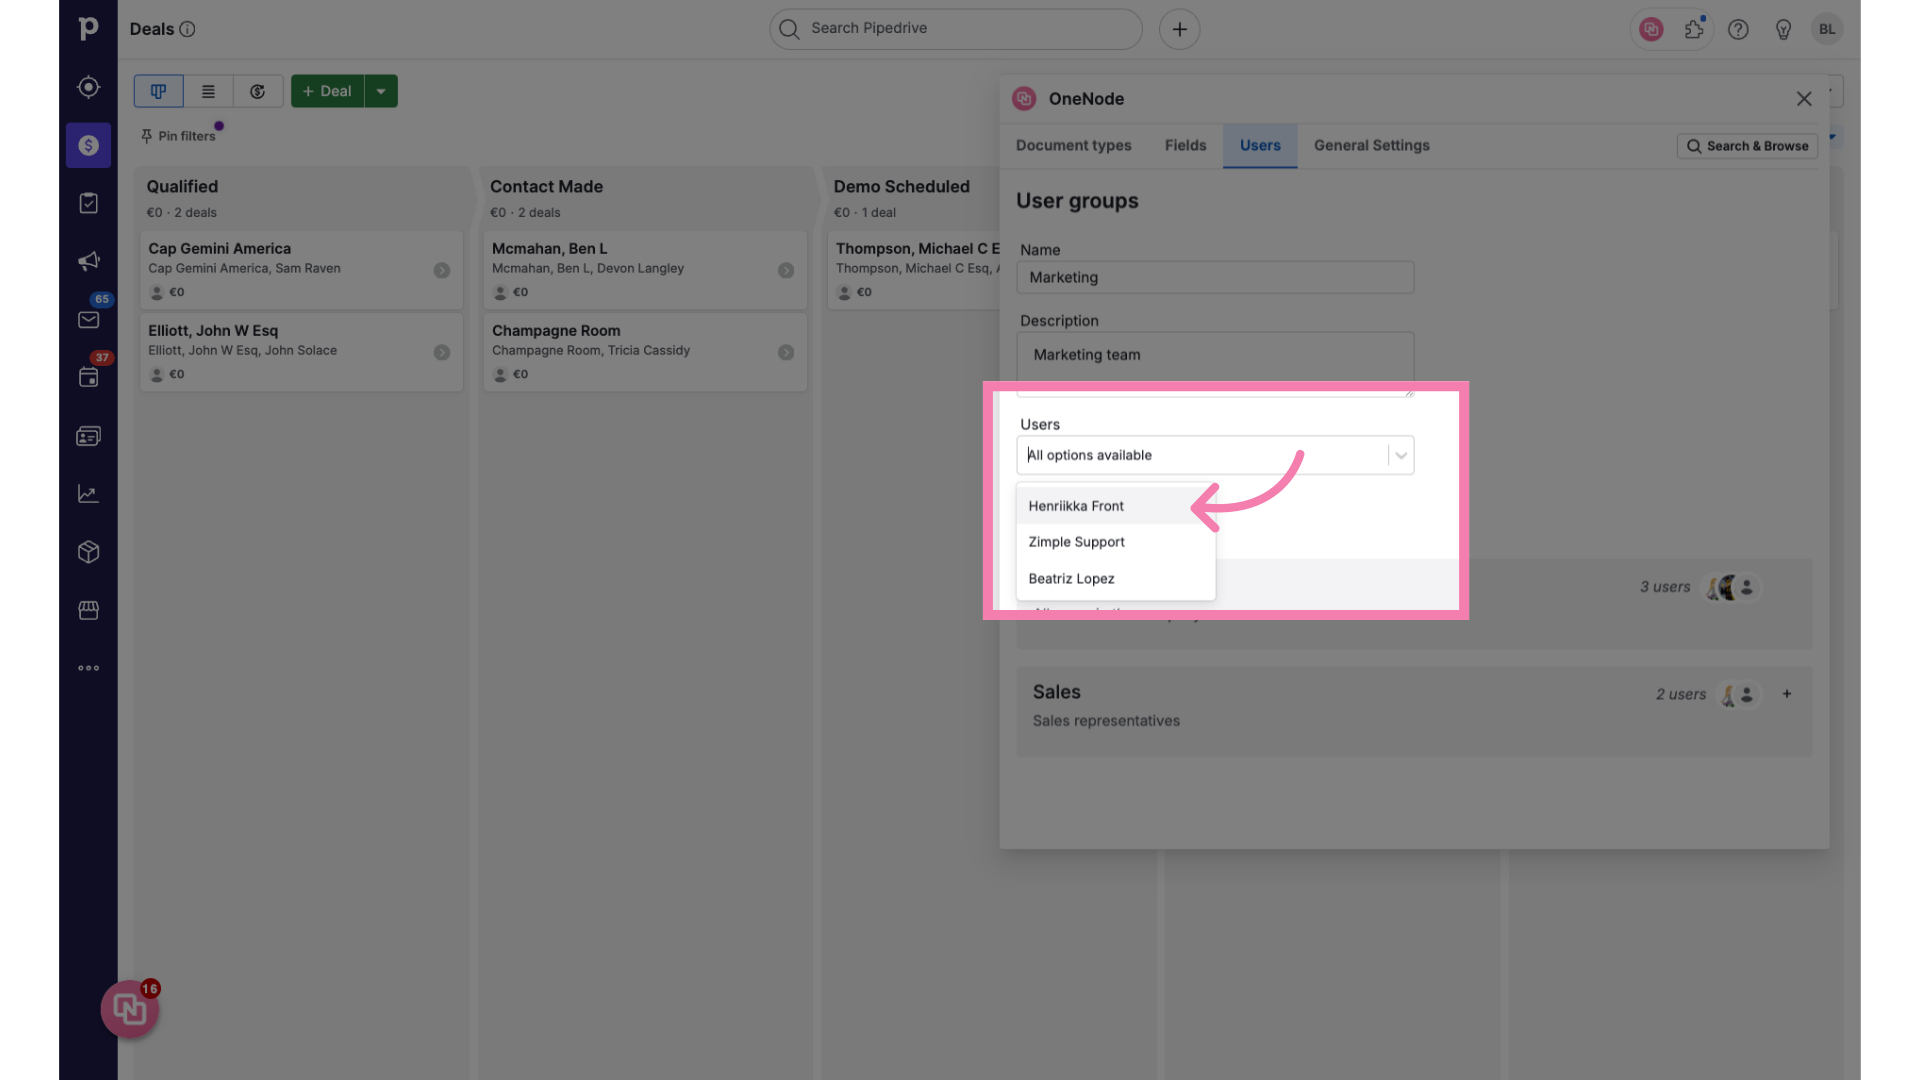
14. Click on "Users"
Click on the Users select box
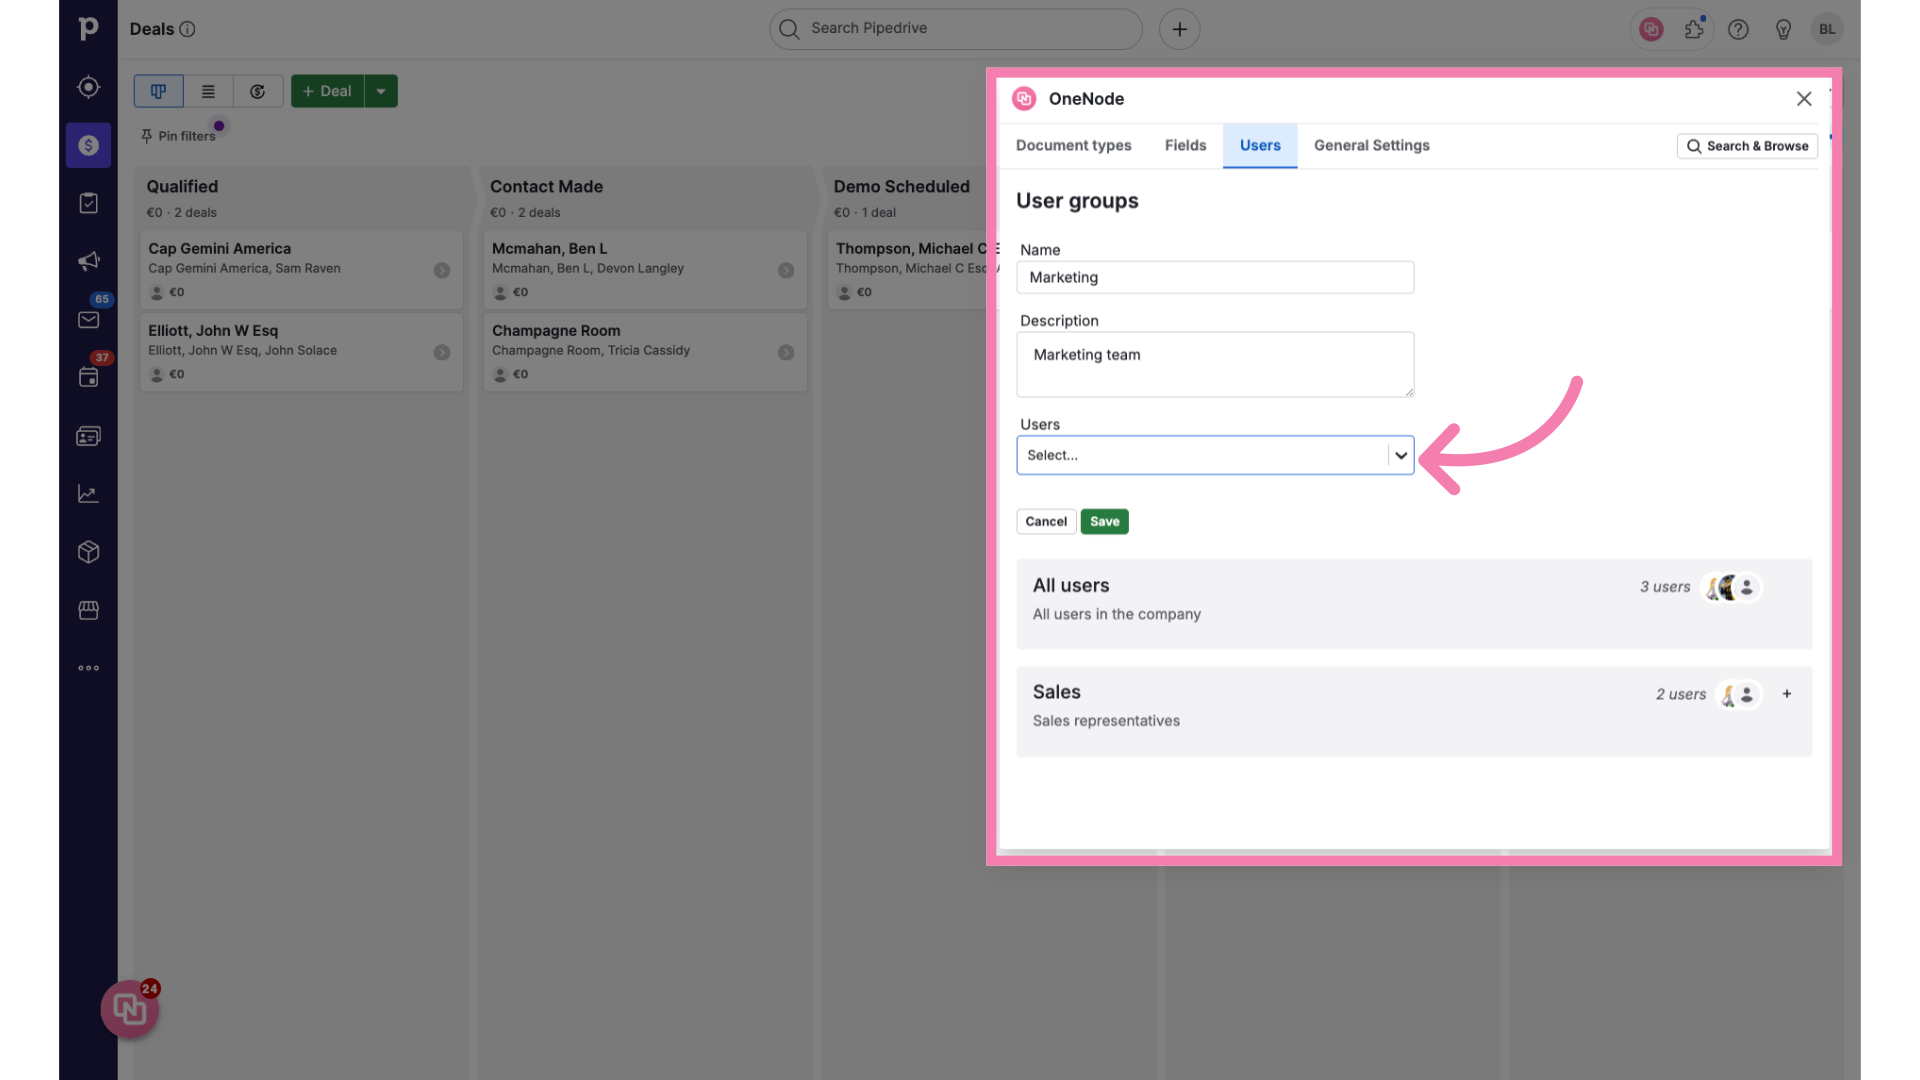
15. Assign team users
And add the users for this team
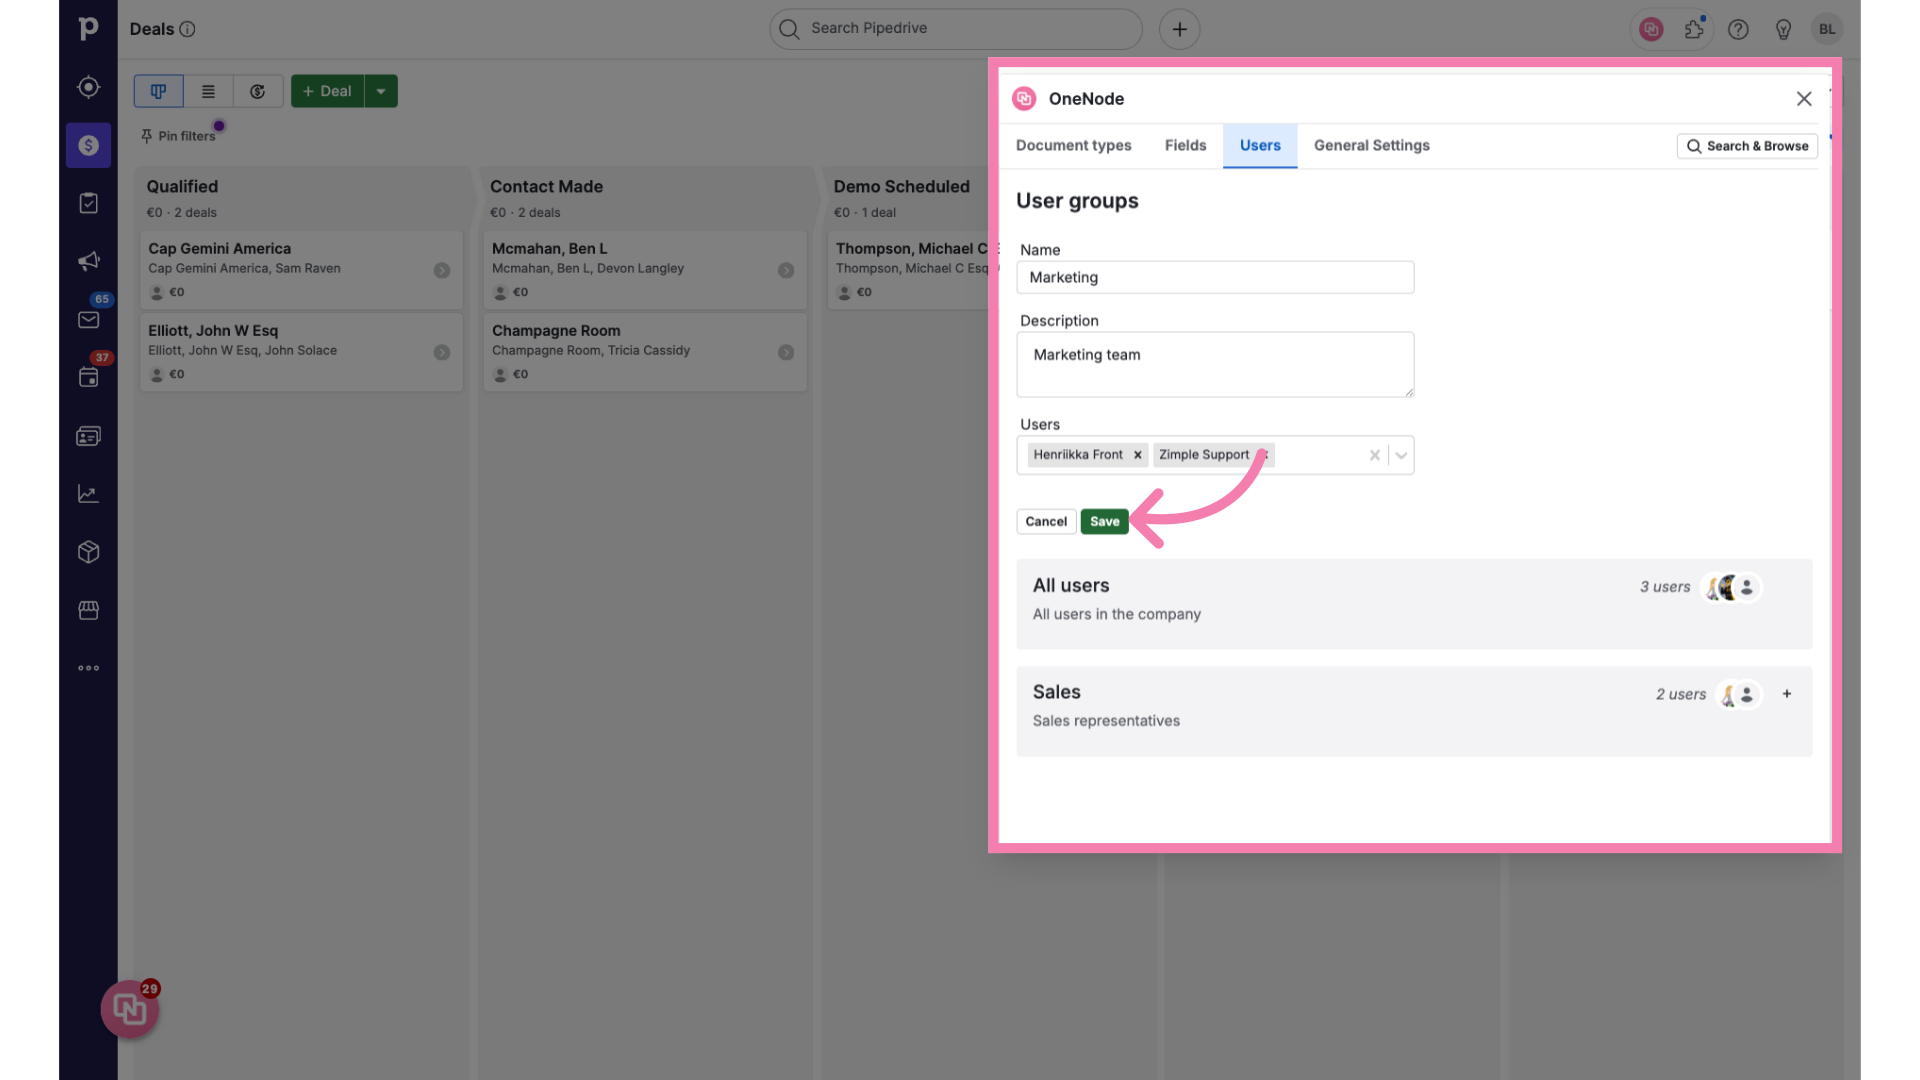
16. Click "Save"
Save the changes
17. Click "Expand all"
Here we go! We have three different User Groups now. Click on Expand all.
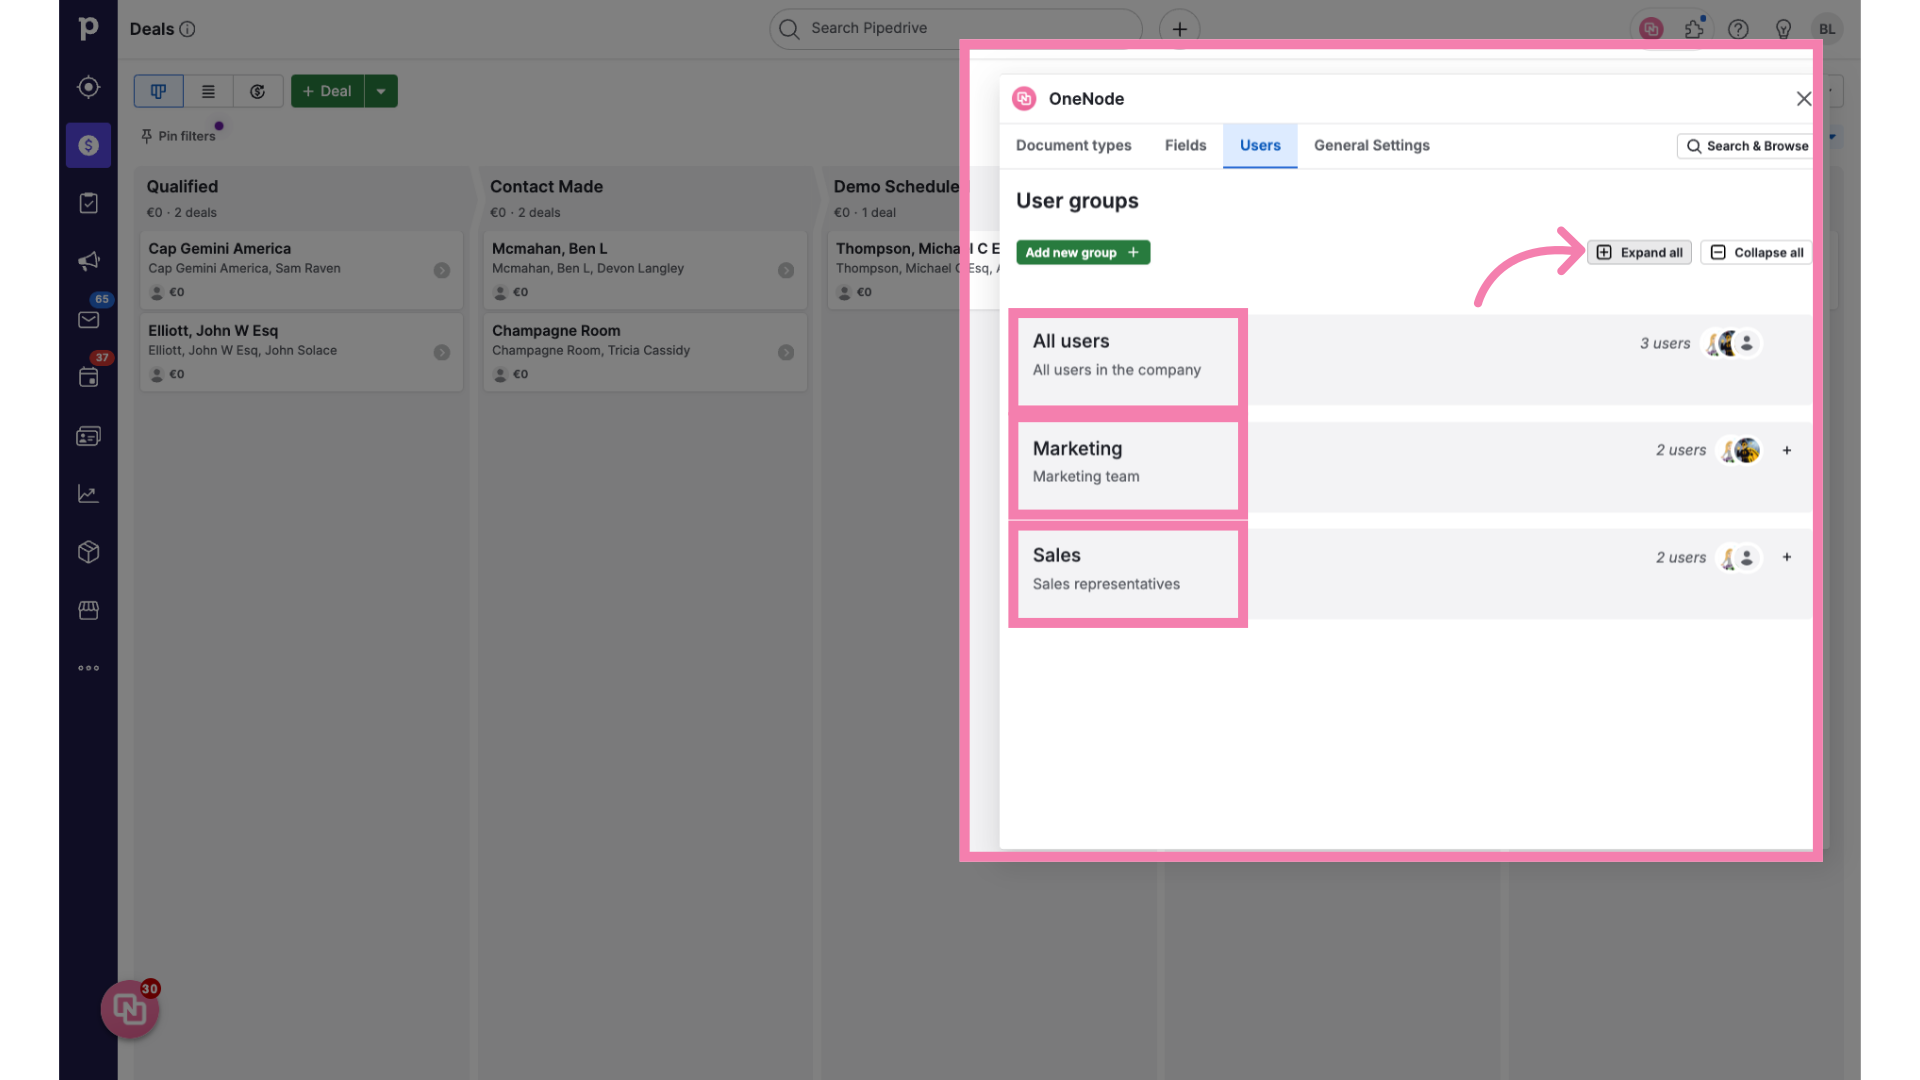
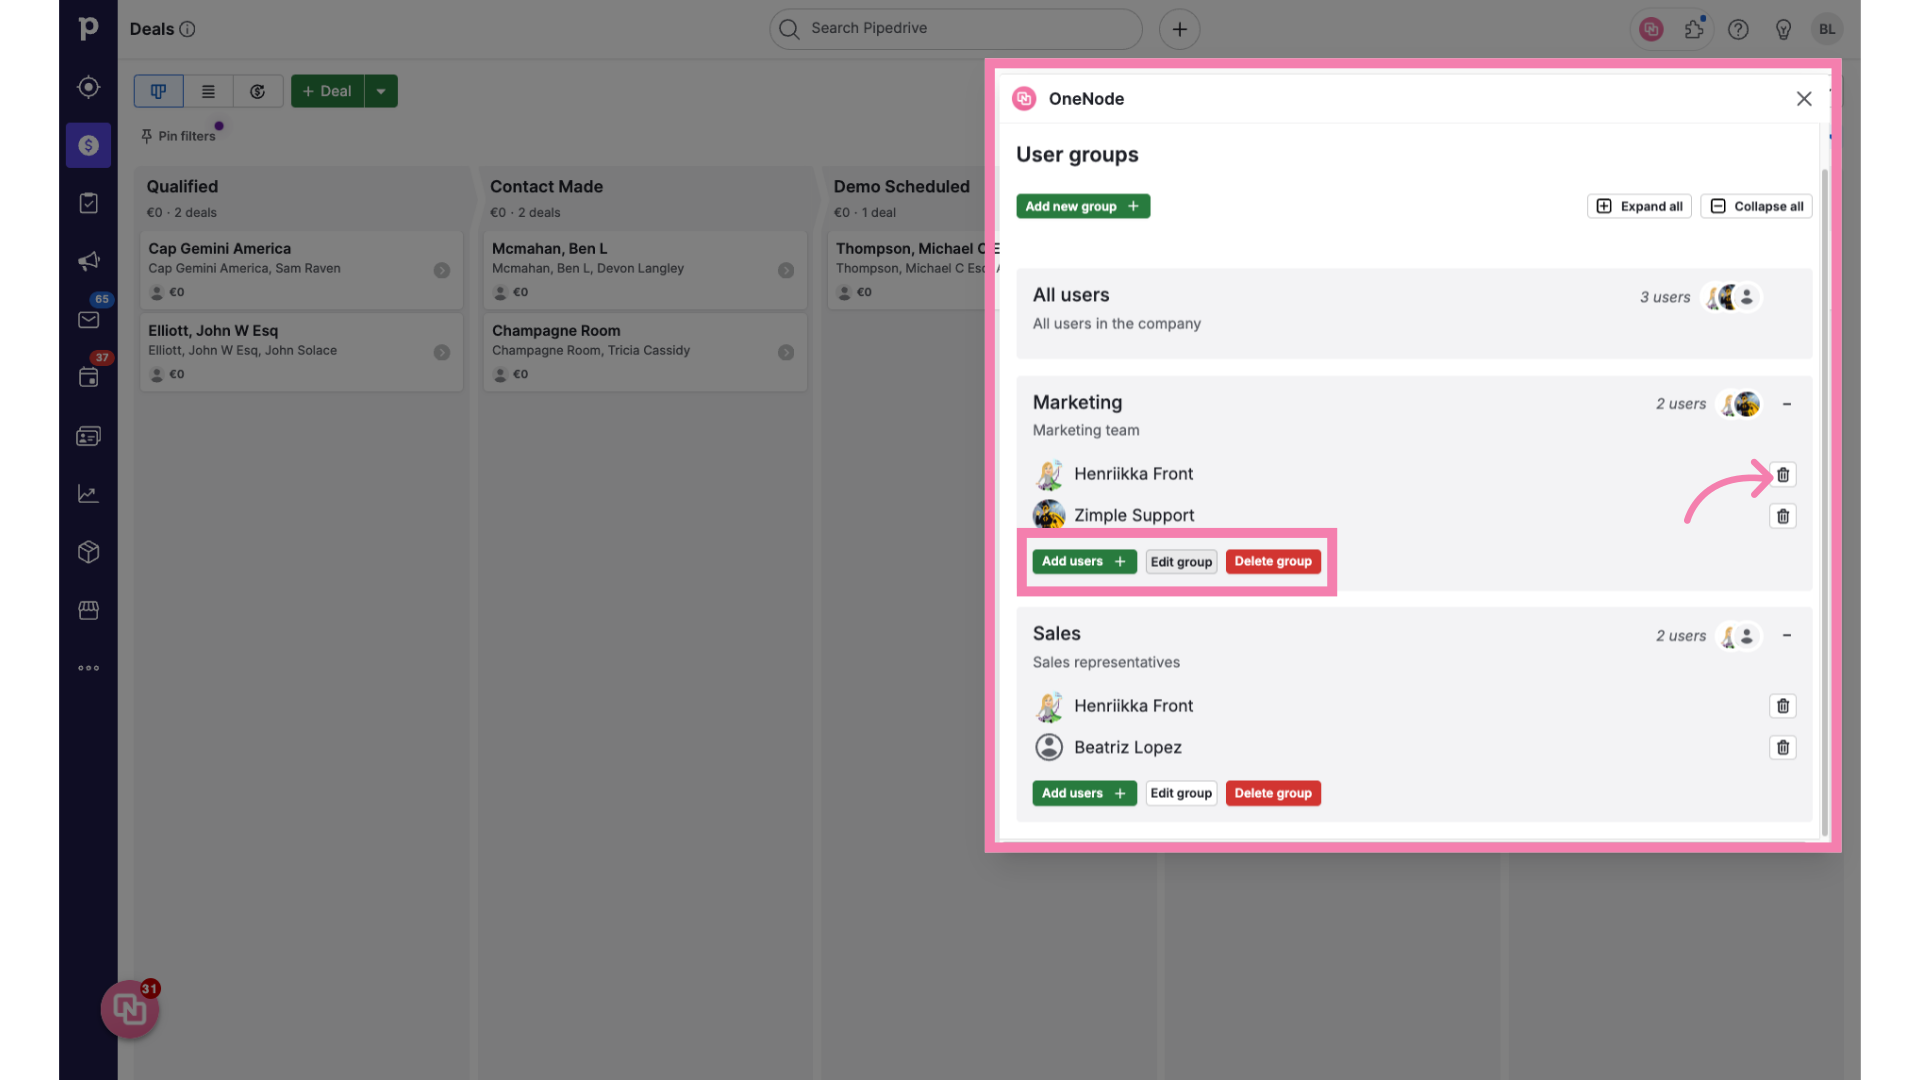
18. Manage groups
From here you can manage groups by adding or removing users, editing properties, or deleting a group.
19. Click "Save"
Make sure you save the changes made. You can access the user management from the user tab at anytime.
All right, that's it. Watch the video on "Adding or Inviting Users"Users" to learn everything you need to know about OneNode's user management.